

Presentation
The full talk deck with speaker notes beside each slide. Scroll to read through, or jump straight to the source files.
Estimated run time ~2 hours

Notes
Welcome to Burp, But Yours: a hands-on workshop on extension and Bambda development in Burp Suite. This session is run by Hannah, a specialist in Burp extensibility at PortSwigger and manager of the BApp Store.
Notes
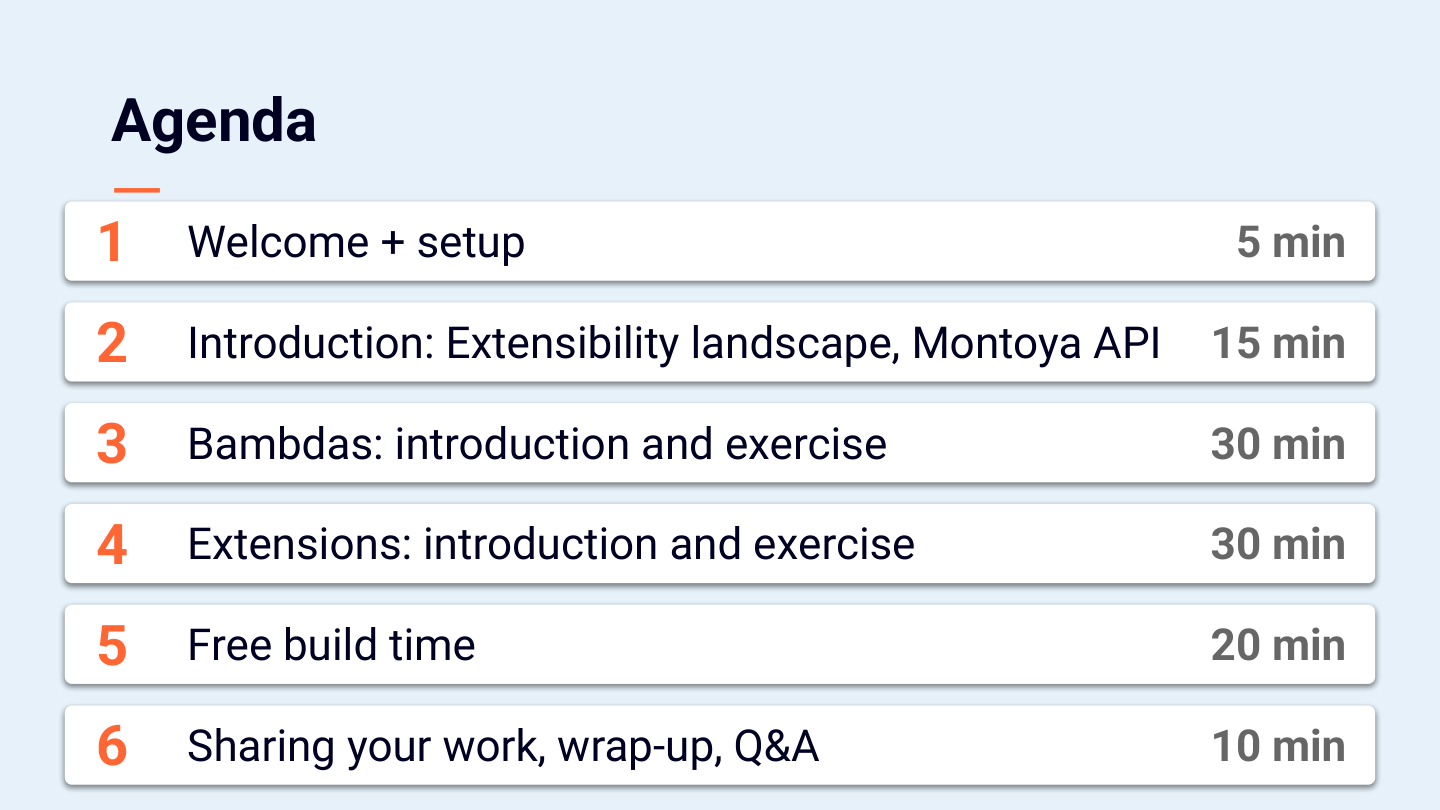
This is the agenda for the session. Most of the setup is covered up front, to leave as much hands-on time as possible for the exercises. Take a break during the exercise portions if you need one.
Notes
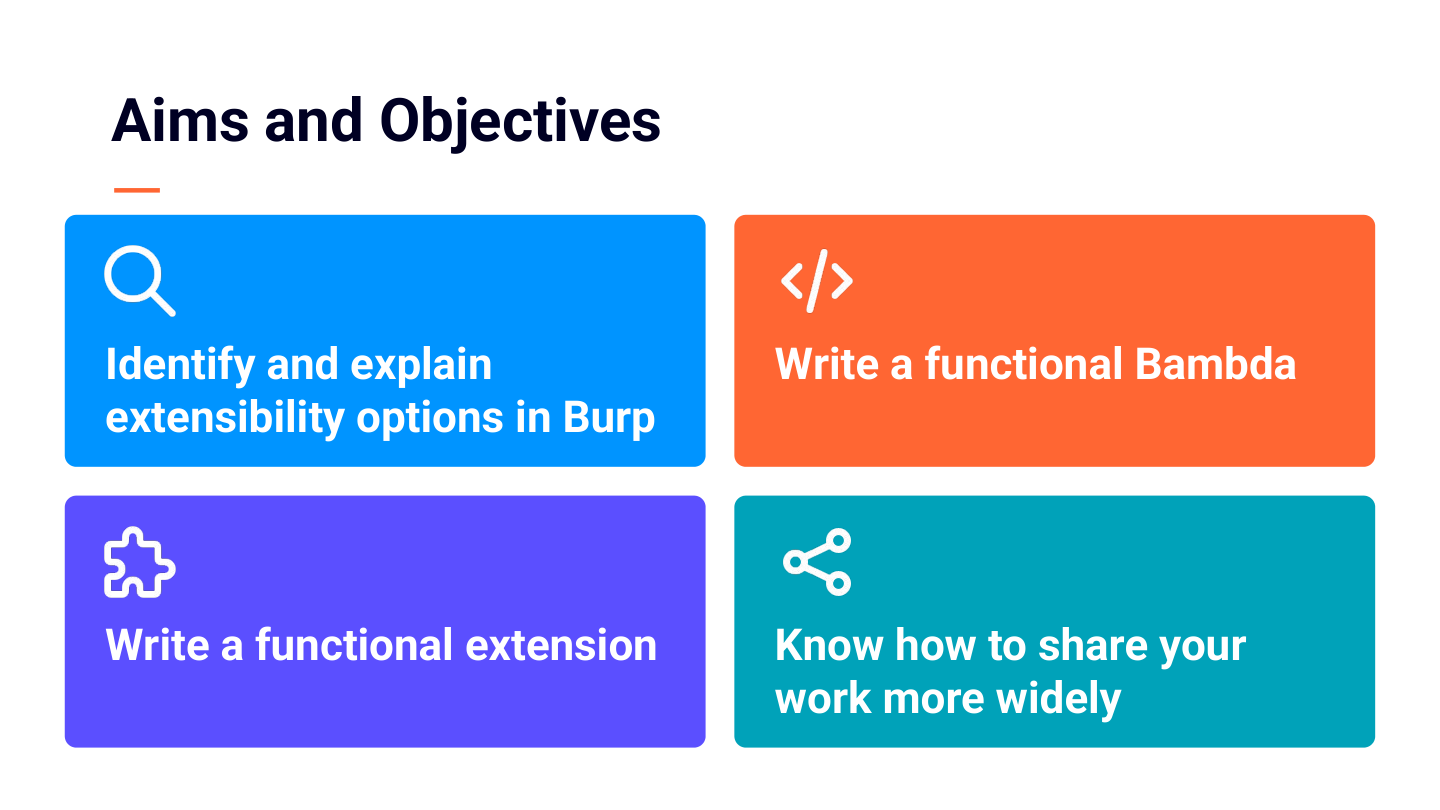
By the end of this session you can identify and explain the different extensibility options in Burp, write a functional Bambda, write a functional extension, and share your work more widely.
The session assumes you know your way around Burp day to day. Java experience helps, but the introduction covers the key areas you need, and the worksheets go into more detail.
The session assumes you know your way around Burp day to day. Java experience helps, but the introduction covers the key areas you need, and the worksheets go into more detail.
Notes
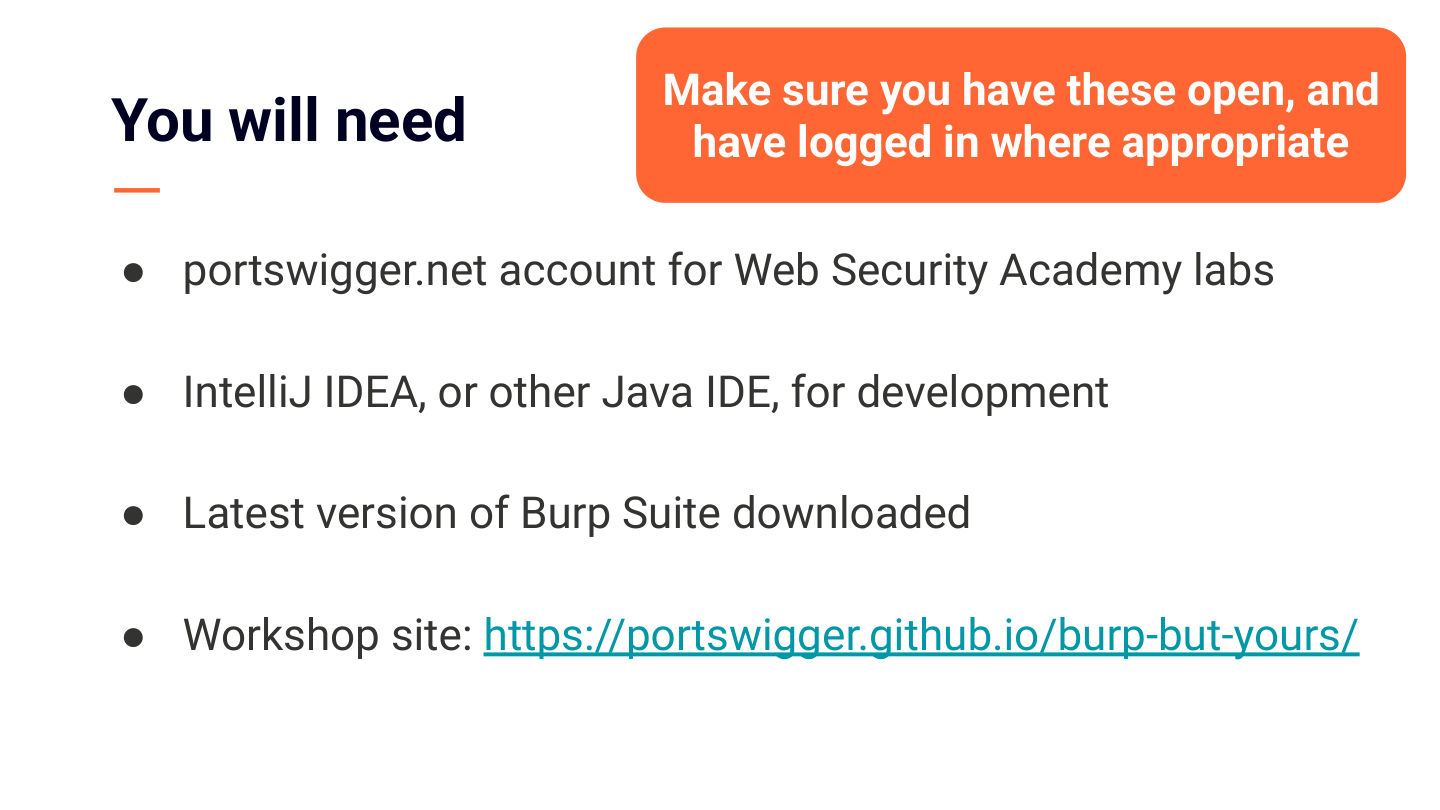
You need three things for this session:
- A portswigger.net account for Web Security Academy labs.
- IntelliJ IDEA, or another Java IDE you prefer.
- The latest version of Burp Suite, downloaded and installed.
- A portswigger.net account for Web Security Academy labs.
- IntelliJ IDEA, or another Java IDE you prefer.
- The latest version of Burp Suite, downloaded and installed.
Notes
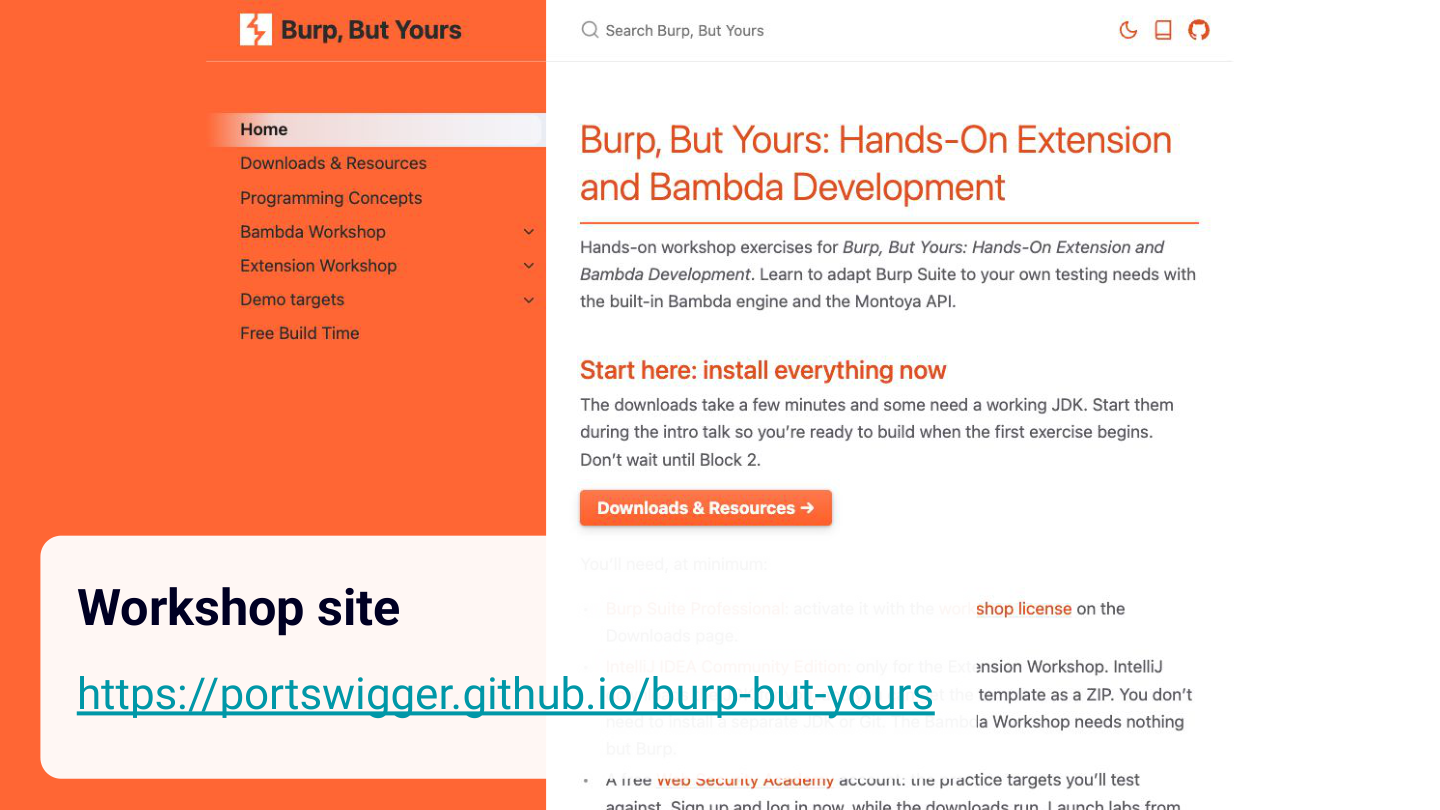
The workshop site holds all the resources for the session: useful links, and the worksheets for each exercise. If you do not have the prerequisites installed yet, the Downloads and resources page links to everything you need, so you can get set up before the interactive sections.
Notes
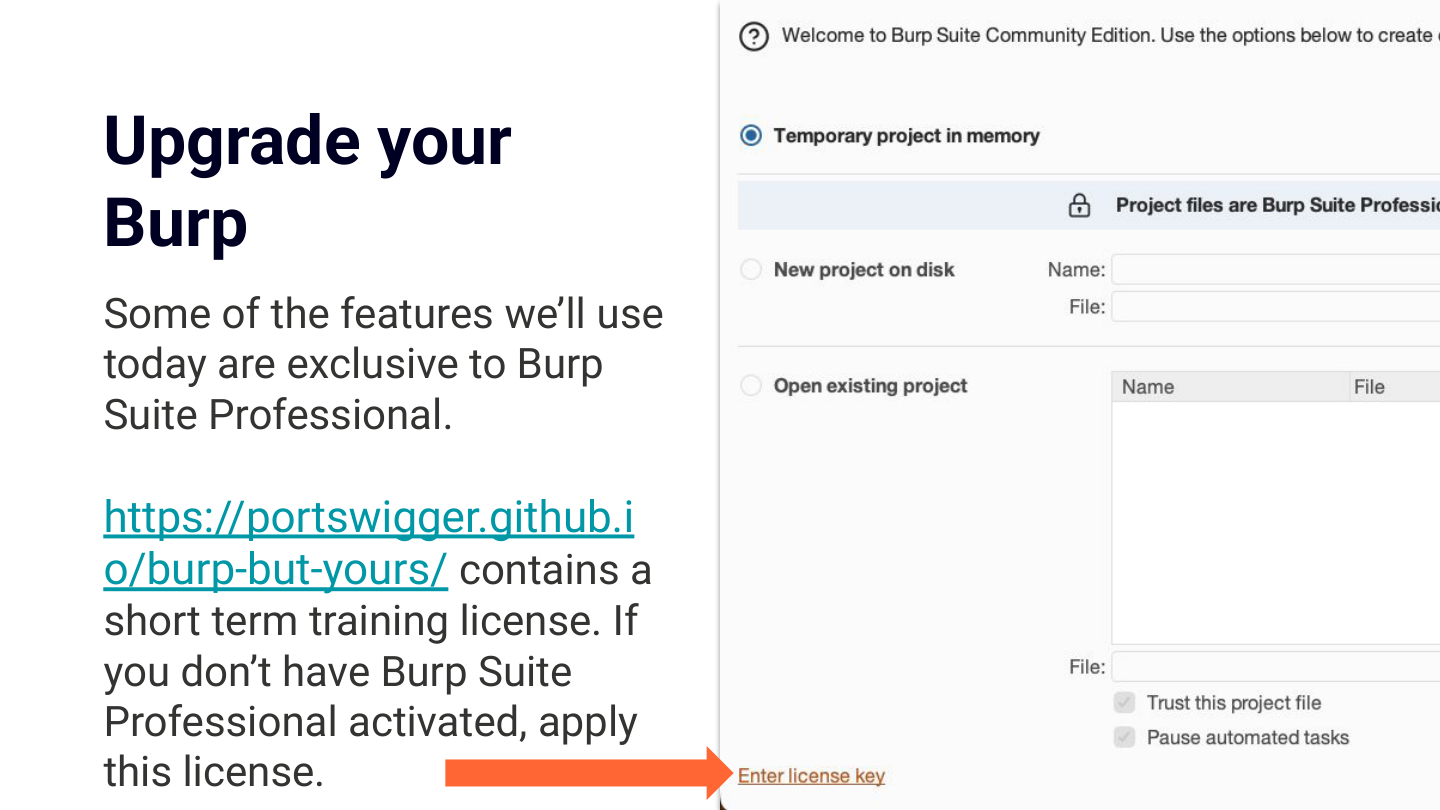
Some of the functionality in this session is exclusive to Burp Suite Professional. Burp now ships as a single installer for both Professional and Community Edition, so you can upgrade an existing Community Edition install directly: click Enter license key in the startup wizard and follow the licensing walkthrough.
Notes
This section looks at the extensibility landscape in Burp.
Notes
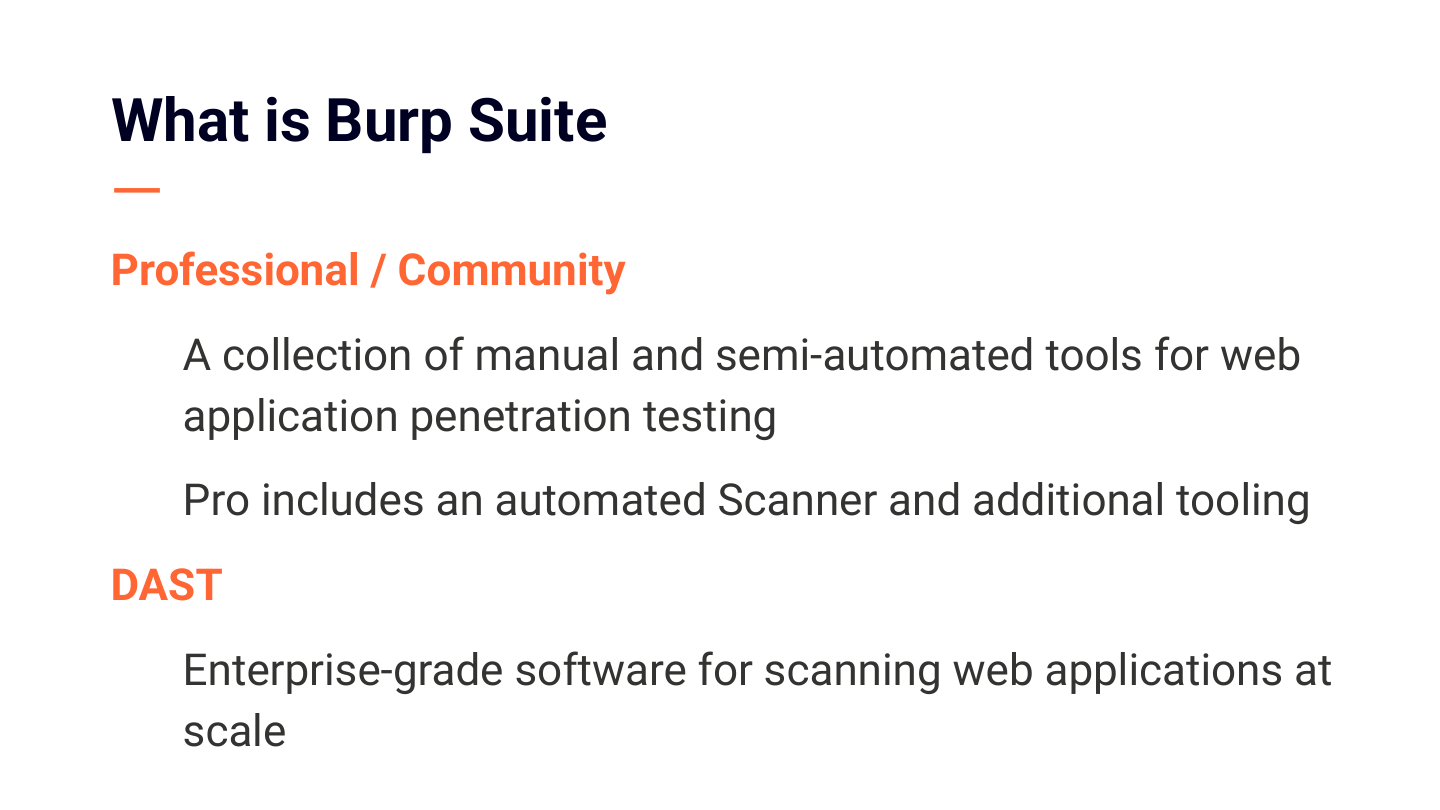
Burp Suite comes in a few editions. Professional and Community Edition are collections of manual and semi-automated tools for web application penetration testing. Professional adds project files, an automated Scanner, the Burp Collaborator server for out-of-band testing, unthrottled Intruder attacks, and more. Burp Suite DAST is enterprise software for scanning web applications at scale. This session focuses on capabilities in Burp Suite Professional.
Notes
Before going further, note down one repetitive manual testing task you currently do by hand in Burp that you would automate if you could. This is your personal thread through the rest of the session, and you can build it during the free build time later. If nothing comes to mind now, an idea may surface as the session goes on.
Notes
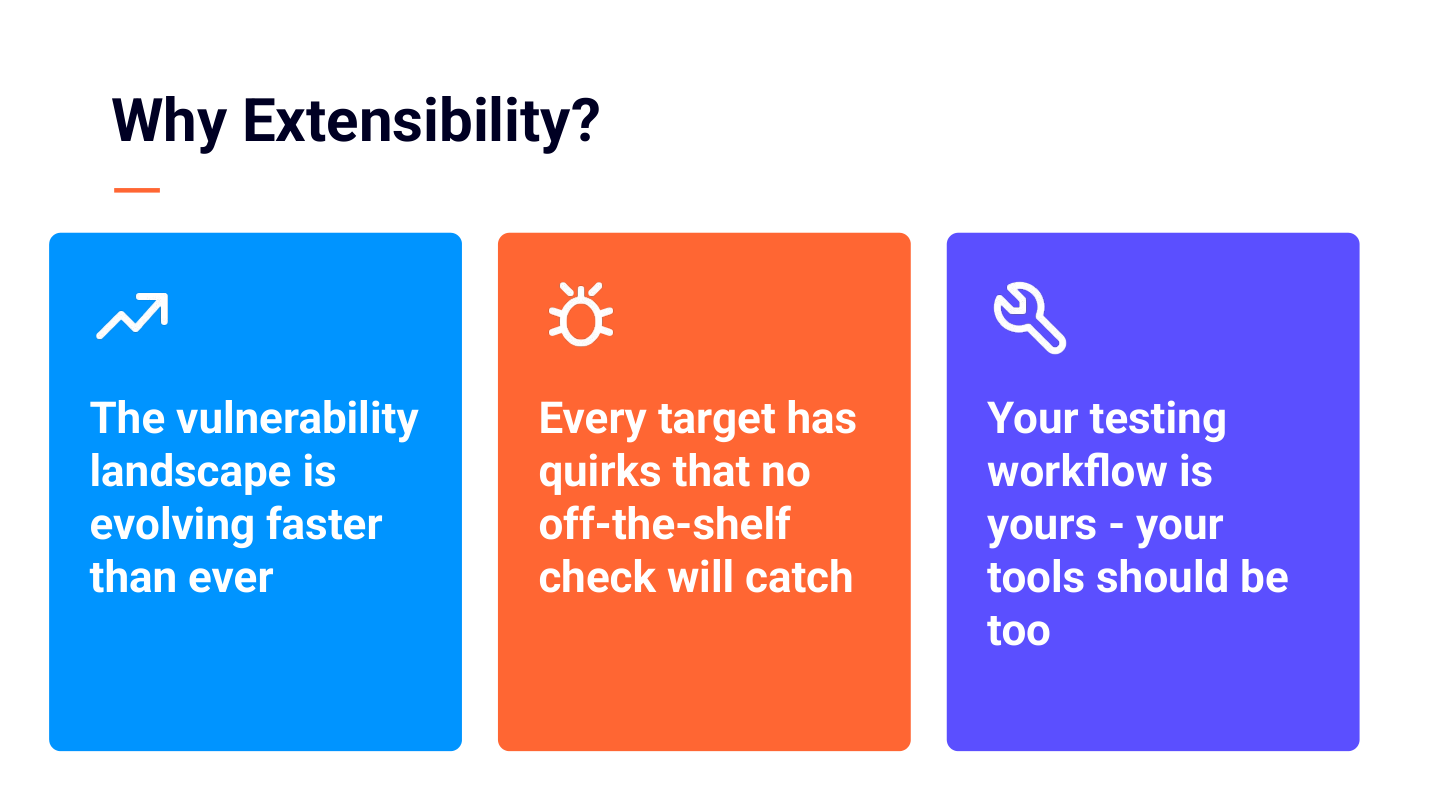
Why extensibility? Burp solves most problems out of the box, and extensibility covers the rest. The vulnerability landscape moves faster than any tool can ship updates. Every target has its own quirks that no off-the-shelf check catches. Your testing workflow is your own, and your tools can be too.
Notes
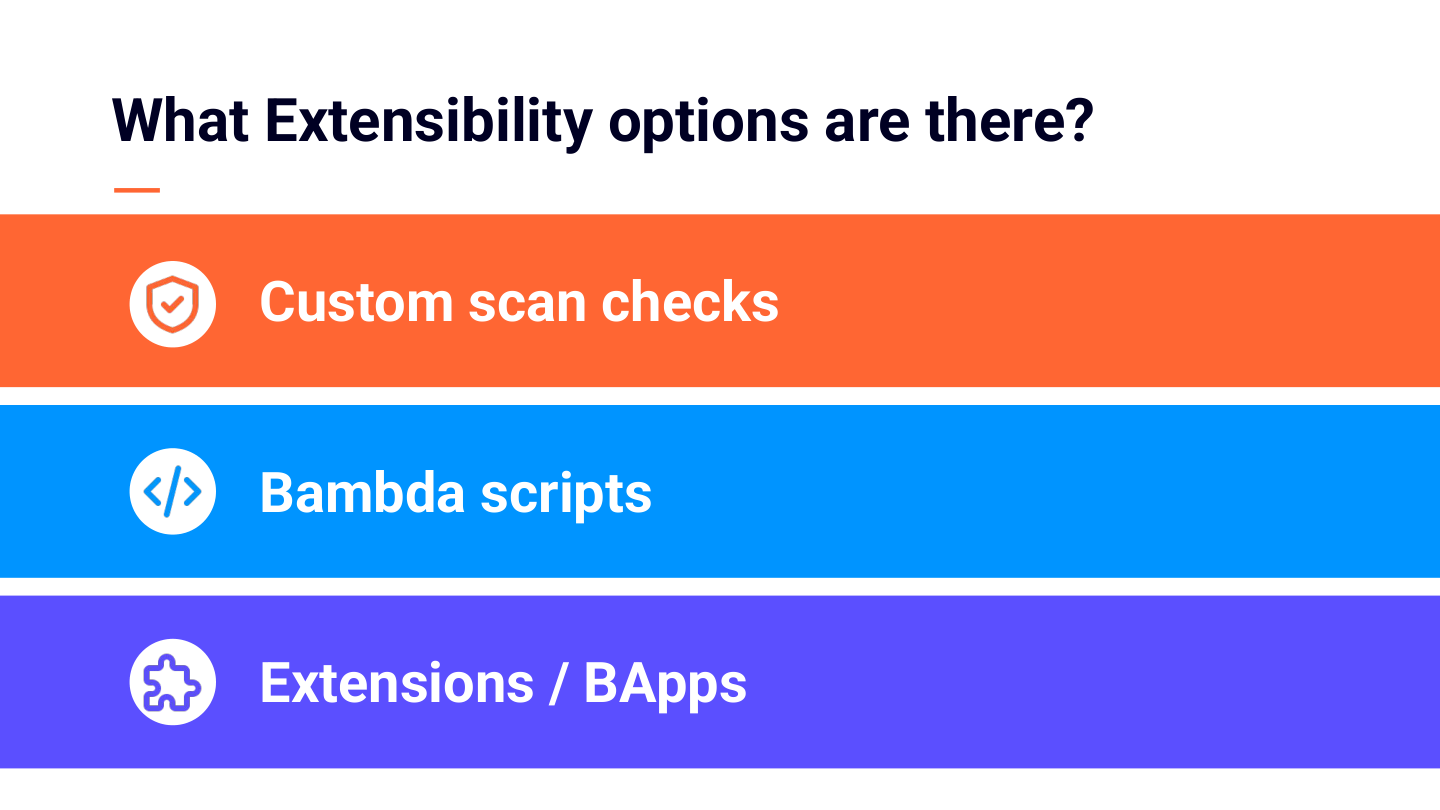
Burp has three main extensibility options:
- Custom scan checks extend Burp's Scanner with additional checks.
- Bambda scripts give you in-place configuration of Burp through code.
- Extensions and BApps are custom plugins that add a wider range of functionality.
The next few slides look at each in more detail.
- Custom scan checks extend Burp's Scanner with additional checks.
- Bambda scripts give you in-place configuration of Burp through code.
- Extensions and BApps are custom plugins that add a wider range of functionality.
The next few slides look at each in more detail.
Notes
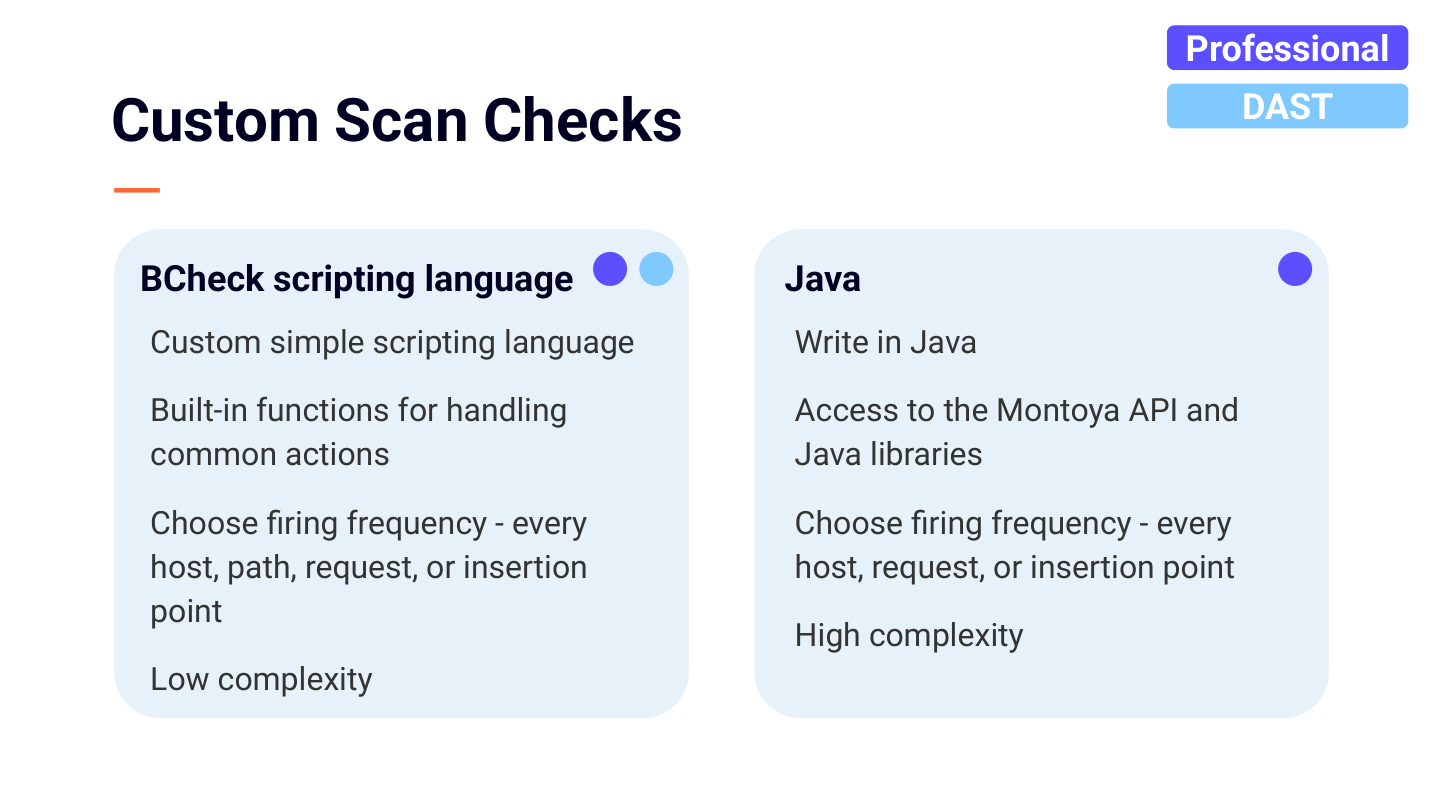
Custom scan checks come in two forms:
- BCheck scan checks use a simple, purpose-built scripting language, with no Java needed. They suit lower-complexity checks but fall short when you need deeper logic. BChecks are available in Burp Suite Professional and Burp Suite DAST.
- Java-based scan checks are written in Java, with access to the Montoya API and any built-in Java libraries. They support much more complex checks. Java-based scan checks are available in Burp Suite Professional only.
- BCheck scan checks use a simple, purpose-built scripting language, with no Java needed. They suit lower-complexity checks but fall short when you need deeper logic. BChecks are available in Burp Suite Professional and Burp Suite DAST.
- Java-based scan checks are written in Java, with access to the Montoya API and any built-in Java libraries. They support much more complex checks. Java-based scan checks are available in Burp Suite Professional only.
Notes
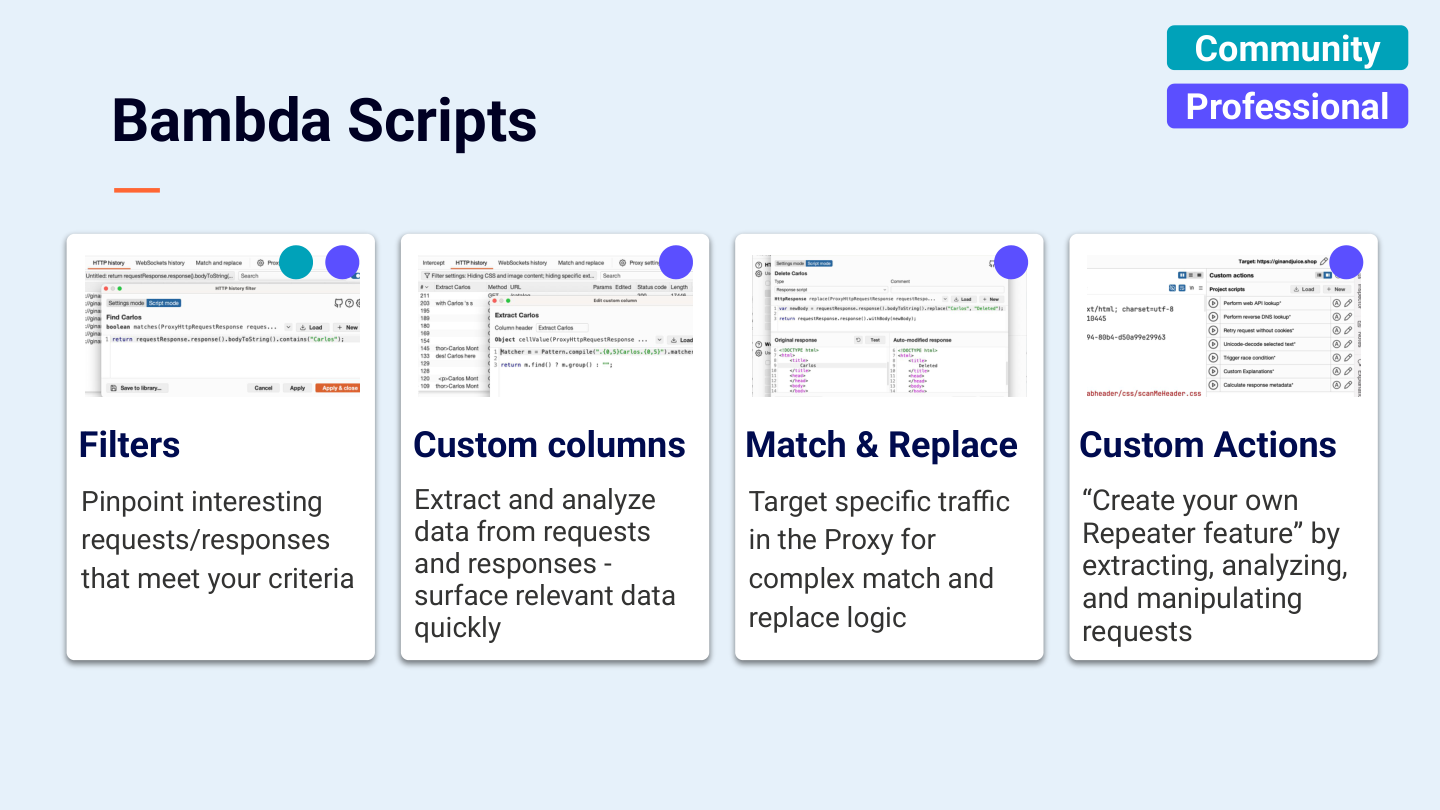
Bambda scripts configure Burp in place through code, and they surface in several places:
- Filters help you pinpoint interesting requests and responses in large tables.
- Custom columns surface data at a glance, extracting values otherwise hidden in tables.
- Match and replace targets specific traffic for complex replacement logic.
- Custom actions extract and analyze data within Repeater, almost like building your own feature in the UI.
Filters work in both Community Edition and Professional. The rest require Professional.
- Filters help you pinpoint interesting requests and responses in large tables.
- Custom columns surface data at a glance, extracting values otherwise hidden in tables.
- Match and replace targets specific traffic for complex replacement logic.
- Custom actions extract and analyze data within Repeater, almost like building your own feature in the UI.
Filters work in both Community Edition and Professional. The rest require Professional.
Notes
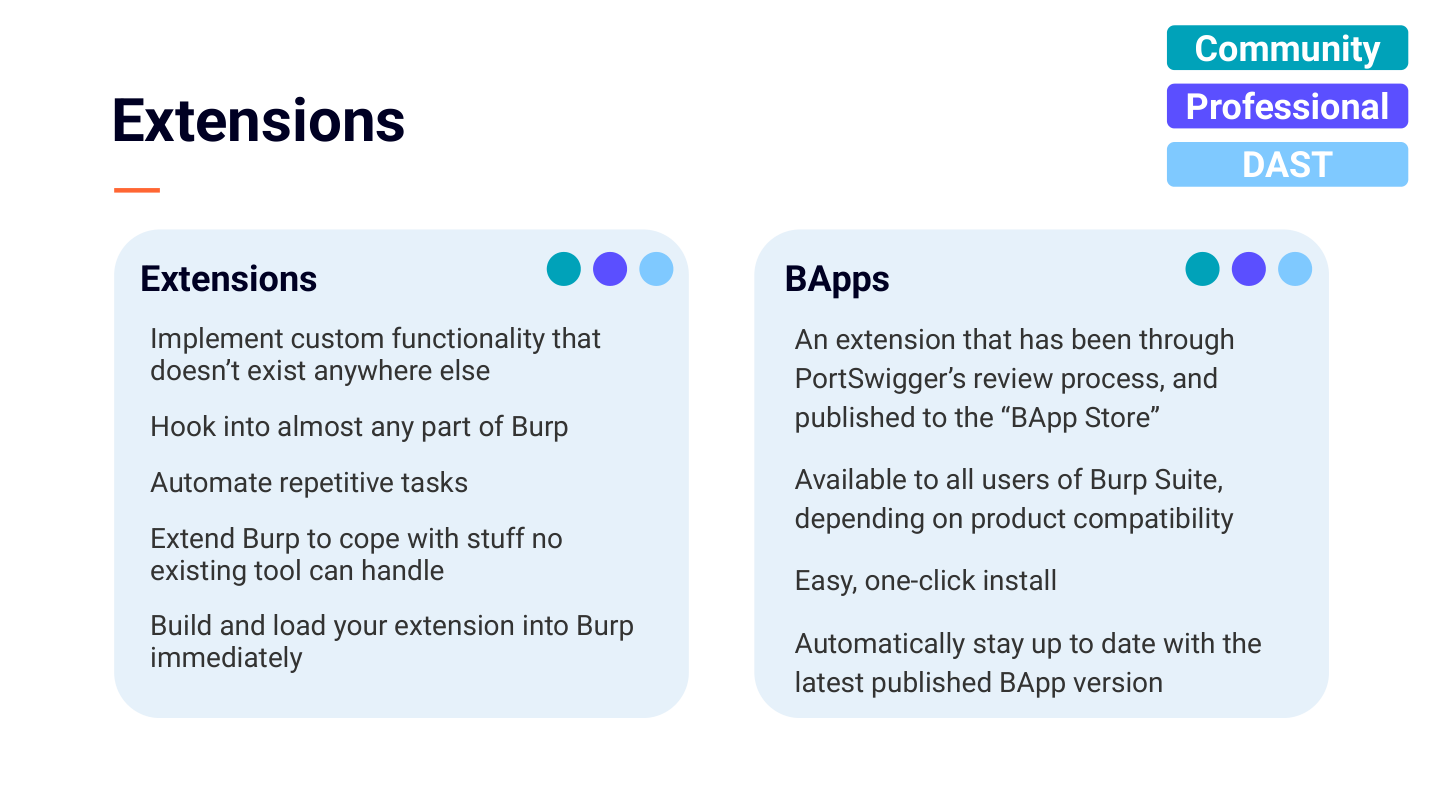
Extensions implement functionality that does not exist anywhere else, and hook into almost any part of Burp. You can build and load your own extension immediately. A BApp is an extension that has been through PortSwigger's review process and published to the BApp Store, which gives users one-click install and automatic updates whenever the author ships a new version.
Extensions and BApps work across all editions of Burp, but compatibility depends on the features an extension uses. For example, an extension built on the Scanner does not work in Community Edition.
Extensions and BApps work across all editions of Burp, but compatibility depends on the features an extension uses. For example, an extension built on the Scanner does not work in Community Edition.
Notes
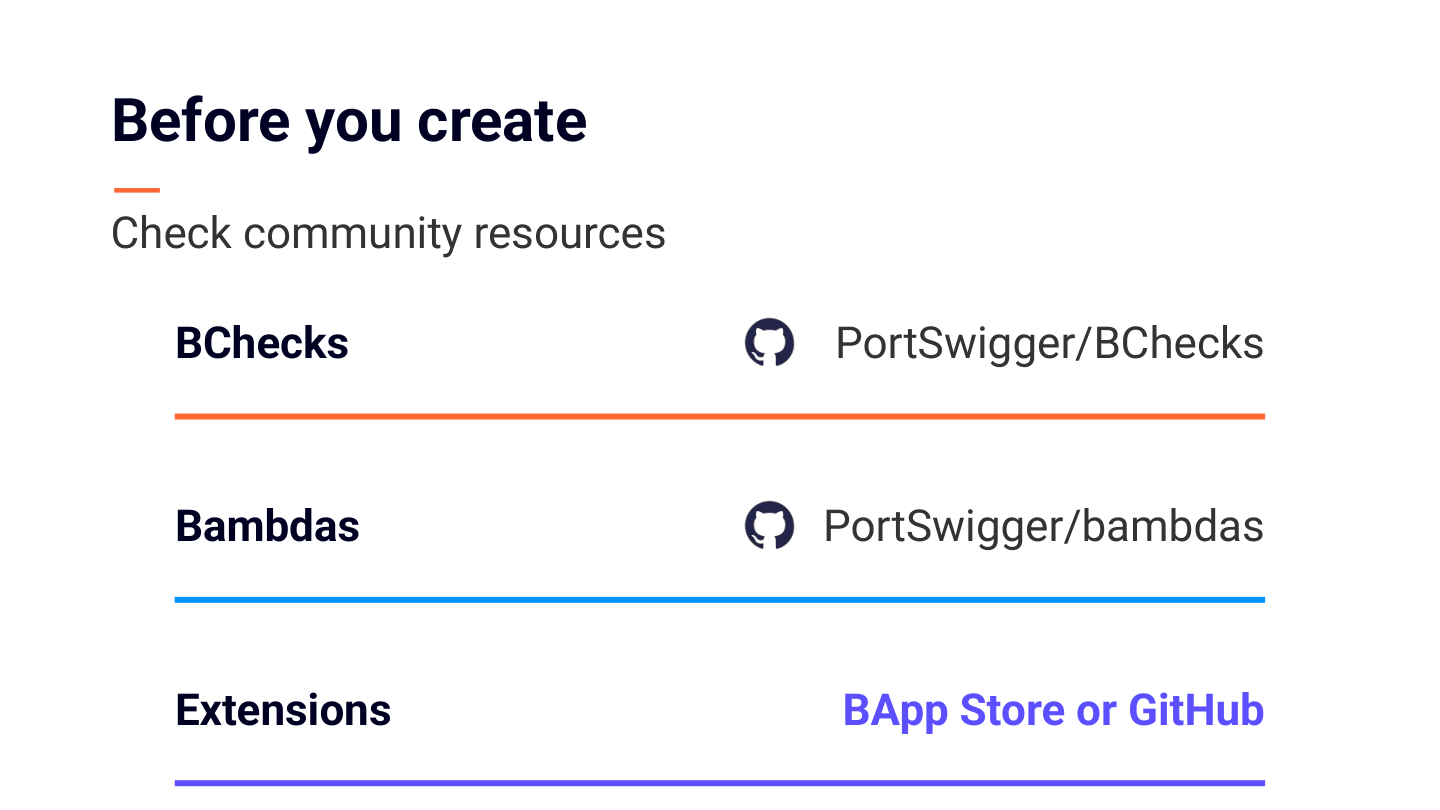
Before you build anything, check whether someone has already solved it. For BChecks and Bambdas, there are community repositories to read. For extensions, check the BApp Store or search GitHub.
Notes
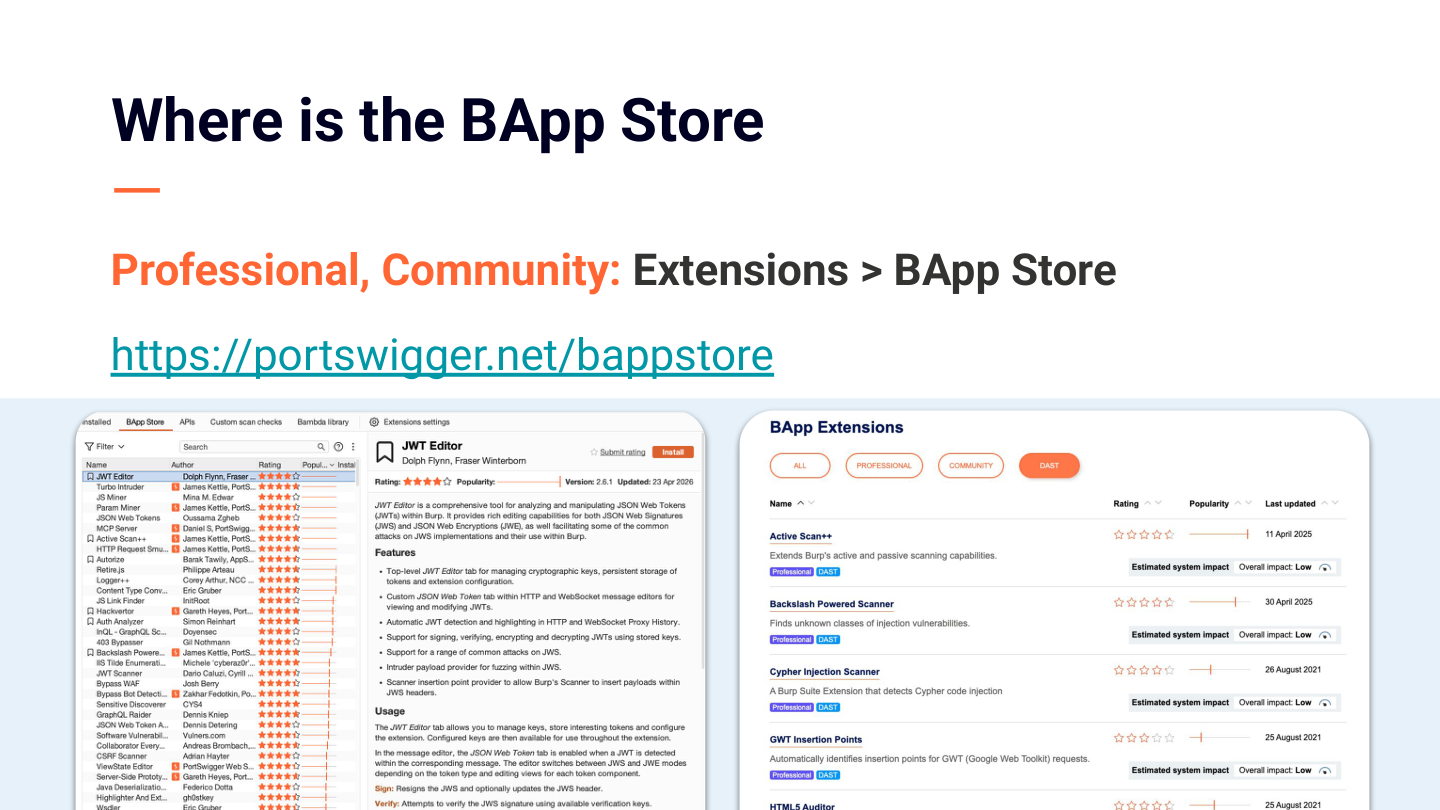
To find the BApp Store in Burp Suite Professional or Community Edition, go to Extensions > BApp Store. You can also browse it online.
Notes
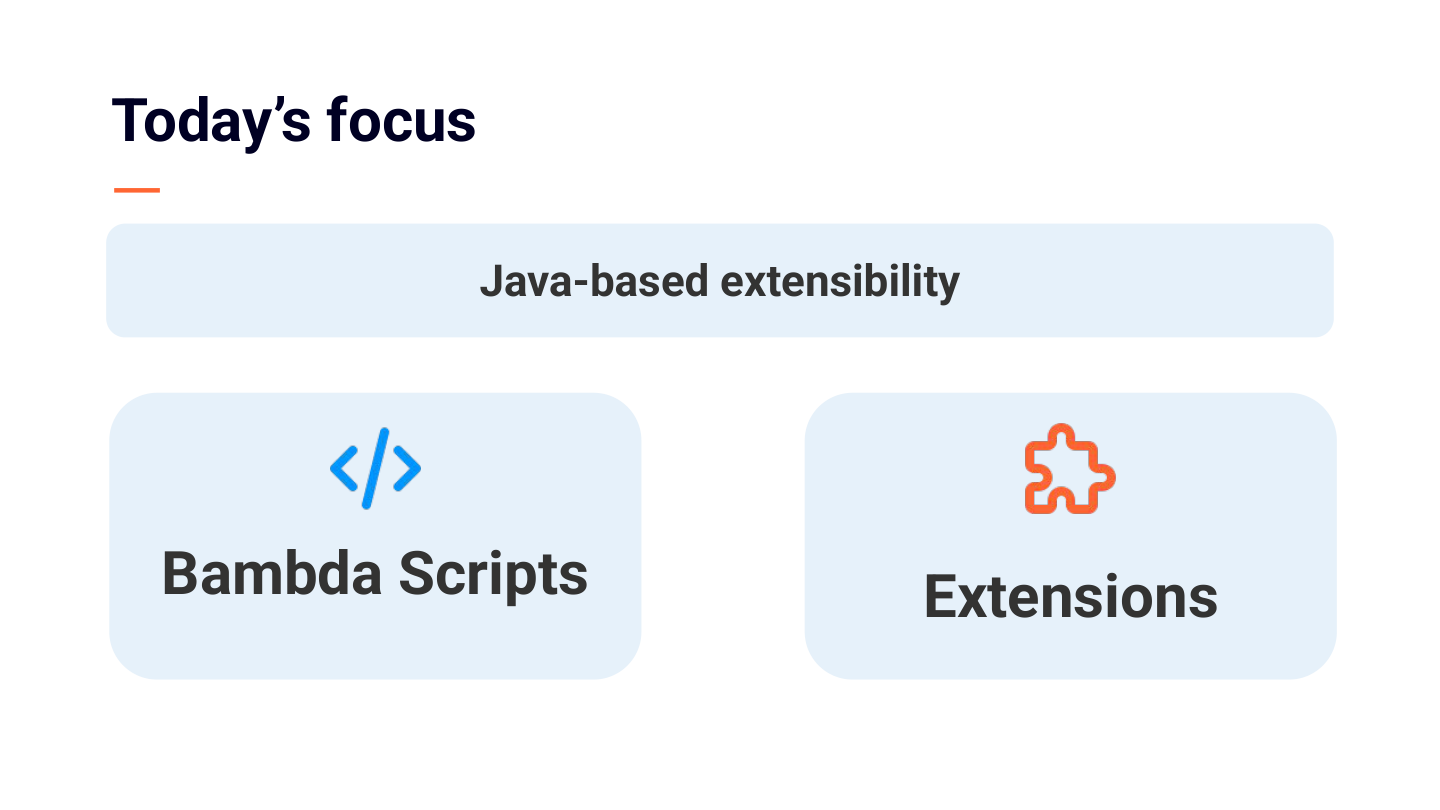
The rest of the session focuses on the Java-based side of extensibility: Bambda scripts and extensions.
Notes
This section introduces the Montoya API and the core Java concepts you need for the rest of the session. No prior coding experience is assumed.
Notes
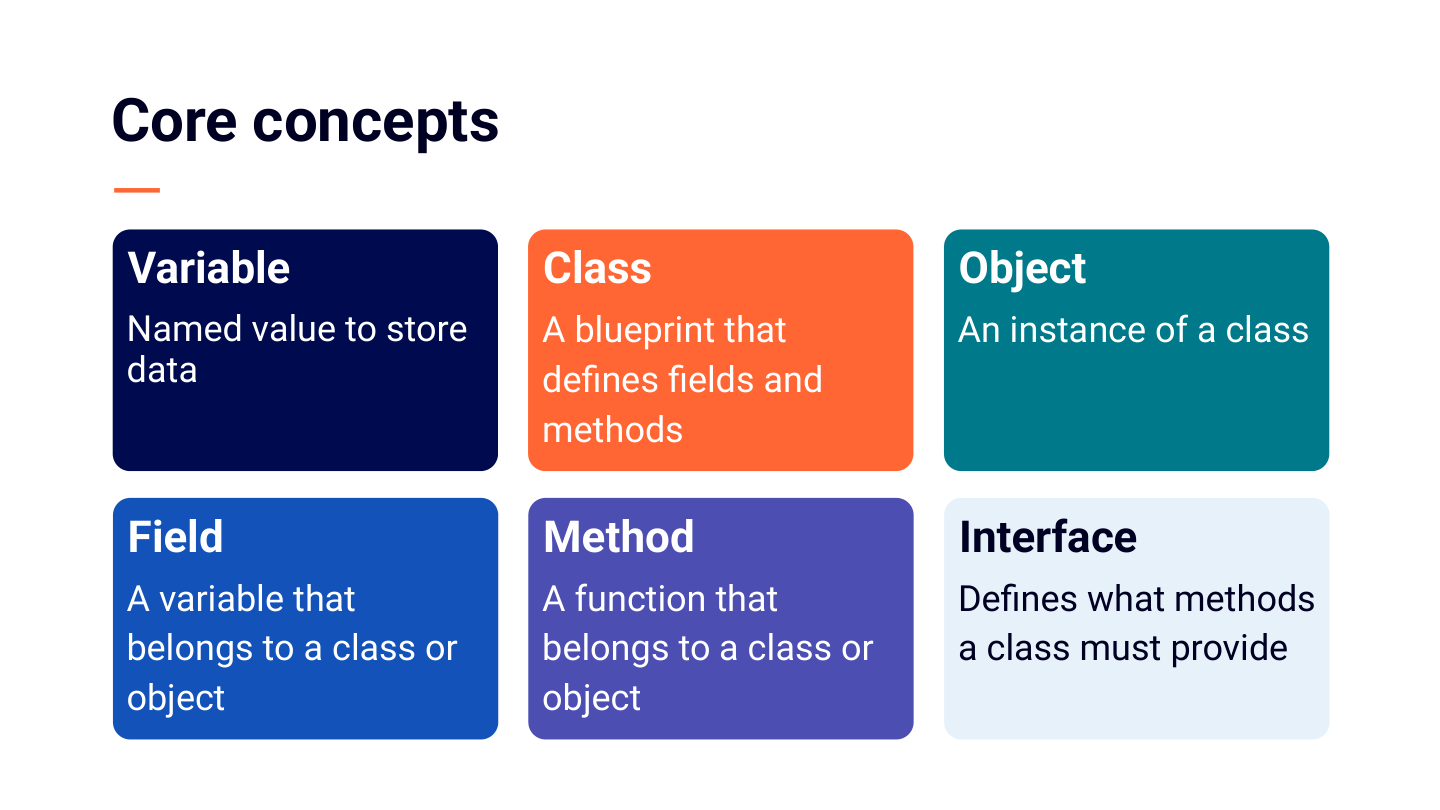
The session uses Java, an object-oriented programming language. Here is a quick vocabulary check, with each term tied to something you already know: an HTTP request.
A variable is a named box that holds a value. You give it a name and put something in it: timeout = 30, a name and a value.
A class is a blueprint. HttpRequest is the blueprint for a request. It describes what every request has and what you can do with one, but it is not any particular request itself.
An object is one real thing built from that blueprint: an actual request in your proxy history, with a real URL and real headers. One class, as many objects as you like.
A field is a variable that lives inside an object, a piece of data it holds. The request's URL is a field, and its headers are a field.
A method is an action you can ask an object to do, or a question you can ask it. request.bodyToString() asks that request to hand back its body as text.
An interface is a contract: a checklist of methods that something promises to provide, without saying how. Burp asks for something that can handle a request, the interface is that checklist, and your code fills in the how. The extension section returns to this in more detail.
Those six terms underpin everything that follows.
A variable is a named box that holds a value. You give it a name and put something in it: timeout = 30, a name and a value.
A class is a blueprint. HttpRequest is the blueprint for a request. It describes what every request has and what you can do with one, but it is not any particular request itself.
An object is one real thing built from that blueprint: an actual request in your proxy history, with a real URL and real headers. One class, as many objects as you like.
A field is a variable that lives inside an object, a piece of data it holds. The request's URL is a field, and its headers are a field.
A method is an action you can ask an object to do, or a question you can ask it. request.bodyToString() asks that request to hand back its body as text.
An interface is a contract: a checklist of methods that something promises to provide, without saying how. Burp asks for something that can handle a request, the interface is that checklist, and your code fills in the how. The extension section returns to this in more detail.
Those six terms underpin everything that follows.
Notes
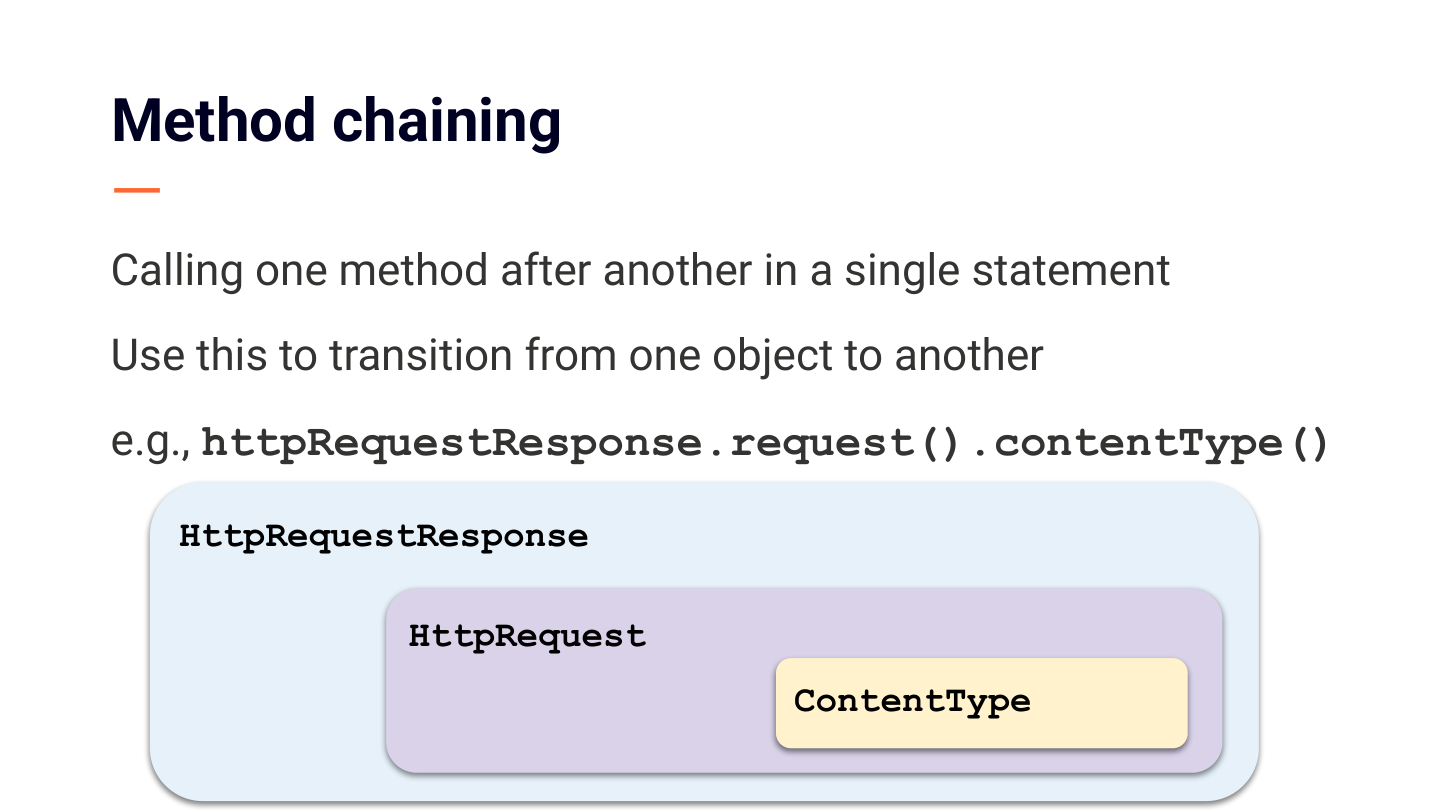
One pattern you will see everywhere is method chaining. A method hands you back an object, and an object has its own methods. Chaining means calling the next method straight on what the last one returned, all in one line. Read the dots left to right as the word then.
Take httpRequestResponse.request().contentType(). Start with the request and response pair, one of those objects from your proxy history. .request() hands you back its request. That request is itself an object, so you keep going: .contentType() asks the request for its content type. So you take the pair, get its request, then get that request's content type.
You can do this in separate steps, saving each object into its own variable first, and sometimes you will. Chaining just lets you hop from one object to the next without naming each one along the way.
Take httpRequestResponse.request().contentType(). Start with the request and response pair, one of those objects from your proxy history. .request() hands you back its request. That request is itself an object, so you keep going: .contentType() asks the request for its content type. So you take the pair, get its request, then get that request's content type.
You can do this in separate steps, saving each object into its own variable first, and sometimes you will. Chaining just lets you hop from one object to the next without naming each one along the way.
Notes
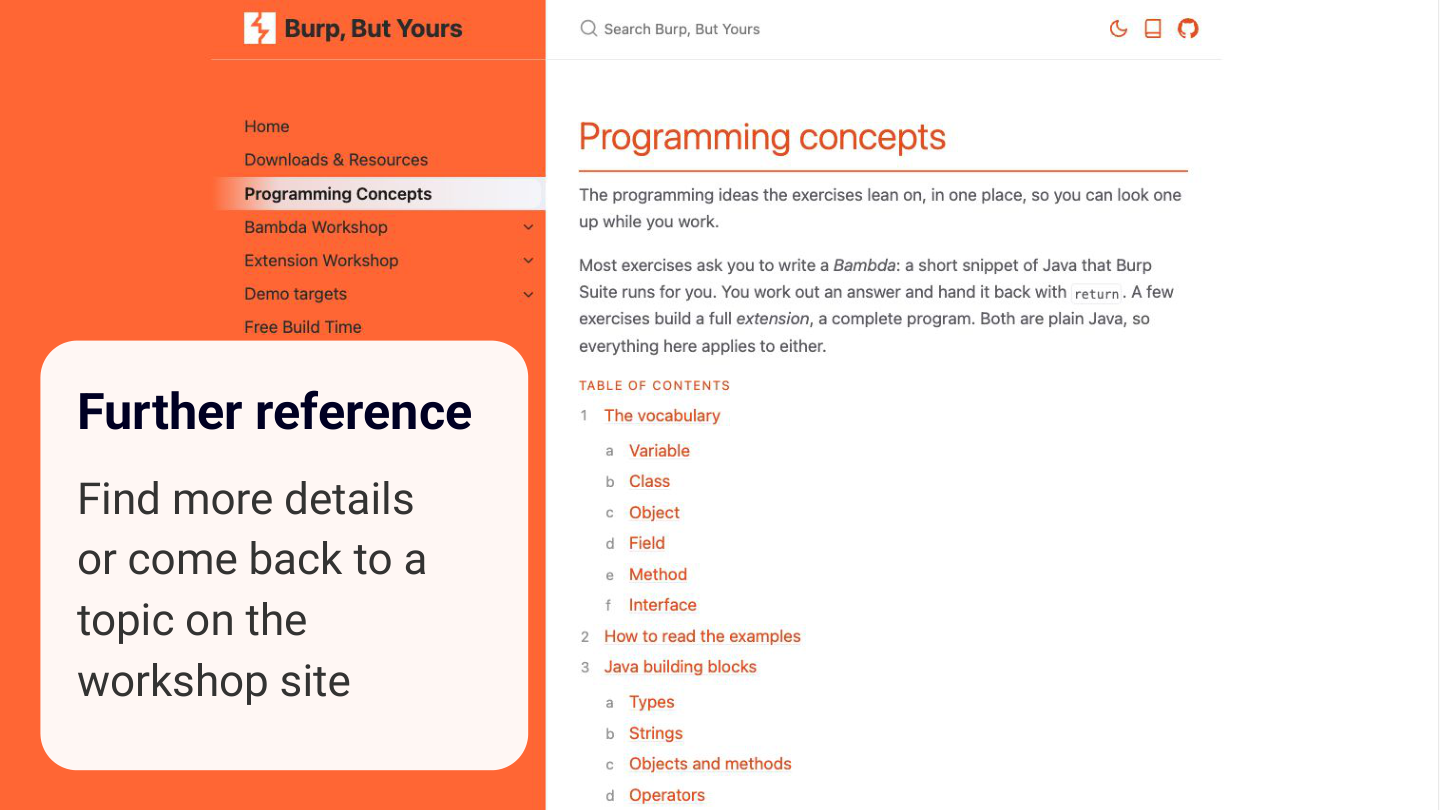
This site is the place to find more detail on anything covered in the session, and to come back to later.
Notes
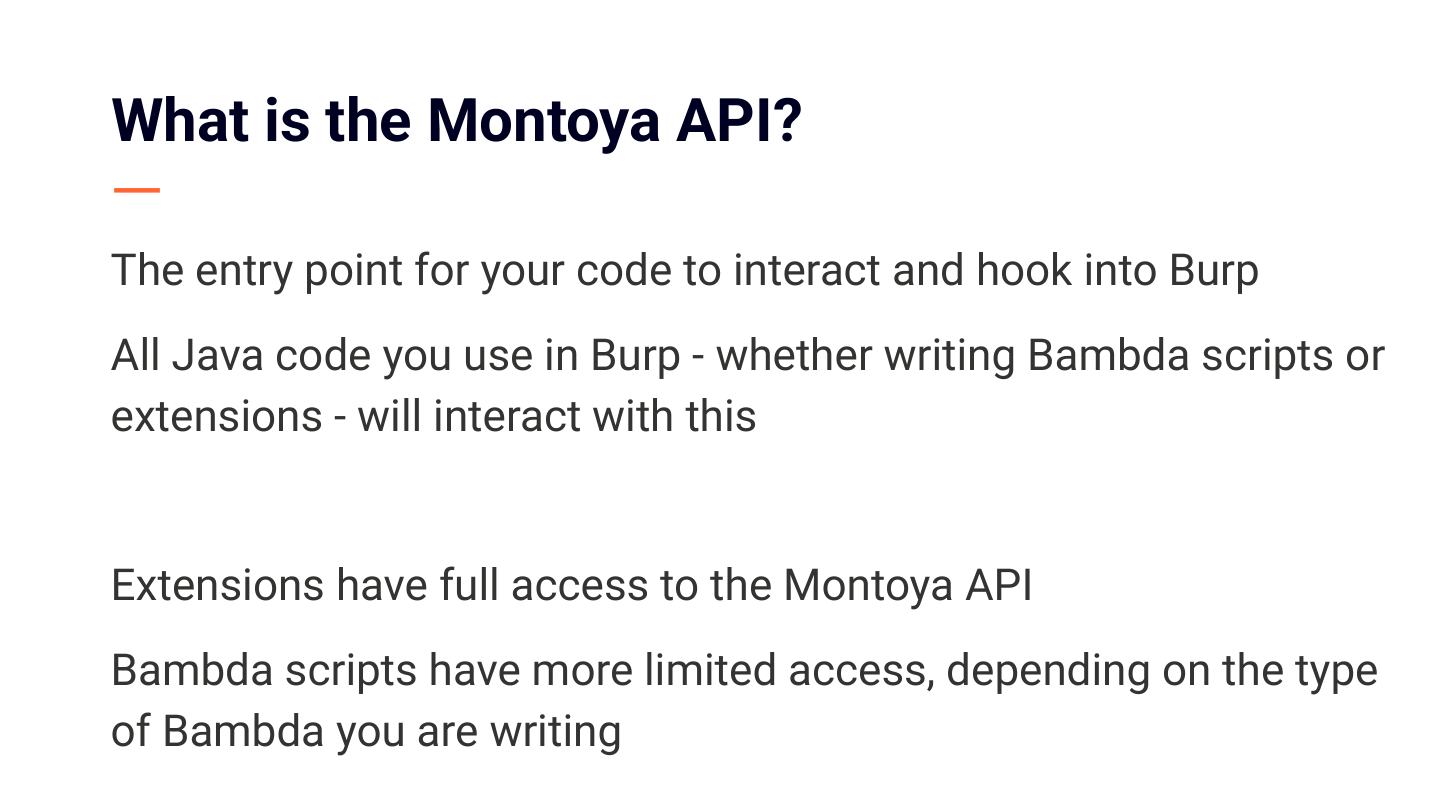
The Montoya API is the entry point for your code to interact with and hook into Burp. Whether you write a Bambda or an extension, all your Java code goes through it. Extensions get full access. Bambdas get more limited access, depending on the type.
Notes
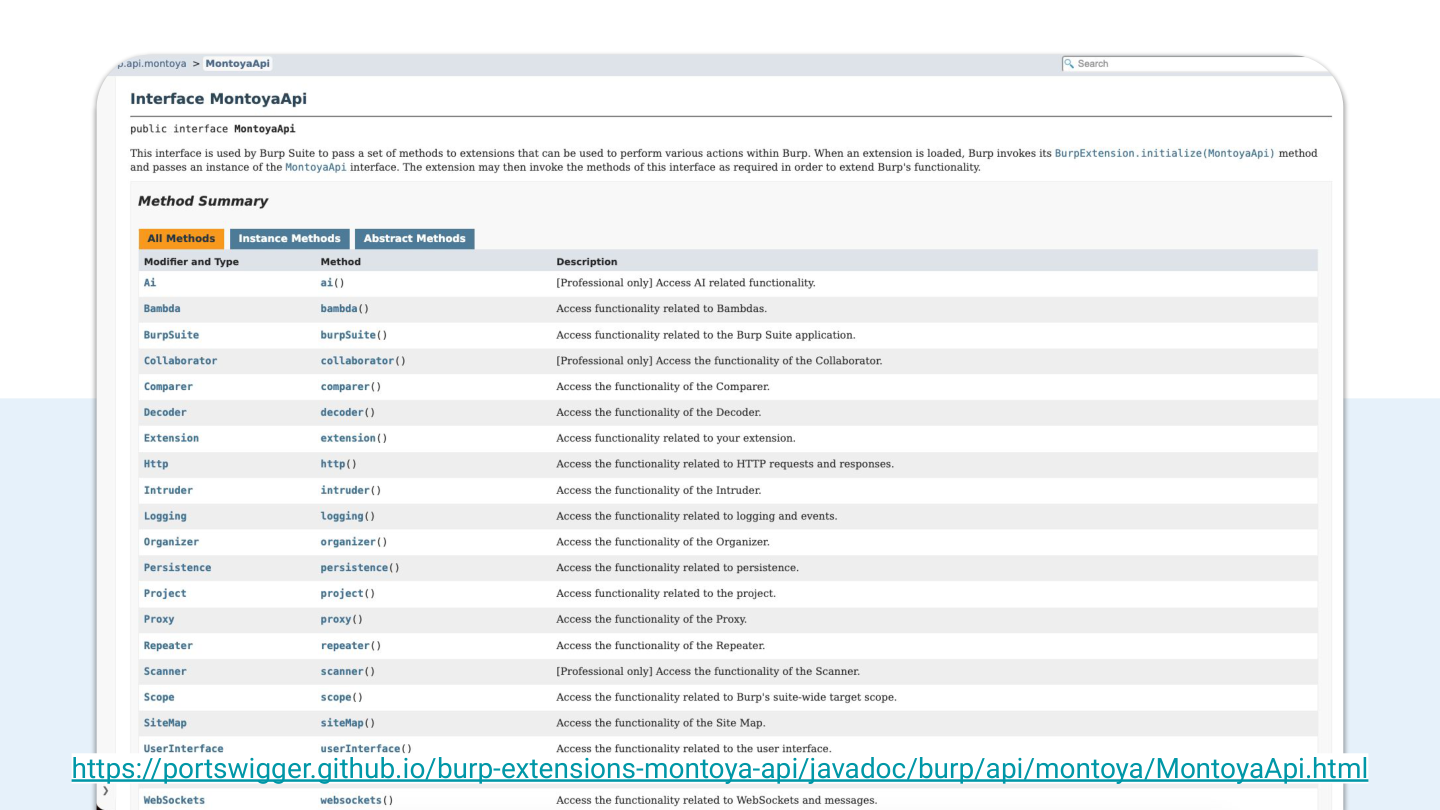
This is the JavaDoc reference: portswigger.github.io/burp-extensions-montoya-api/javadoc. Bookmark it, because you will be in here constantly.
Notes
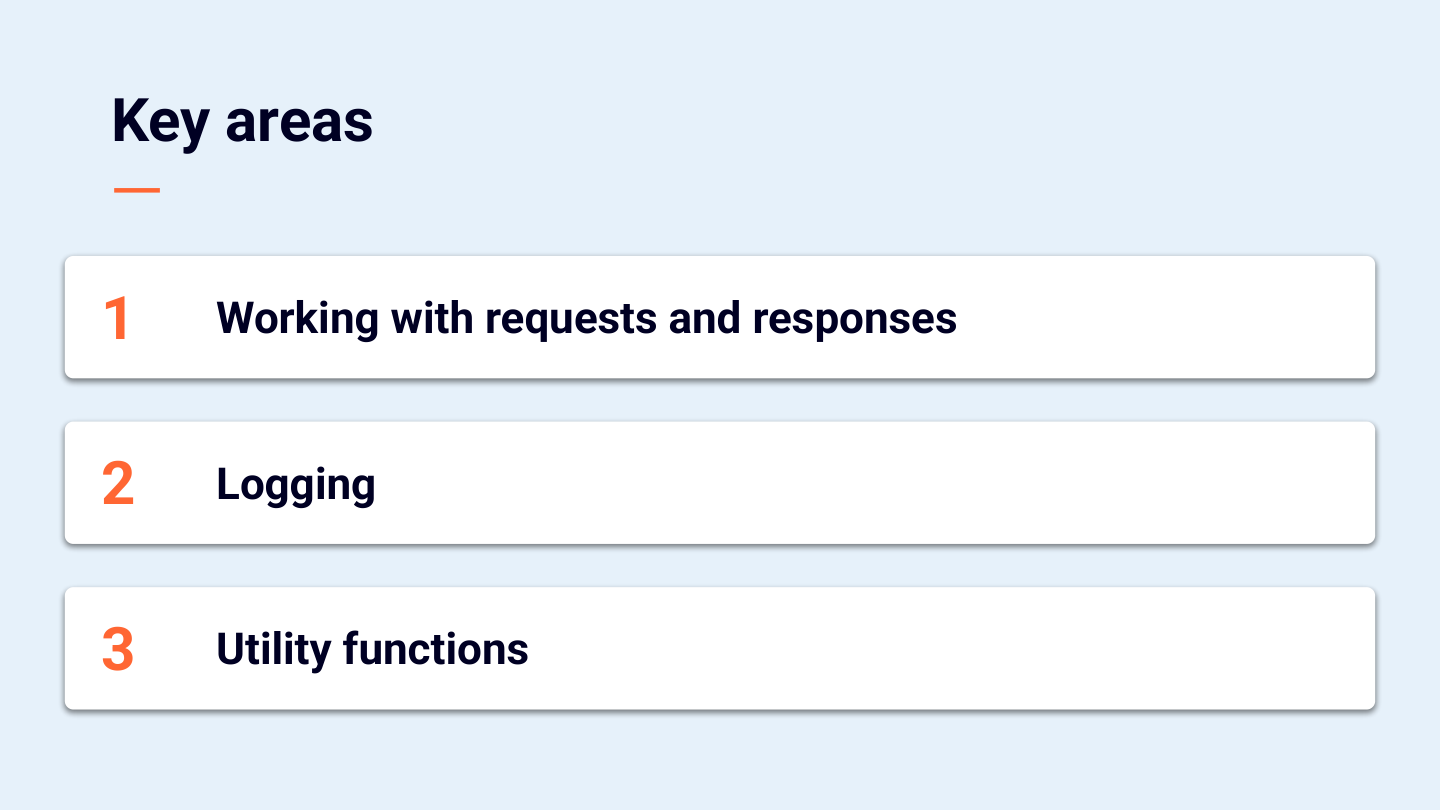
These are the parts of the Montoya API you will reach for most, and it is the same toolkit whether you write a Bambda or an extension. There are three areas:
First, manipulating requests and responses: reading data out of them and changing it. That is the bulk of what you will do.
Second, utility methods: ready-made helpers for common jobs like Base64 or HTML encoding, so you do not write them yourself.
Third, logging: your window into what your code is doing while you build and debug it.
First, manipulating requests and responses: reading data out of them and changing it. That is the bulk of what you will do.
Second, utility methods: ready-made helpers for common jobs like Base64 or HTML encoding, so you do not write them yourself.
Third, logging: your window into what your code is doing while you build and debug it.
Notes
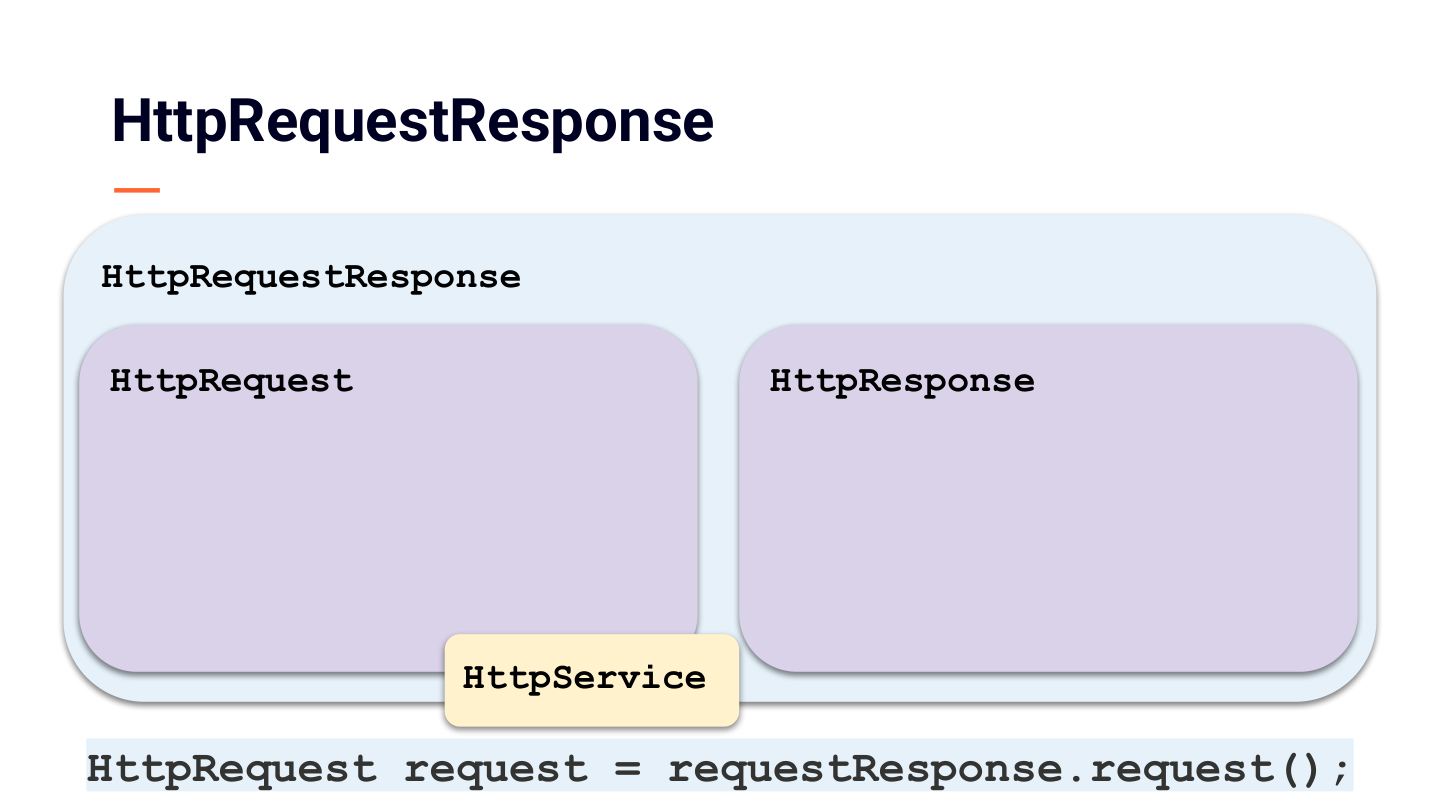
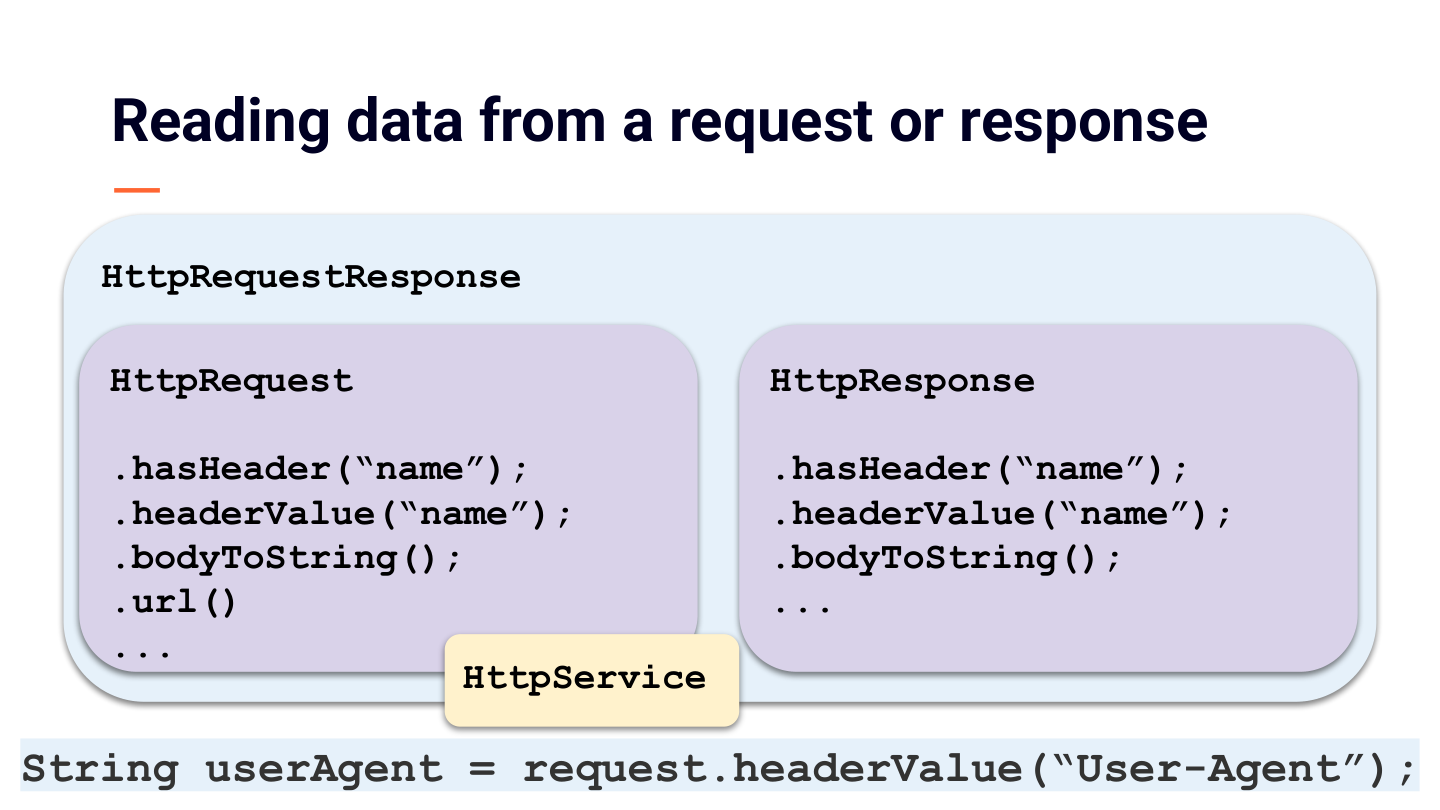
You will come across HttpRequestResponse constantly. It is the pairing you know from proxy history: one request and the response that came back, held together as a single object. To work on one side, split the pair. httpRequestResponse.request() hands you the request, and httpRequestResponse.response() hands you the response.
One more you will meet is HttpService. That is the where-is-this-going part of a request: the host, the port, and whether it uses HTTPS. If you build a request to send yourself and leave the HttpService off, Burp has no address to send it to, so it will not go out.
One more you will meet is HttpService. That is the where-is-this-going part of a request: the host, the port, and whether it uses HTTPS. If you build a request to send yourself and leave the HttpService off, Burp has no address to send it to, so it will not go out.
Notes
Before changing anything, start with reading, because this is where most of your time goes. Reading is completely safe: you ask the request or response a question and get a value back, and you never alter the original.
A few you will use constantly:
- Headers: HttpRequest.headerValue("name") gives you a header's value. HttpRequest.hasHeader("name") checks whether it is there, true or false.
- Body: HttpRequest.bodyToString(), or HttpResponse.bodyToString() for the response.
- URL: HttpRequest.url().
If you are building a filter or a custom column, and that is most of the Bambda exercise, this is all you need. You read a value out, decide what to show or highlight based on it, and nothing about the original request or response changes.
A few you will use constantly:
- Headers: HttpRequest.headerValue("name") gives you a header's value. HttpRequest.hasHeader("name") checks whether it is there, true or false.
- Body: HttpRequest.bodyToString(), or HttpResponse.bodyToString() for the response.
- URL: HttpRequest.url().
If you are building a filter or a custom column, and that is most of the Bambda exercise, this is all you need. You read a value out, decide what to show or highlight based on it, and nothing about the original request or response changes.
Notes
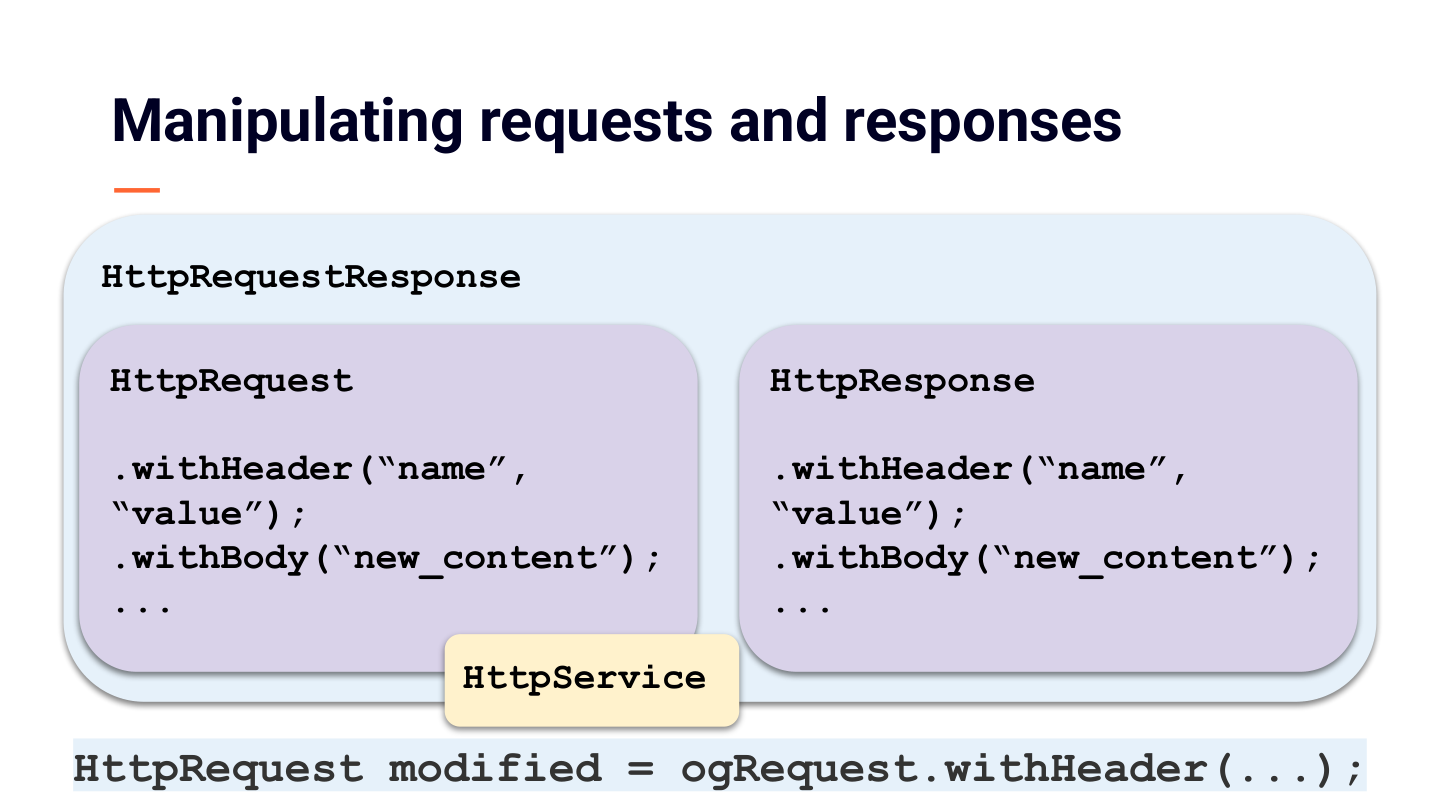
Now the other half: manipulating, or actually changing a request or response. Add a header with HttpRequest.withHeader(...), or replace the body with HttpRequest.withBody(...).
Here is the thing that catches everyone out the first time: these do not change the original. Montoya's requests and responses are immutable, meaning once one is created it never changes. So withHeader does not add a header to your request. It hands you back a brand-new copy that has the header, and leaves the original exactly as it was. The practical result: catch that copy in a variable, var modified = request.withHeader(...), and use modified from then on. If you call withHeader and ignore what it returns, nothing seems to happen. That is the single most common first-timer surprise.
This is the half you need for match-and-replace Bambdas, custom scan checks, and most extension work. Reading tells you what is there, and manipulating is how you act on it.
Here is the thing that catches everyone out the first time: these do not change the original. Montoya's requests and responses are immutable, meaning once one is created it never changes. So withHeader does not add a header to your request. It hands you back a brand-new copy that has the header, and leaves the original exactly as it was. The practical result: catch that copy in a variable, var modified = request.withHeader(...), and use modified from then on. If you call withHeader and ignore what it returns, nothing seems to happen. That is the single most common first-timer surprise.
This is the half you need for match-and-replace Bambdas, custom scan checks, and most extension work. Reading tells you what is there, and manipulating is how you act on it.
Notes
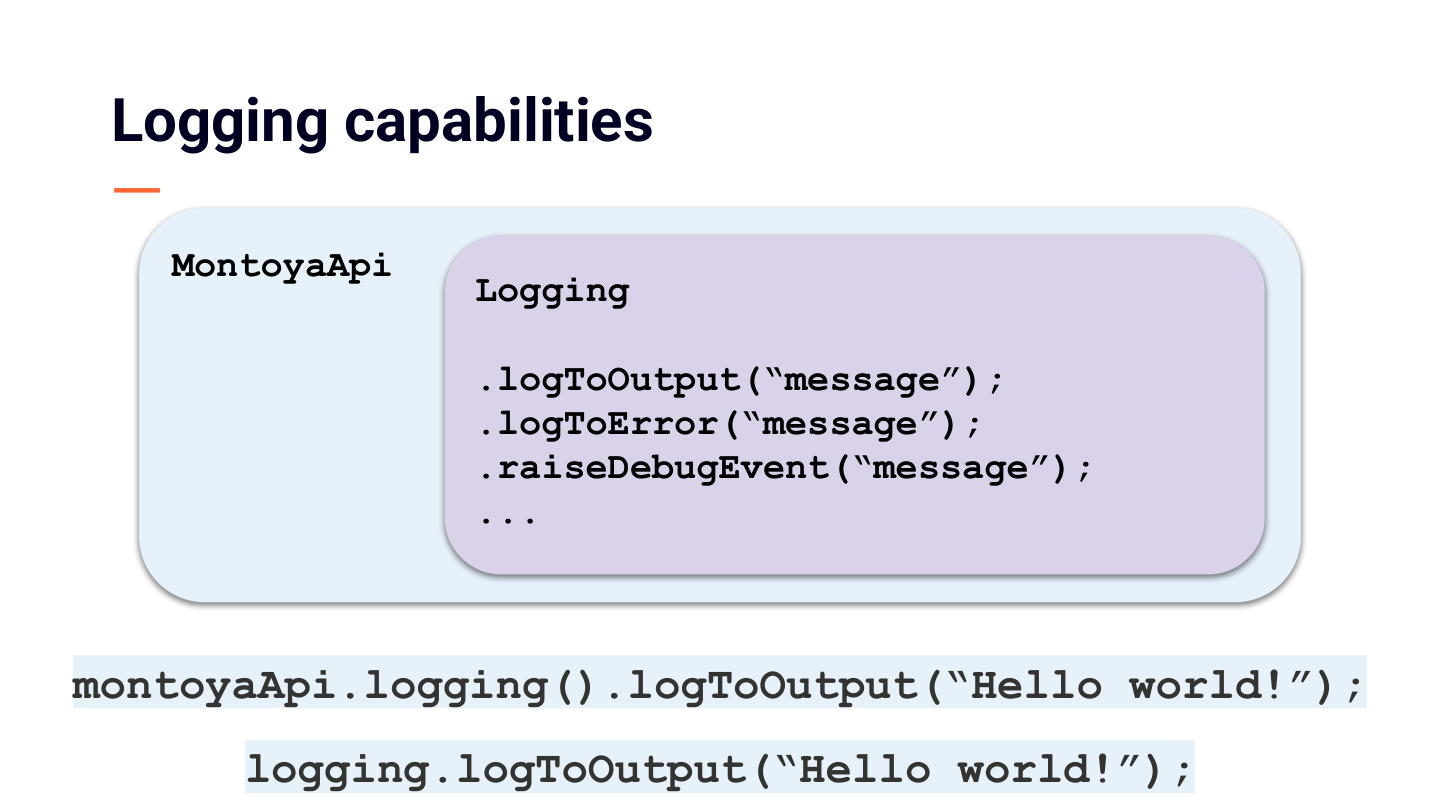
Logging is how you see what your code is doing, and it is your first tool whenever something is not working. Think of it as printing notes to yourself as the code runs.
In an extension you get it from montoyaApi.logging(): logToOutput(...) for normal messages, logToError(...) for errors, and you can raise entries into Burp's event log too. In a Bambda you do not need montoyaApi.logging() at all: a logging object is normally handed to you, so you use it directly. logging.logToOutput(...) prints straight to the Bambda output console.
Either way the move is the same: when a filter matches nothing, or an extension seems dead, drop in a log line and watch what comes out.
In an extension you get it from montoyaApi.logging(): logToOutput(...) for normal messages, logToError(...) for errors, and you can raise entries into Burp's event log too. In a Bambda you do not need montoyaApi.logging() at all: a logging object is normally handed to you, so you use it directly. logging.logToOutput(...) prints straight to the Bambda output console.
Either way the move is the same: when a filter matches nothing, or an extension seems dead, drop in a log line and watch what comes out.
Notes
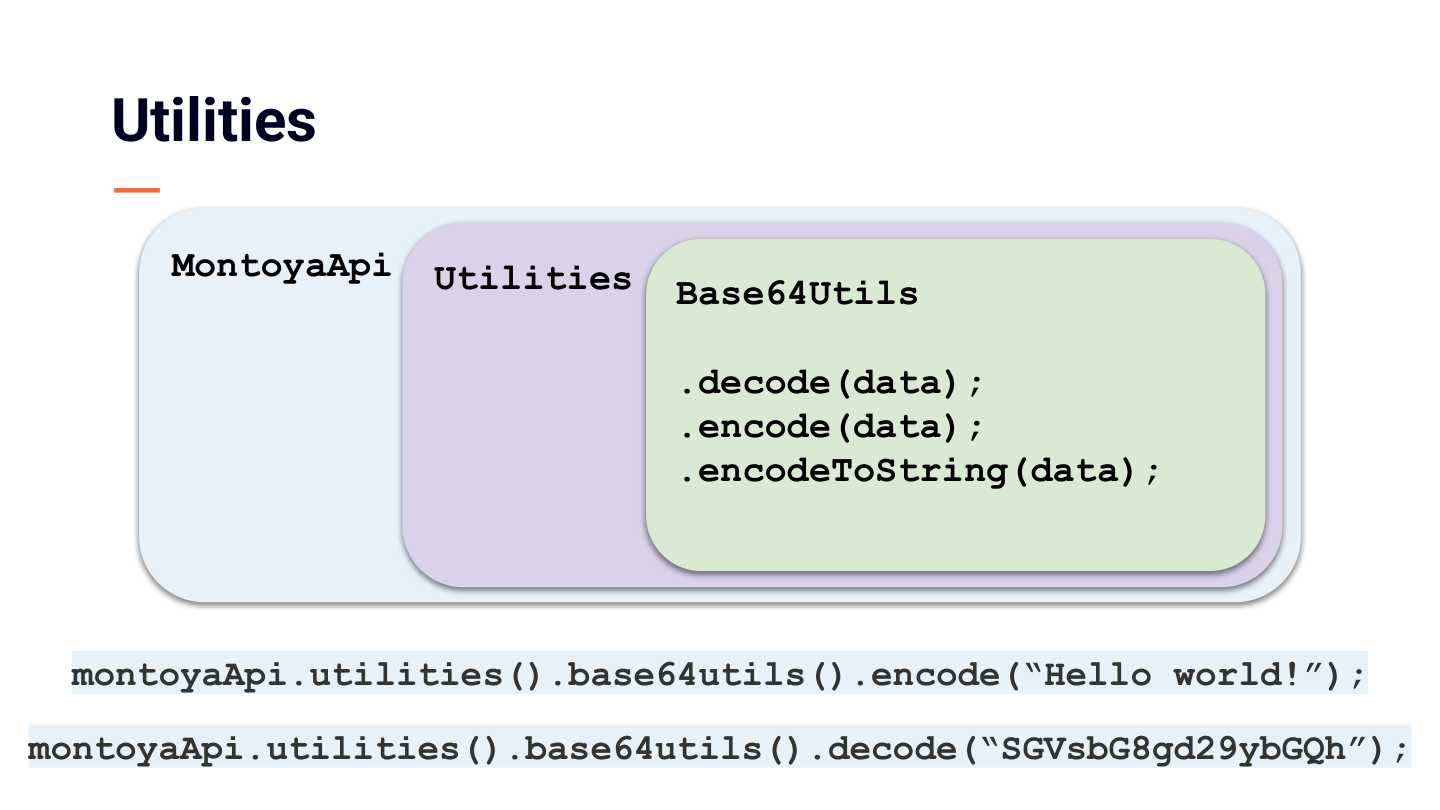
One more time-saver: Montoya ships a set of ready-made helpers at montoyaApi.utilities(). Base64 encoding and decoding, HTML encoding and decoding, running a shell command, flagging anomalous requests, and more. These are the fiddly jobs you would otherwise write yourself and get subtly wrong, so before you hand-roll something like that, check utilities() first. It may already be there.

Notes
This section introduces Bambdas, followed by a hands-on exercise.
Notes
You are mid-recon, staring at ten thousand requests, and you need the three that actually matter. Or your proxy history shows you everything except the one value you care about. Or you have a hunch you want to test right now, and spinning up a whole extension project just to check it would kill the momentum.
Every one of those is seconds of work with a Bambda: a small script you write straight into Burp, with no build step and no project, giving you an answer the moment you click Apply. That is a Bambda.
Every one of those is seconds of work with a Bambda: a small script you write straight into Burp, with no build step and no project, giving you an answer the moment you click Apply. That is a Bambda.
Notes
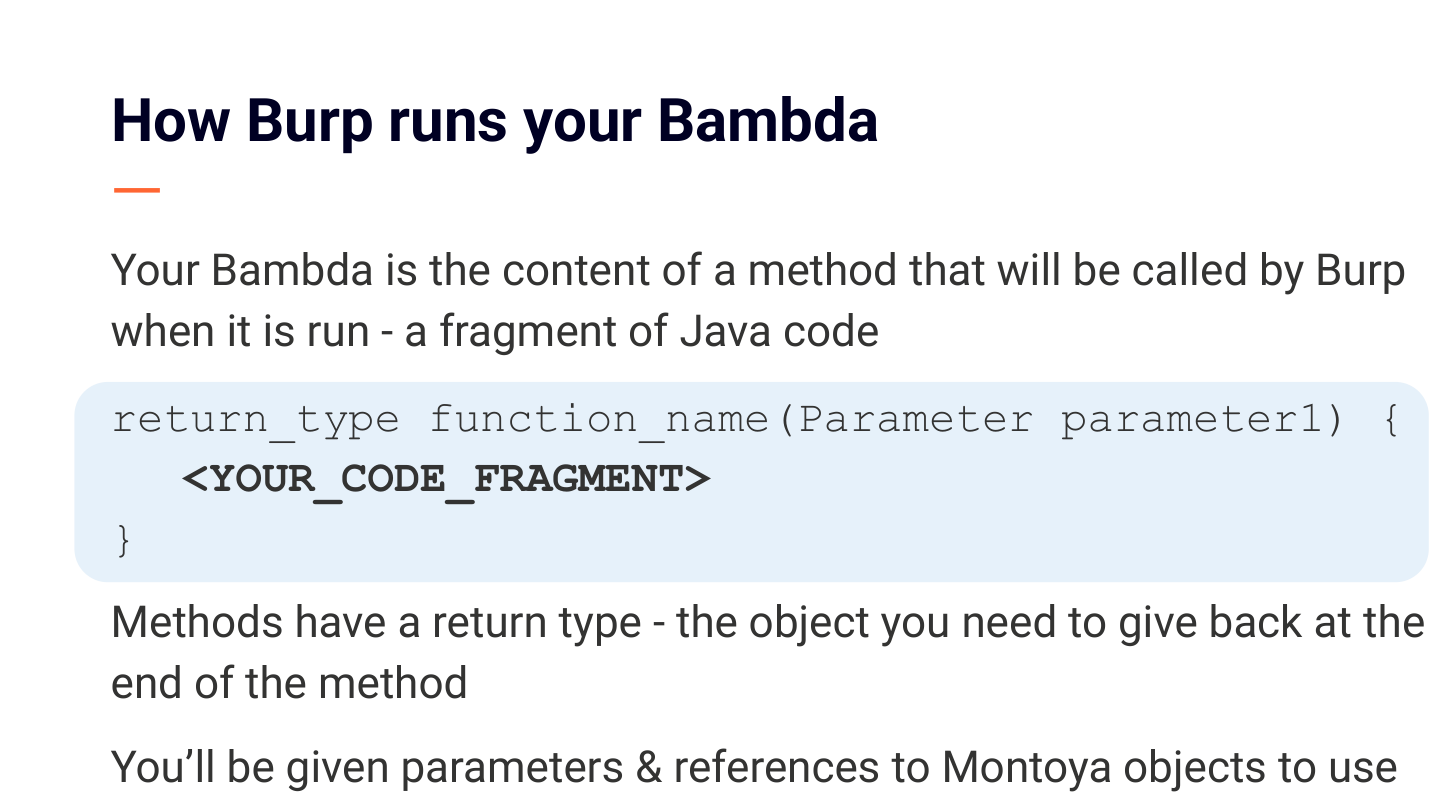
Here is the mental model, and it builds on the definition of a method. A Bambda is the body of a method that Burp calls for you: the code that goes inside, not a whole program.
return_type method_name(Parameter parameter) { <YOUR_CODE_FRAGMENT> }
Two things to notice. The return type is what you hand back at the end, so whatever you write has to finish by returning the specified object. The parameter is what Burp hands you to work with: usually the request and response from earlier, the logging object, or utilities. It is already there for you, so you can start asking it questions.
return_type method_name(Parameter parameter) { <YOUR_CODE_FRAGMENT> }
Two things to notice. The return type is what you hand back at the end, so whatever you write has to finish by returning the specified object. The parameter is what Burp hands you to work with: usually the request and response from earlier, the logging object, or utilities. It is already there for you, so you can start asking it questions.
Notes
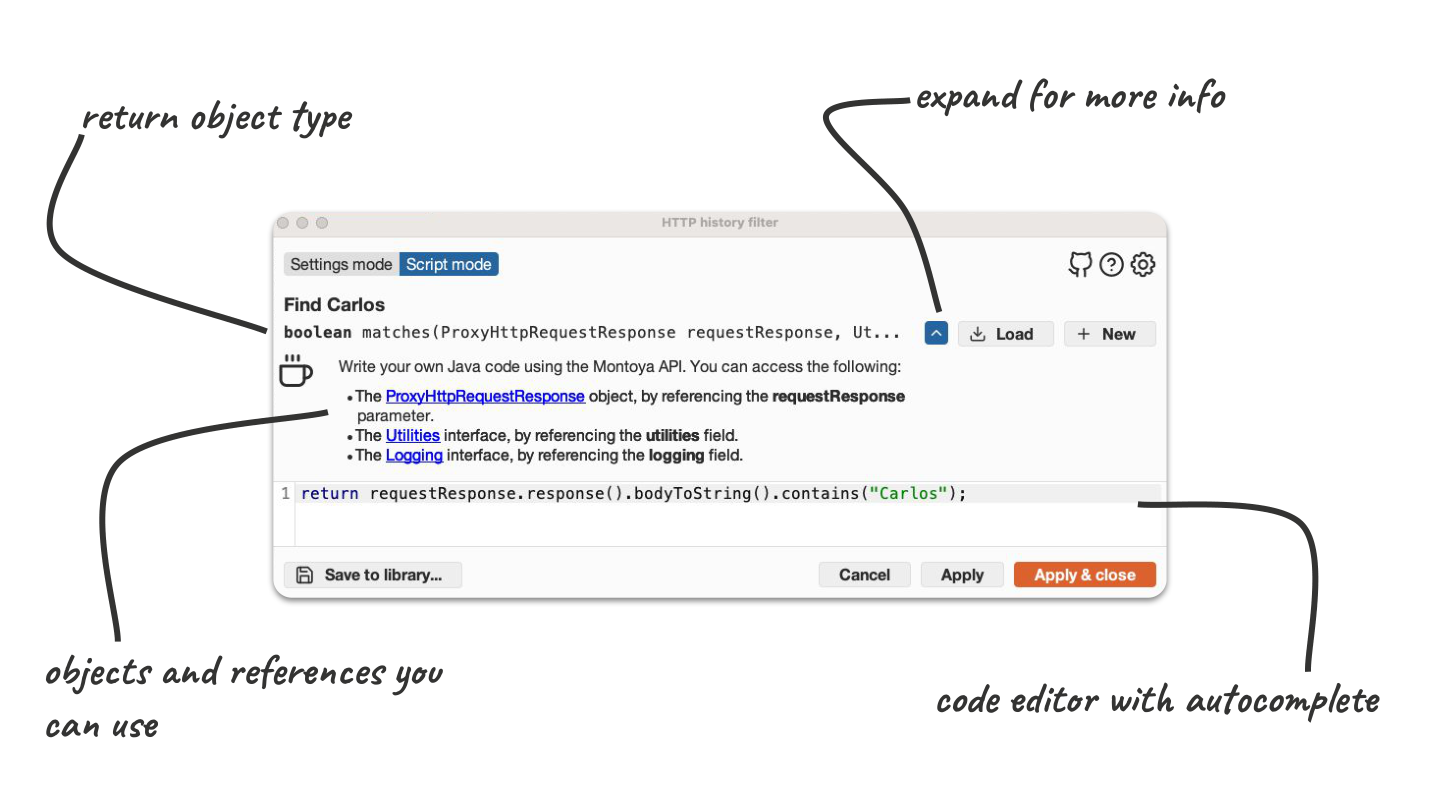
This is what a filter Bambda looks like. The return type is boolean, true or false. Expand the section above the editor for details on the parameter objects you have been given, with direct links to find out more. The code editor has autocomplete, so if you are ever in doubt, add a period and see what comes up.
Notes
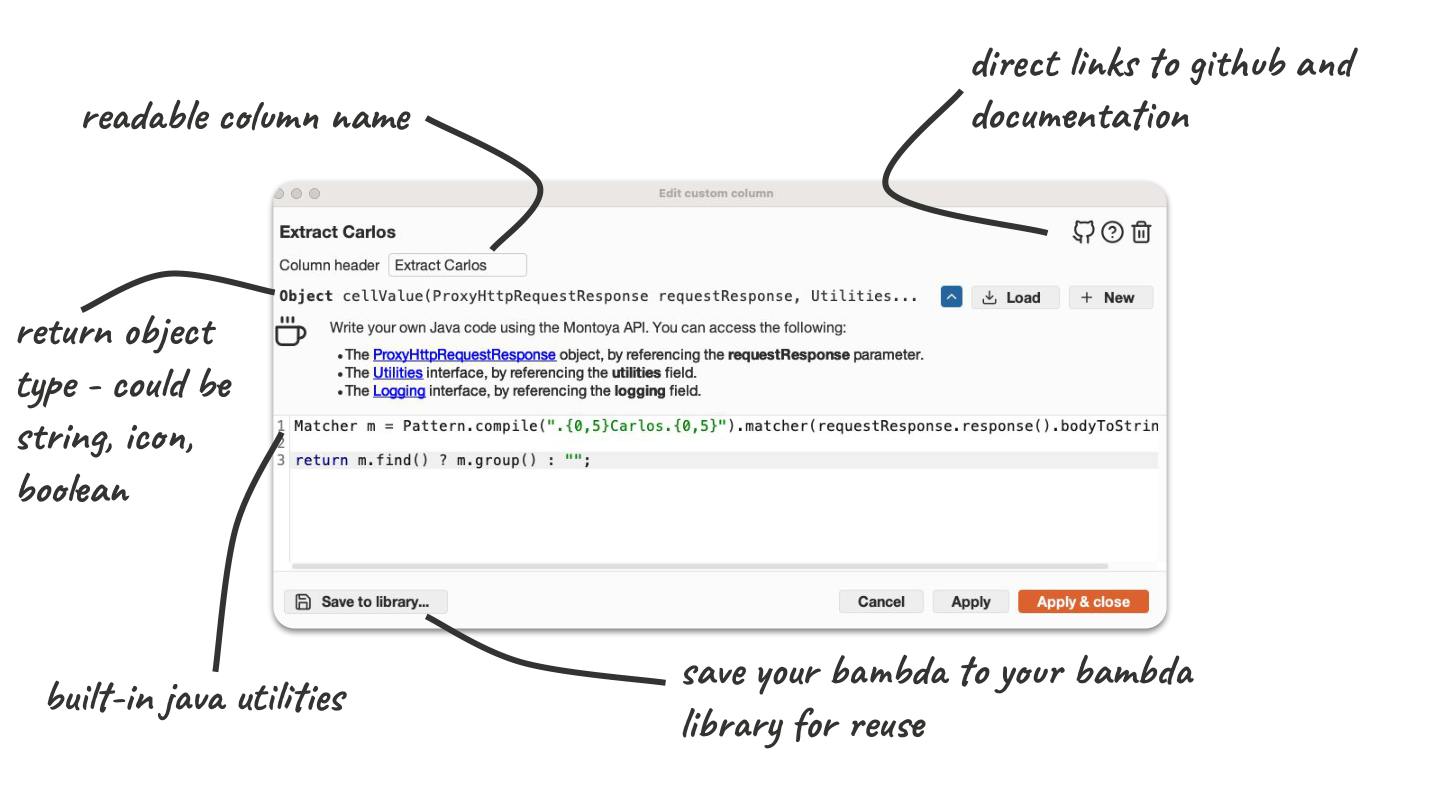
This is a custom column Bambda. The return type here is different, an Object, which means you can return various types: strings, booleans, integers, icons, and more. The top right corner has direct links to the Bambda GitHub, where you can find community-written Bambdas, and to the documentation. You also have access to built-in Java utilities, so if you want to use something like a Matcher to work with regex, it is available.
Note the readable column name field, and the fallback ternary for when there is no match. A ternary is a one-line if/else: condition ? value-if-true : value-if-false.
Note the readable column name field, and the fallback ternary for when there is no match. A ternary is a one-line if/else: condition ? value-if-true : value-if-false.
Notes
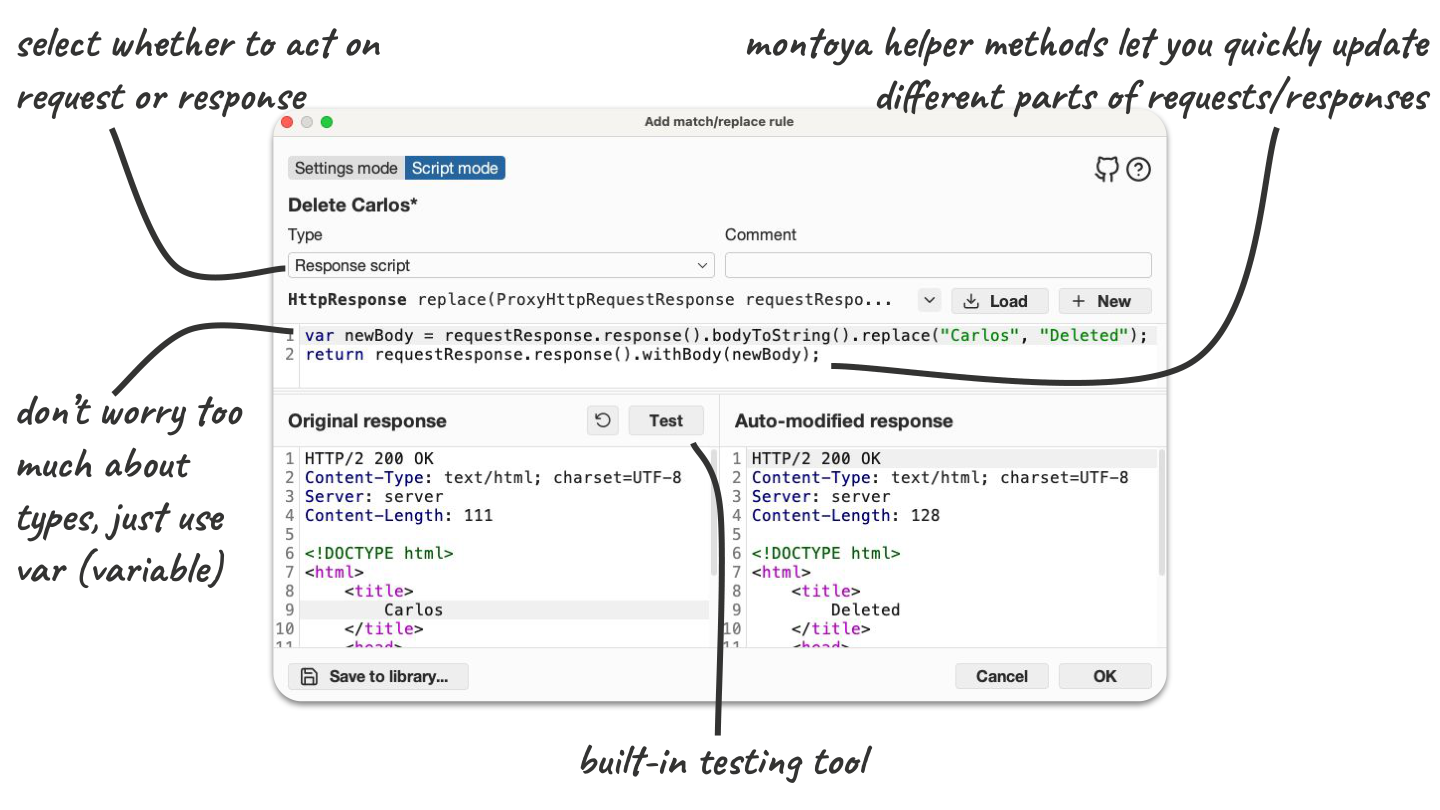
The final example is a match and replace Bambda. This one has more fields to fill in: choose whether to act on the request or the response, and use the built-in testing tool to try your code before you add the rule. One useful trick for working with types in Bambdas is to declare the type as var, which lets Java work out the type for you. Lean on autocomplete, and test against Burp's own traffic if you are unsure.
Notes
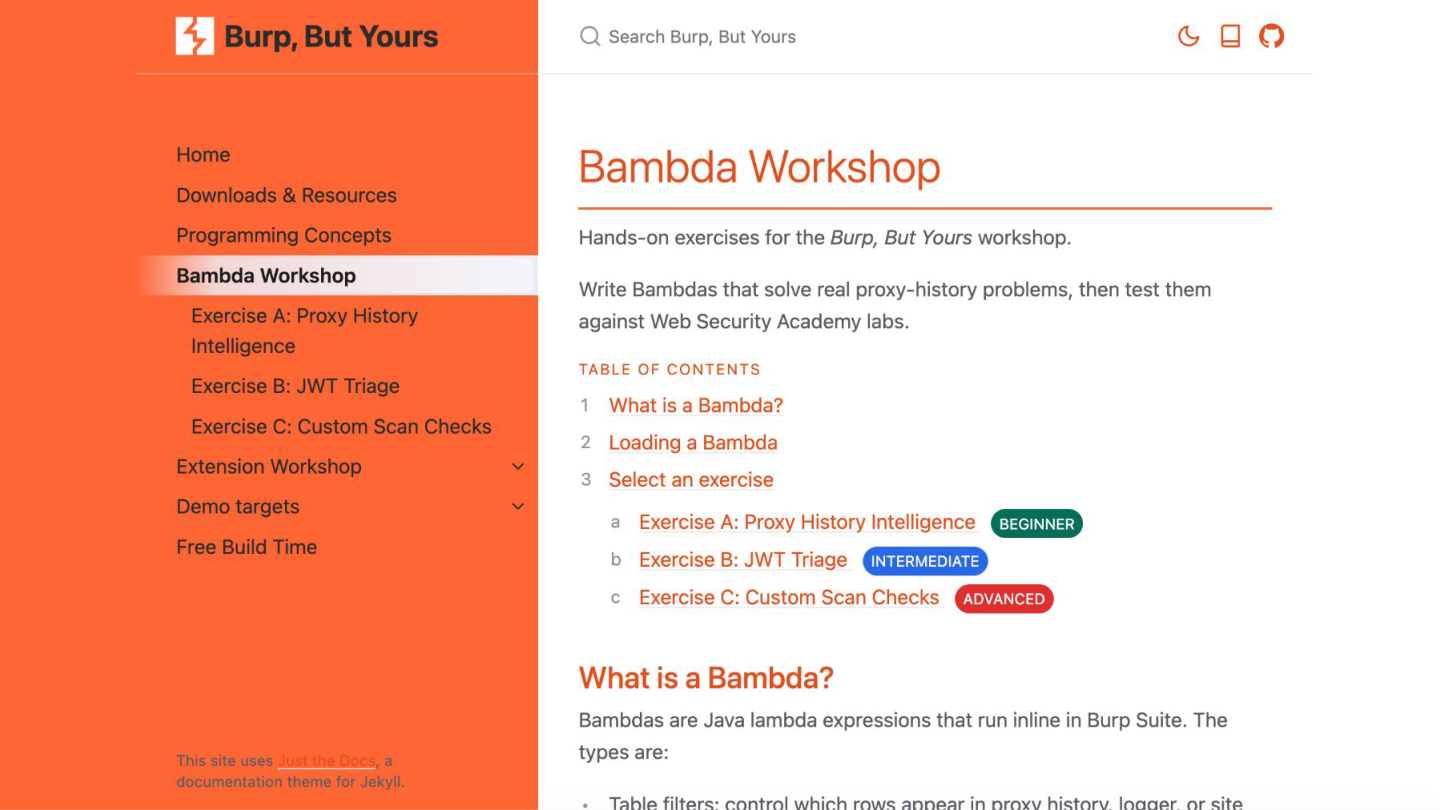
Time to build one. Go to portswigger.github.io/burp-but-yours and open the Bambda Workshop. There are three exercises of increasing difficulty. Pick one, and work through as many as you like.
Notes
No notes for this slide.
Notes
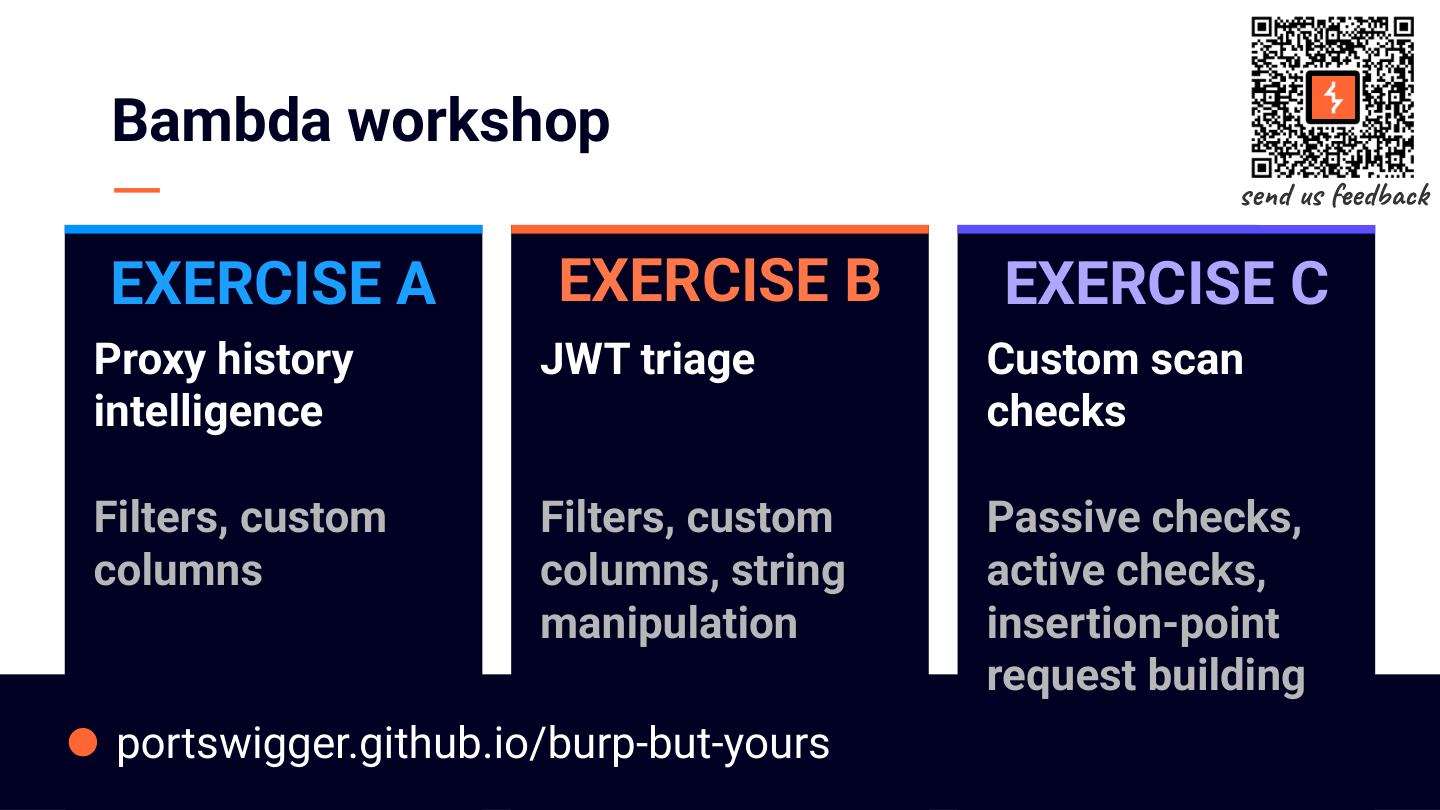
Exercise A: Proxy History Intelligence (beginner, works in Community Edition and Professional). Build a custom column that extracts the X-Cache response header (hit or miss) into your proxy history table, surfacing cache status that Burp has no default column for. Then build a companion filter that keeps only the cache hits. Test it against the Web cache poisoning with an unkeyed header lab on the Web Security Academy.
Exercise B: JWT Triage (intermediate, Professional). Build a filter that isolates requests carrying a JWT, then a custom column that decodes the token and surfaces its alg claim, so weak configurations like alg: none stand out. Test against the JWT authentication bypass via unverified signature lab.
Exercise C: Custom Scan Checks (advanced, Professional only). Write a passive Bambda scan check that flags an information leak, and an active one that injects a payload and confirms a finding. Make each issue actionable with a name, severity, confidence, and detail.
To load a filter, go to Proxy > HTTP history, click the filter bar, go to the Script mode tab, paste your code, and click Apply & close. To add a custom column, click the options menu (the vertical icon above the table), click Add custom column, paste your code, and click Apply. To edit or delete it later, open the options menu, click Table layout, then click Edit column or Delete column. Scan checks live in Extensions > Custom scan checks: click New, set Type and Script runs, then click Save & close. To iterate without a full scan, right-click requests, click Send to Custom scan checks editor, then click Run test. Anything you log with logging.logToOutput(...) shows up in the Bambda output console.
Common issues: forgetting to click Apply, syntax errors in the lambda, confusion over var typing, or a Web Security Academy account that is not set up yet.
If you get stuck, the AI Bambda Generator BApp in the BApp Store drafts a Bambda from a plain-English description, if you have Burp AI credits. Read what it gives you rather than pasting it straight in: the goal is to understand the code, not only to run it. It is also worth trying Burp AT, Burp's agentic AI, on the same task if you have Burp AI credits.
Exercise B: JWT Triage (intermediate, Professional). Build a filter that isolates requests carrying a JWT, then a custom column that decodes the token and surfaces its alg claim, so weak configurations like alg: none stand out. Test against the JWT authentication bypass via unverified signature lab.
Exercise C: Custom Scan Checks (advanced, Professional only). Write a passive Bambda scan check that flags an information leak, and an active one that injects a payload and confirms a finding. Make each issue actionable with a name, severity, confidence, and detail.
To load a filter, go to Proxy > HTTP history, click the filter bar, go to the Script mode tab, paste your code, and click Apply & close. To add a custom column, click the options menu (the vertical icon above the table), click Add custom column, paste your code, and click Apply. To edit or delete it later, open the options menu, click Table layout, then click Edit column or Delete column. Scan checks live in Extensions > Custom scan checks: click New, set Type and Script runs, then click Save & close. To iterate without a full scan, right-click requests, click Send to Custom scan checks editor, then click Run test. Anything you log with logging.logToOutput(...) shows up in the Bambda output console.
Common issues: forgetting to click Apply, syntax errors in the lambda, confusion over var typing, or a Web Security Academy account that is not set up yet.
If you get stuck, the AI Bambda Generator BApp in the BApp Store drafts a Bambda from a plain-English description, if you have Burp AI credits. Read what it gives you rather than pasting it straight in: the goal is to understand the code, not only to run it. It is also worth trying Burp AT, Burp's agentic AI, on the same task if you have Burp AI credits.
Notes
A quick recap after the exercise. If it did not quite work, that is fine: the walkthroughs have worked solutions with hints you can reveal step by step. The takeaway is the fast feedback loop. Write code, paste it in, and see the result instantly, with no compile step, no JAR, and no restart. That is what makes Bambdas so useful for quick workflow wins.

Notes
This section introduces extensions, followed by a hands-on exercise.
Notes
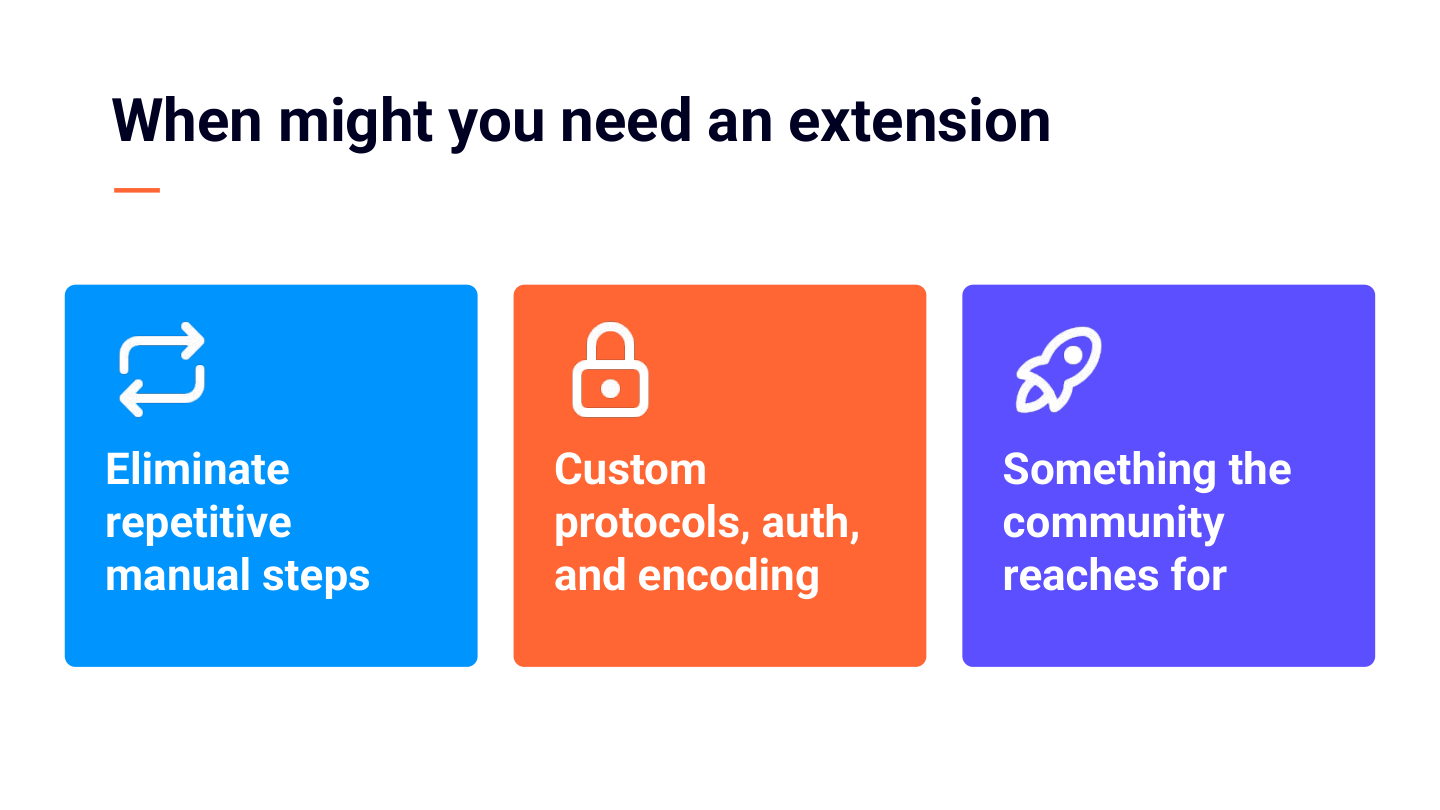
A Bambda is perfect for a quick, in-place win. An extension is what you reach for when you need more. You have run the same manual steps across app after app, and you want them to just happen. Or the target speaks something no existing tool understands, such as an unusual auth scheme, a custom encoding, or a protocol quirk, and you need Burp to keep up. Or you have hit the I-wish-Burp-could-just moment one too many times, and you want to build the thing yourself, and maybe ship it for the whole community.
That is an extension: a plugin that hooks deep into Burp, stays loaded, and does far more than a single script. More reach and more payoff, for a little more setup.
That is an extension: a plugin that hooks deep into Burp, stays loaded, and does far more than a single script. More reach and more payoff, for a little more setup.
Notes
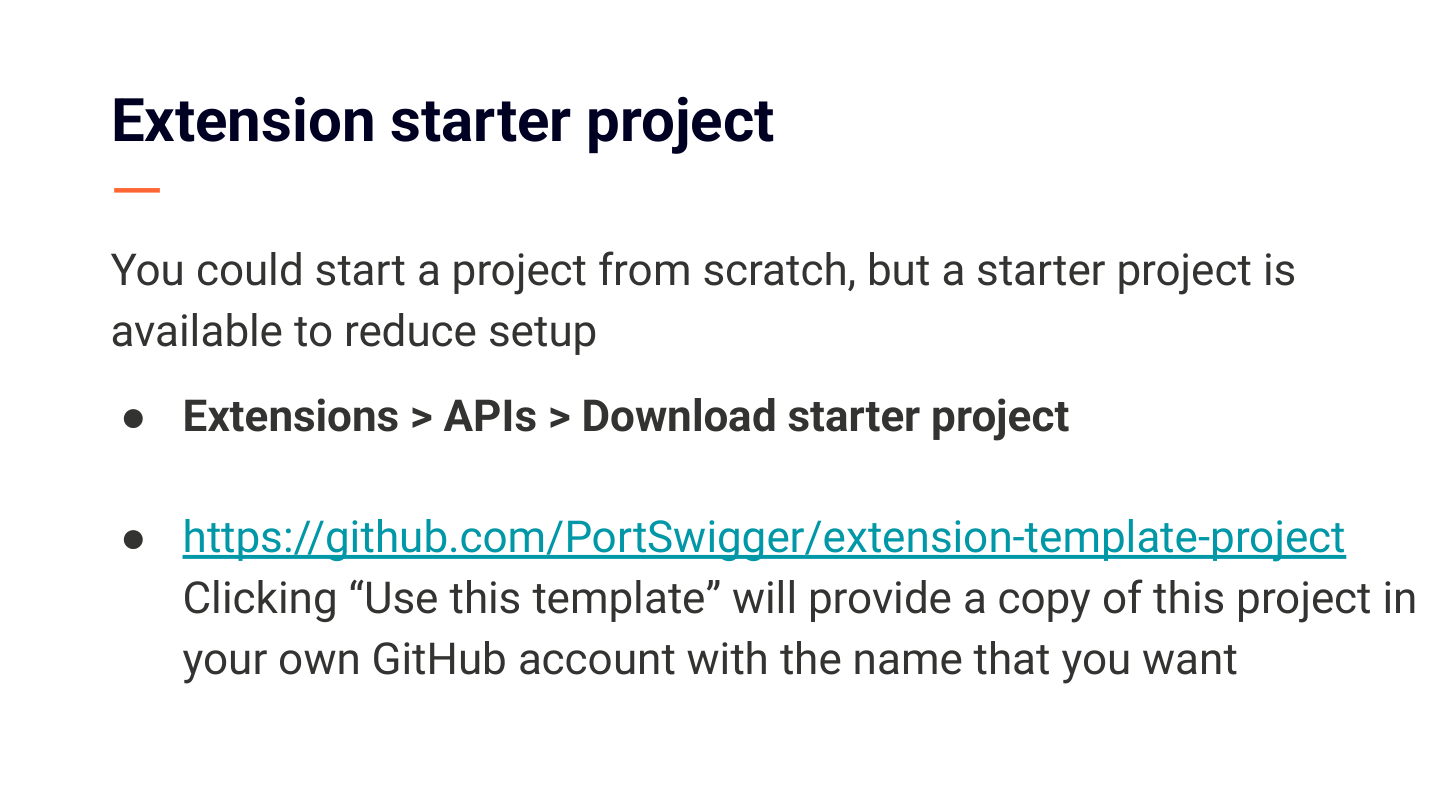
You could start from scratch, but a starter project removes the boilerplate. Get it one of two ways: in Burp, go to Extensions > APIs > Download starter project, or use the starter project template on GitHub.
Notes
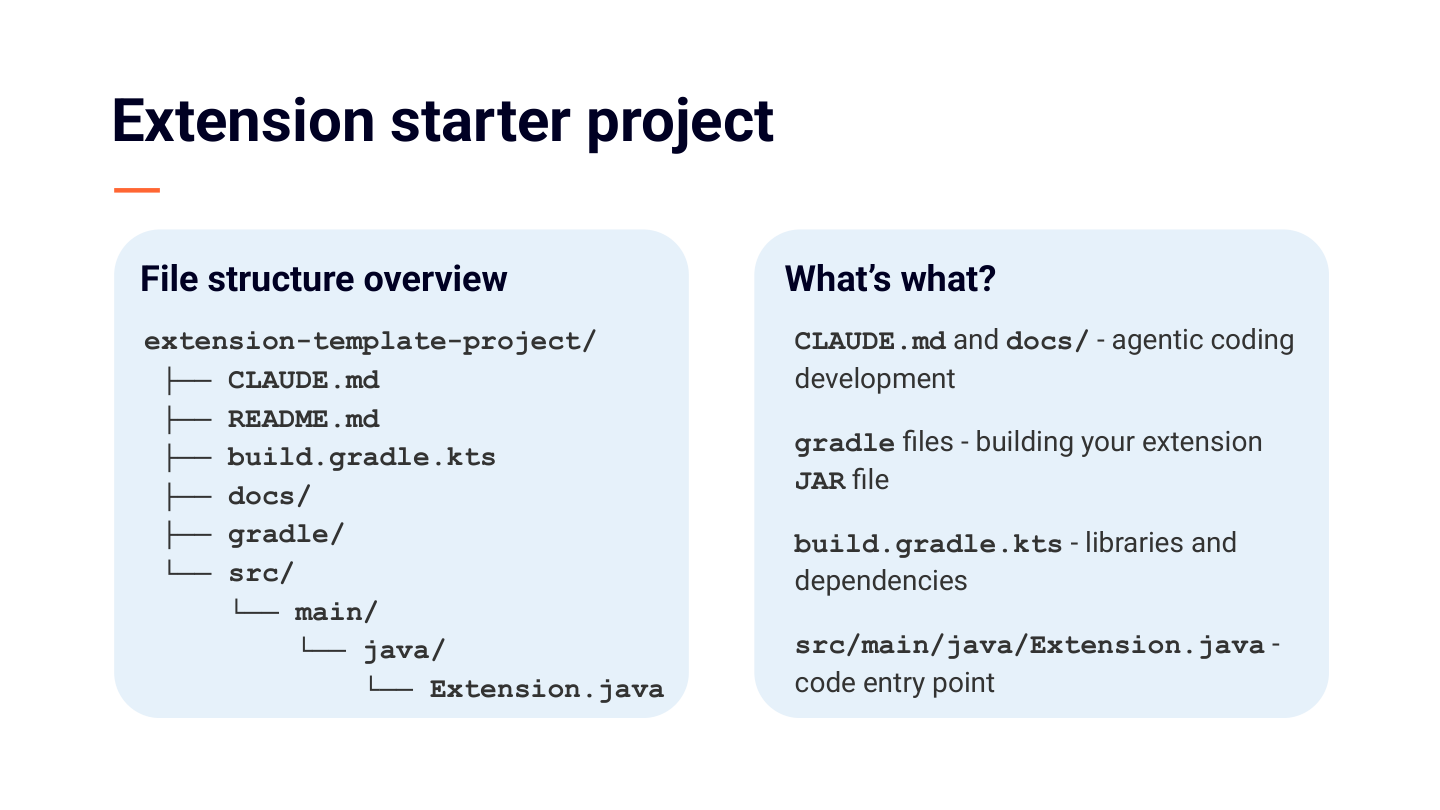
Here is an overview of the file structure:
- CLAUDE.md and docs/ let you get started immediately with agentic coding.
- The Gradle files build your extension into a JAR, the artifact you load into Burp. build.gradle.kts is also where you declare library dependencies.
- src/main/java/Extension.java is your entry point. Every extension starts in its initialize() method.
- CLAUDE.md and docs/ let you get started immediately with agentic coding.
- The Gradle files build your extension into a JAR, the artifact you load into Burp. build.gradle.kts is also where you declare library dependencies.
- src/main/java/Extension.java is your entry point. Every extension starts in its initialize() method.
Notes
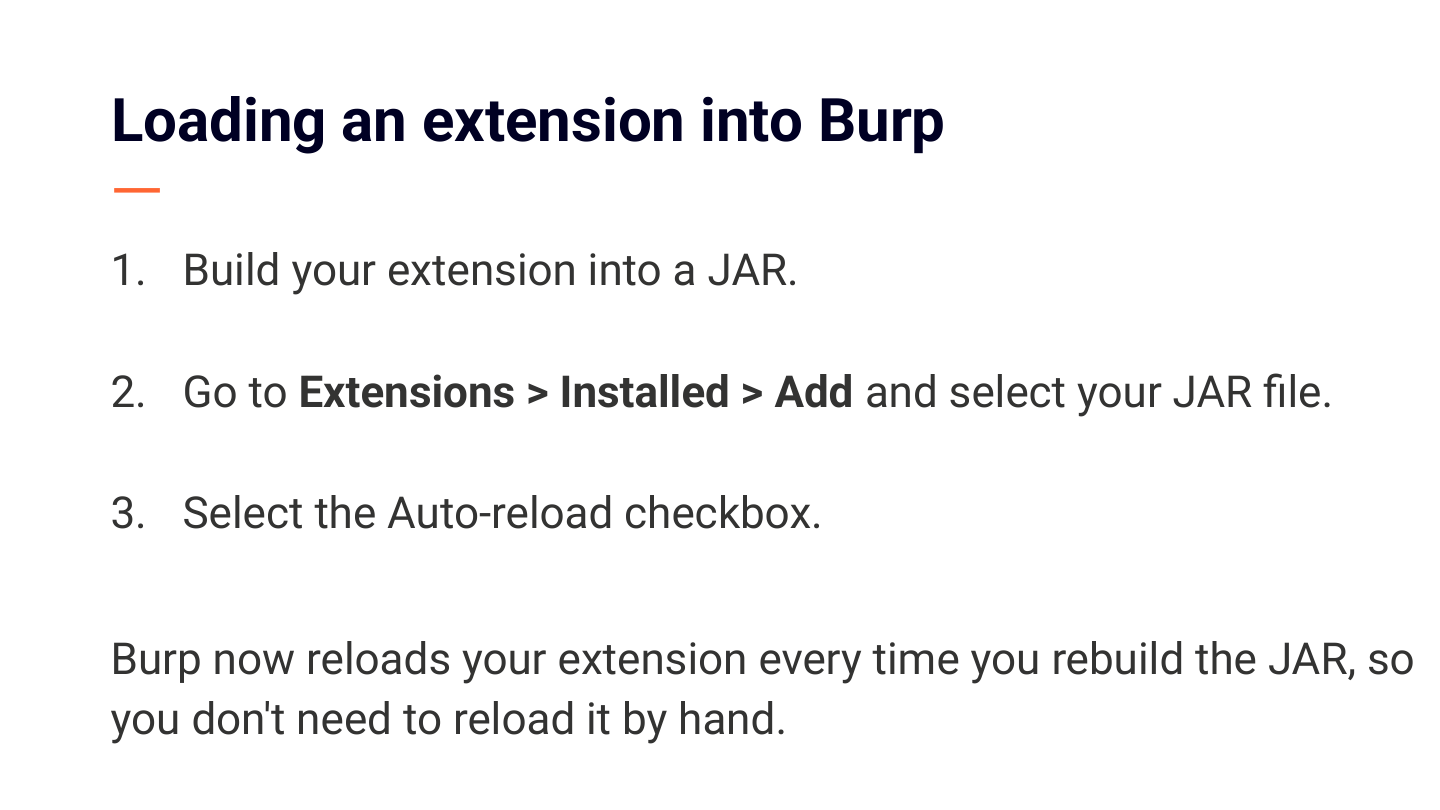
The development workflow is the same for every extension exercise. There are three steps to start:
1. Build the JAR with the jar Gradle task.
2. Load it into Burp via Extensions > Installed > Add.
3. Select the Auto-reload checkbox.
That is the last time you touch Burp to load anything. From then on you are in a tight loop: edit your code, rebuild the JAR, and Burp swaps in the new version by itself. Monitor the extension's Output and Errors tabs, where your logging messages appear.
1. Build the JAR with the jar Gradle task.
2. Load it into Burp via Extensions > Installed > Add.
3. Select the Auto-reload checkbox.
That is the last time you touch Burp to load anything. From then on you are in a tight loop: edit your code, rebuild the JAR, and Burp swaps in the new version by itself. Monitor the extension's Output and Errors tabs, where your logging messages appear.
Notes
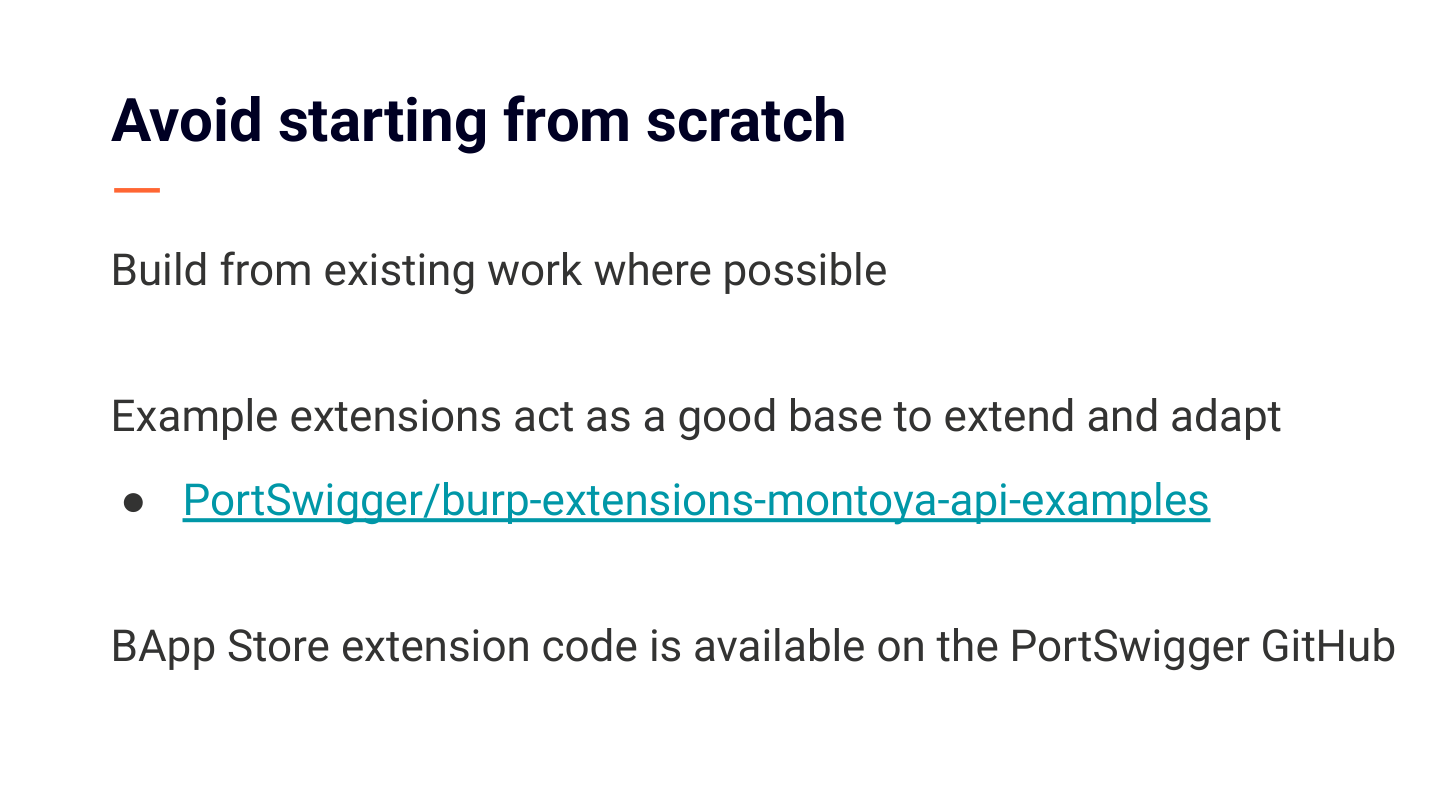
Same principle as before: build from existing work. The example extensions repo at github.com/PortSwigger/burp-extensions-montoya-api-examples is a good base to extend, adapt, or reference. BApp Store extension code is also available on the PortSwigger GitHub. If an extension has functionality you like, look at how they did it, then adapt and extend.
Notes
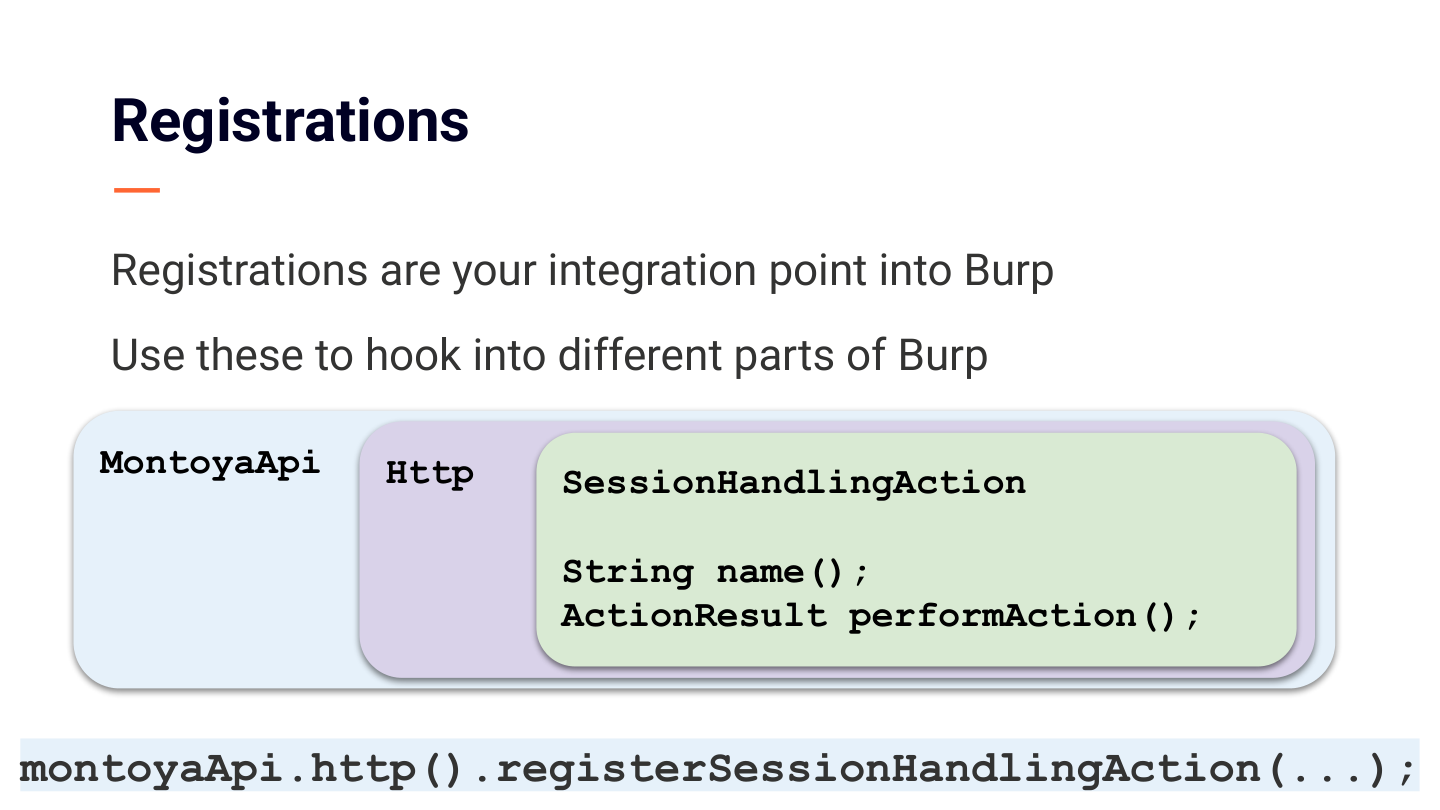
The Montoya API is the entry point for your code to interact with and hook into Burp. Registrations are how you tell Burp: here is some of my code, run it when this particular thing happens. Until you register it, your class just sits there and Burp has no idea it exists. Register it, and Burp starts calling it at the right moment.
There is a registration for almost every part of Burp. On the network side, for example, montoyaApi.http().registerSessionHandlingAction() hooks into session handling rules. There are equivalents for the UI, the Scanner, and more. There is no need to memorize these: look in the Montoya API JavaDoc to find the one for the part of Burp you want to hook into, or plan it out with a coding agent in your project.
There is a registration for almost every part of Burp. On the network side, for example, montoyaApi.http().registerSessionHandlingAction() hooks into session handling rules. There are equivalents for the UI, the Scanner, and more. There is no need to memorize these: look in the Montoya API JavaDoc to find the one for the part of Burp you want to hook into, or plan it out with a coding agent in your project.
Notes
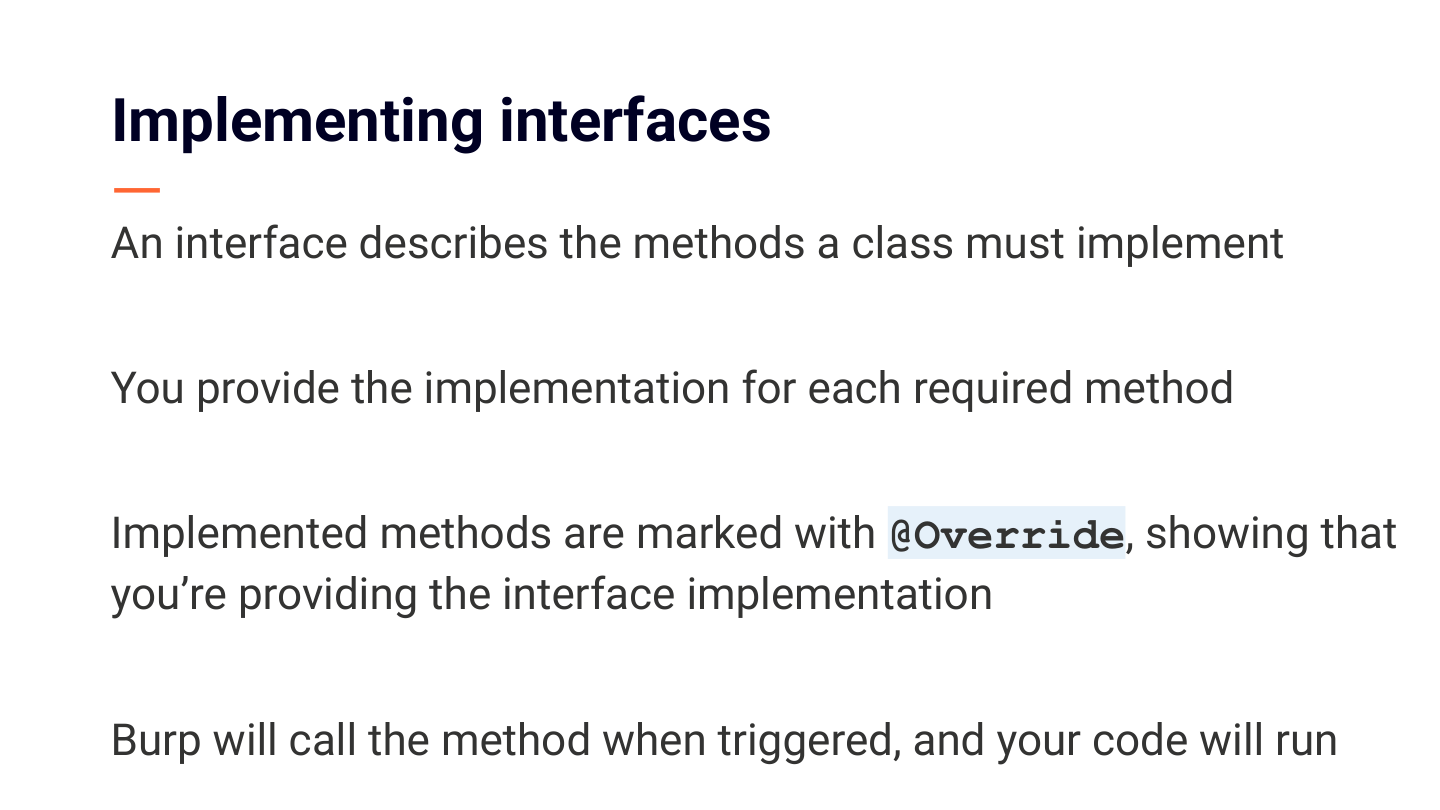
So what do you register? A class that implements an interface. An interface is a contract, a checklist of methods you promise to provide. Burp hands you the checklist for whatever you are hooking into, a scan check for example, and your job is to fill in each method with your own logic. Every method you fill in gets marked @Override, which is Java confirming that this method provides what the contract asked for.
The whole flow: you implement the interface and provide your logic in the template, register your class with Burp, and from then on Burp calls your methods each time the event fires. You write the what, and Burp handles the when.
The whole flow: you implement the interface and provide your logic in the template, register your class with Burp, and from then on Burp calls your methods each time the event fires. You write the what, and Burp handles the when.
Notes
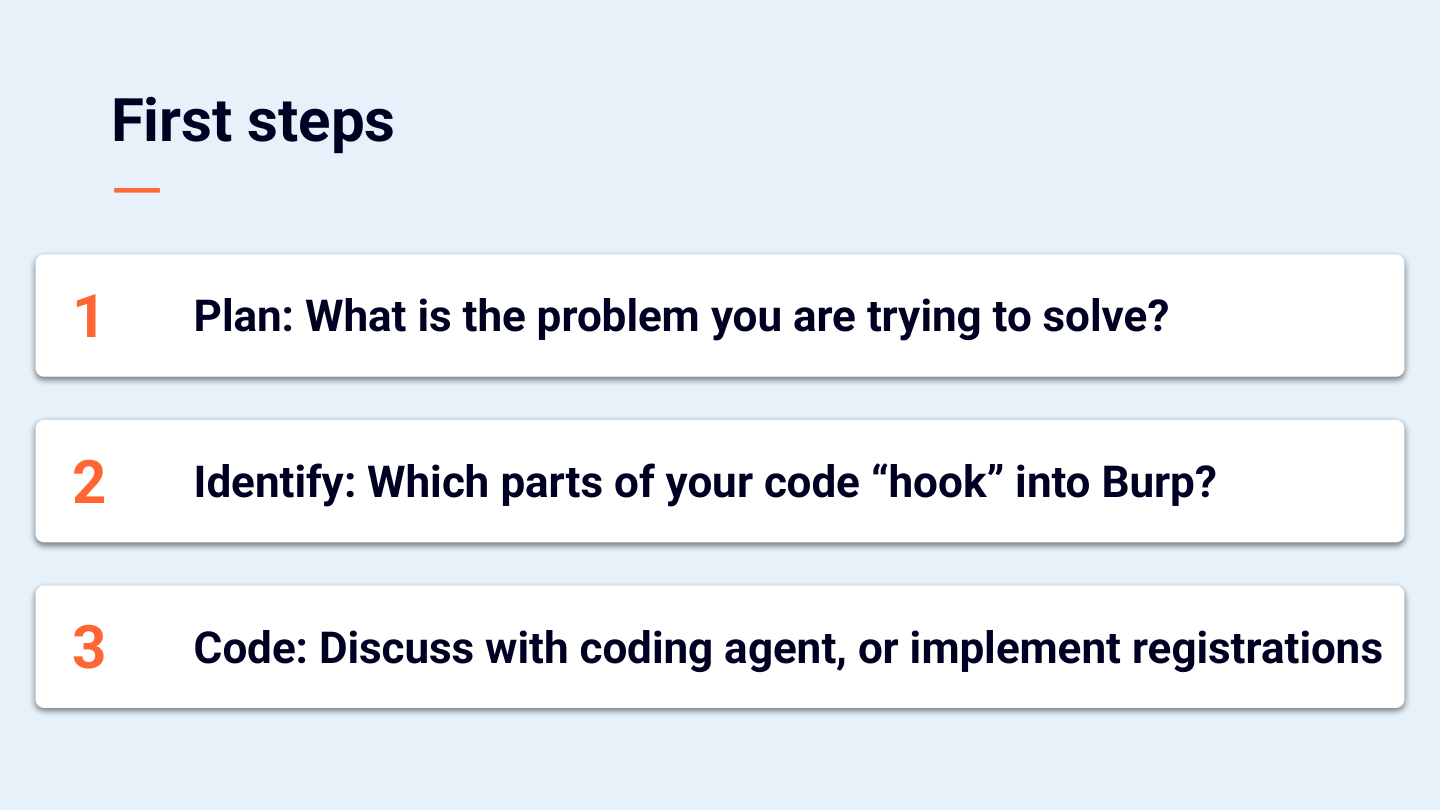
Your first steps when writing an extension:
- Plan it out before you write any code. What problem are you solving?
- Identify exactly where your code needs to hook into Burp.
- Then get coding. Discuss the plan with a coding agent, or start implementing registrations directly.
- Plan it out before you write any code. What problem are you solving?
- Identify exactly where your code needs to hook into Burp.
- Then get coding. Discuss the plan with a coding agent, or start implementing registrations directly.
Notes
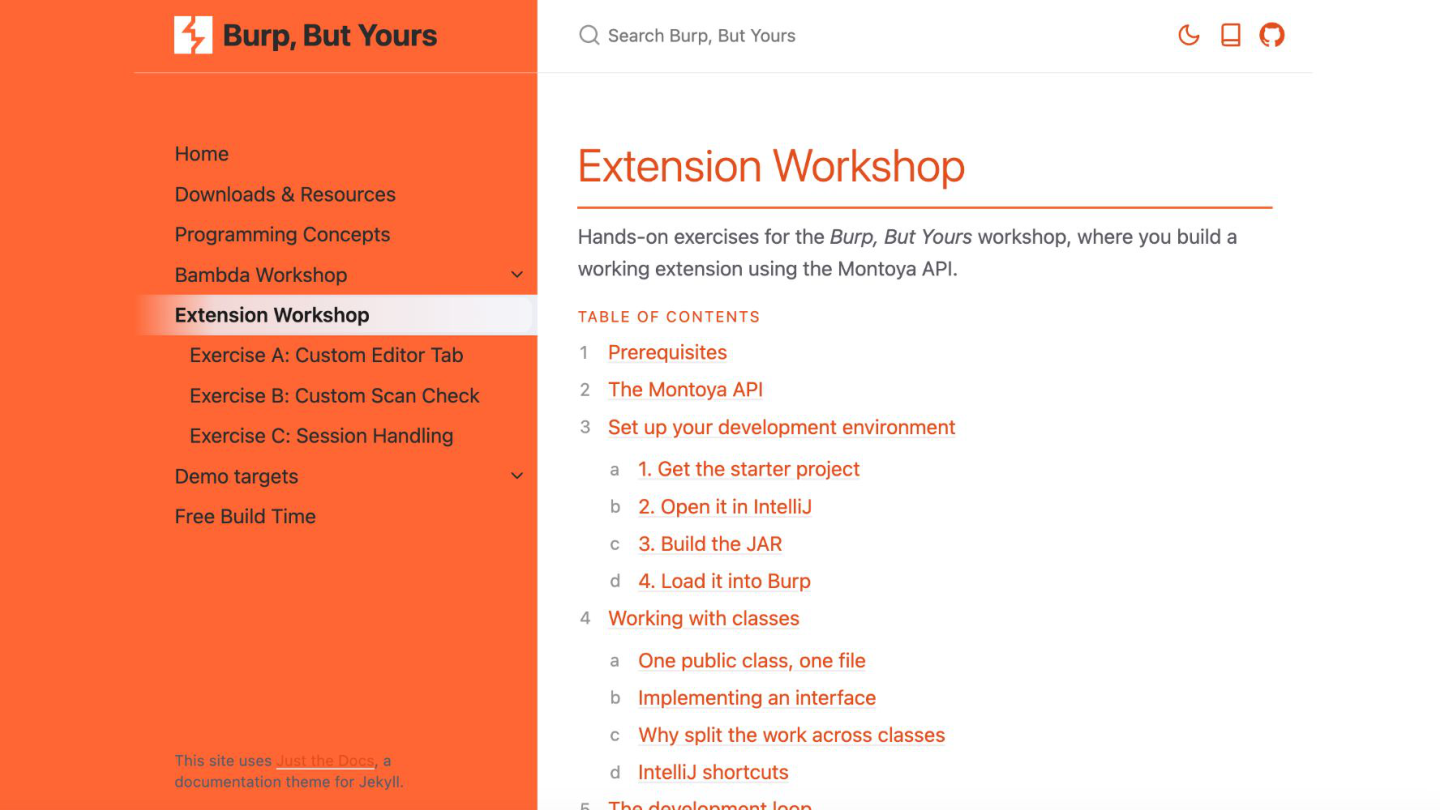
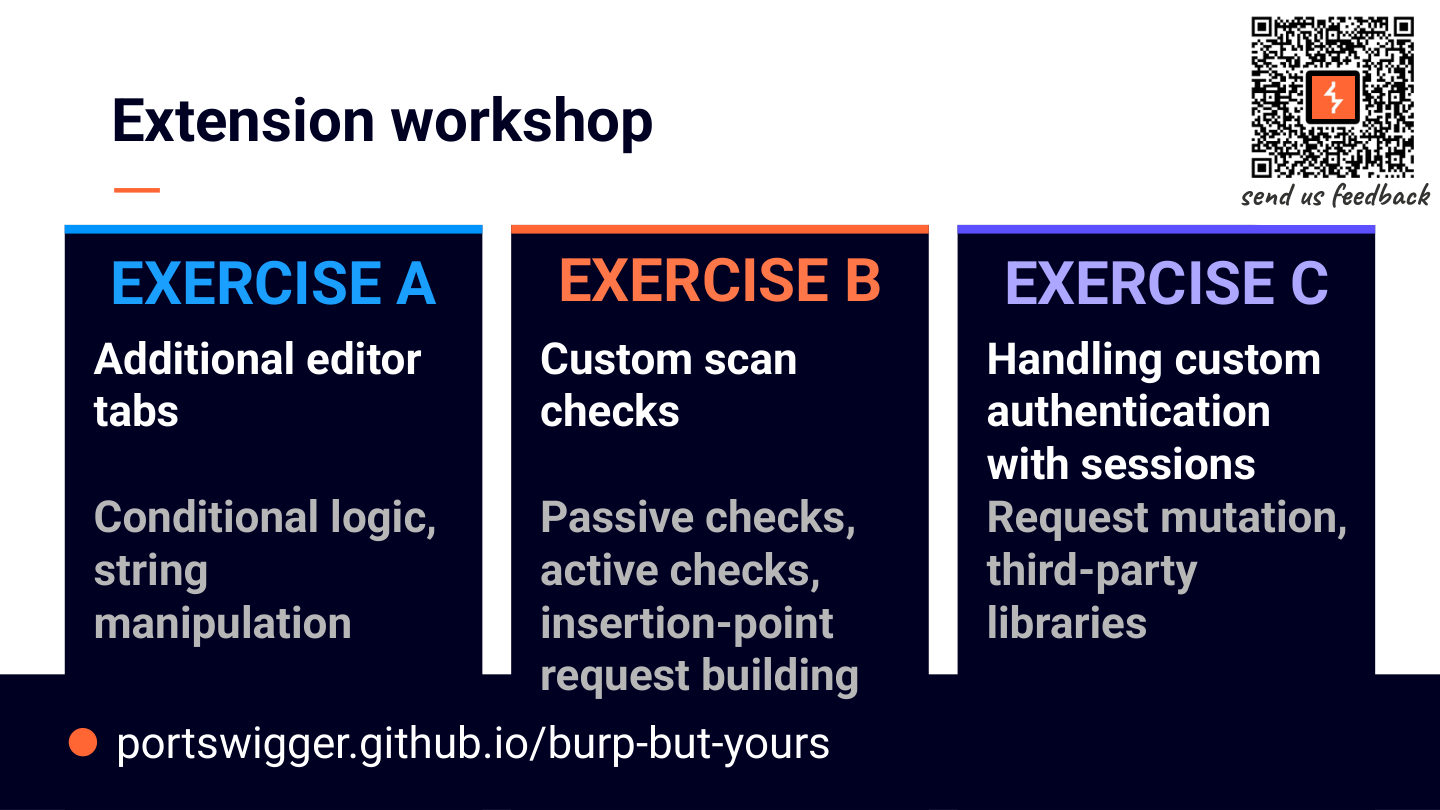
Same site, the Extension Workshop section. Three exercises of increasing difficulty.
Notes
No notes for this slide.
Notes
One more path, open to everyone: the LLM-assisted path. The starter project's CLAUDE.md and docs/ folder are built for this. With Claude Code, open a terminal in the project folder, run claude or another coding agent, and prompt it with what you want to build. Read what it generates before loading it: check the API calls it makes, whether it makes outbound network requests, and whether the logic matches your intent.
Common issues: Gradle failing to sync (check the Project SDK is JDK 21), an UnsupportedClassVersionError on load (built with a JDK newer than 21, so rebuild after fixing the SDK), an empty Output tab (add montoyaApi.logging().logToOutput(...) to confirm it is running), or the JAR not rebuilding after edits (re-run the jar Gradle task).
Common issues: Gradle failing to sync (check the Project SDK is JDK 21), an UnsupportedClassVersionError on load (built with a JDK newer than 21, so rebuild after fixing the SDK), an empty Output tab (add montoyaApi.logging().logToOutput(...) to confirm it is running), or the JAR not rebuilding after edits (re-run the jar Gradle task).
Notes
Same loop as before: edit, rebuild the JAR, and Burp auto-reloads. Check Extensions > Output and Errors whenever something is not working. That fast iteration cycle carries into the free build time next, and that tab stays your first stop when something breaks.
Notes
This is free build time: put what you have learned into practice.
Notes
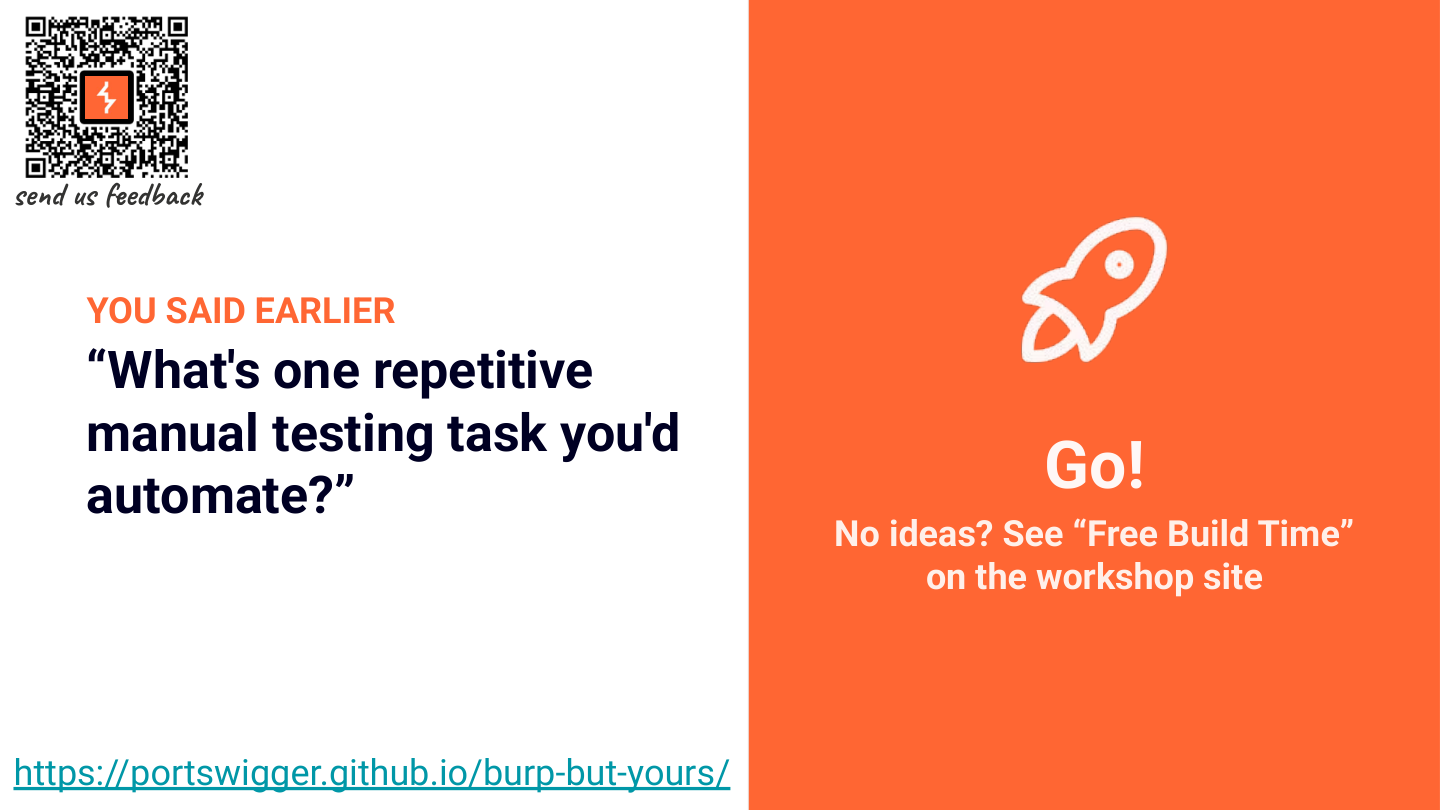
Earlier, you noted down one repetitive manual testing task you would automate if you could. Now is the time to build it, as a Bambda or an extension, whichever fits. If you do not have an idea, or want another one, the Free build time page on the site has a menu of Bambda and extension ideas, graded from quick win to ambitious. Work solo or pair up with someone next to you.
Notes
A chance to share what you built: what it does, the problem it solves, and whether you would actually use it.

Notes
This section covers how to share what you have built with the wider community.
Notes
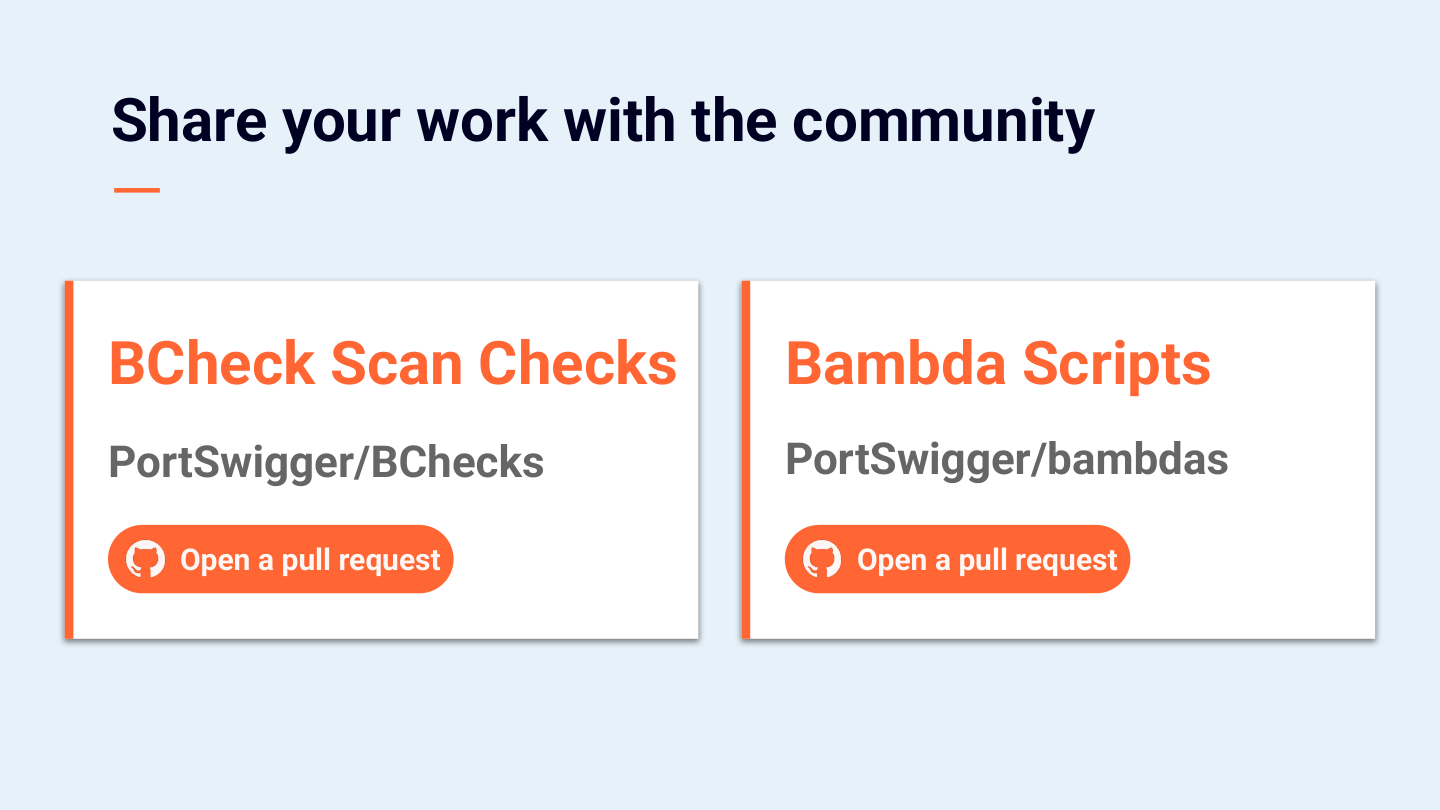
If you have written a BCheck custom scan check, you can contribute it to github.com/PortSwigger/BChecks with a pull request. If you have written a Bambda, you can contribute it to github.com/PortSwigger/bambdas the same way.
Notes
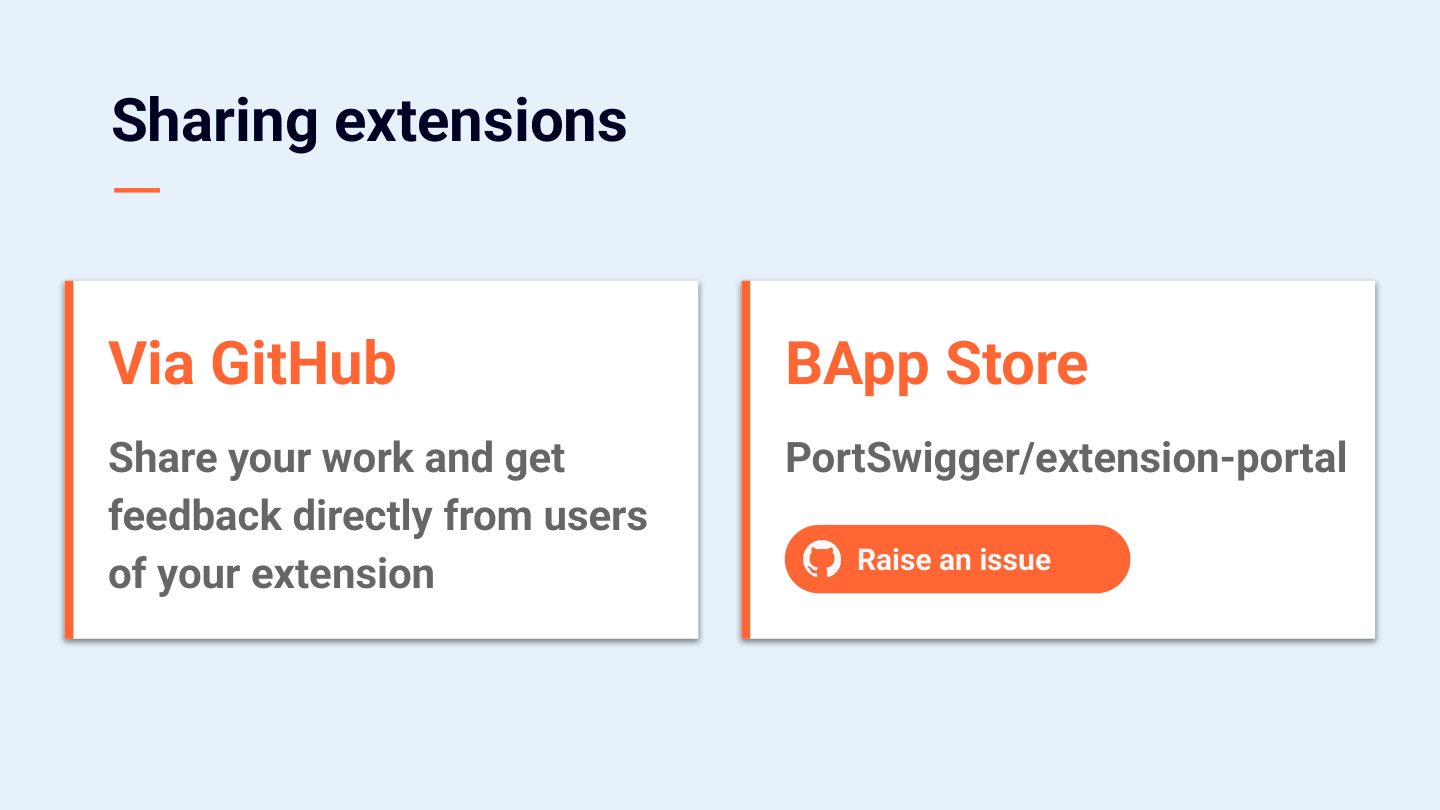
To share an extension, publish it on your own GitHub and cut releases. People can use it and give you feedback directly. You can also submit it to the BApp Store: the process is public, so open an issue on github.com/PortSwigger/extension-portal. Publishing to the BApp Store gives users one-click install, easily found within Burp.
Notes
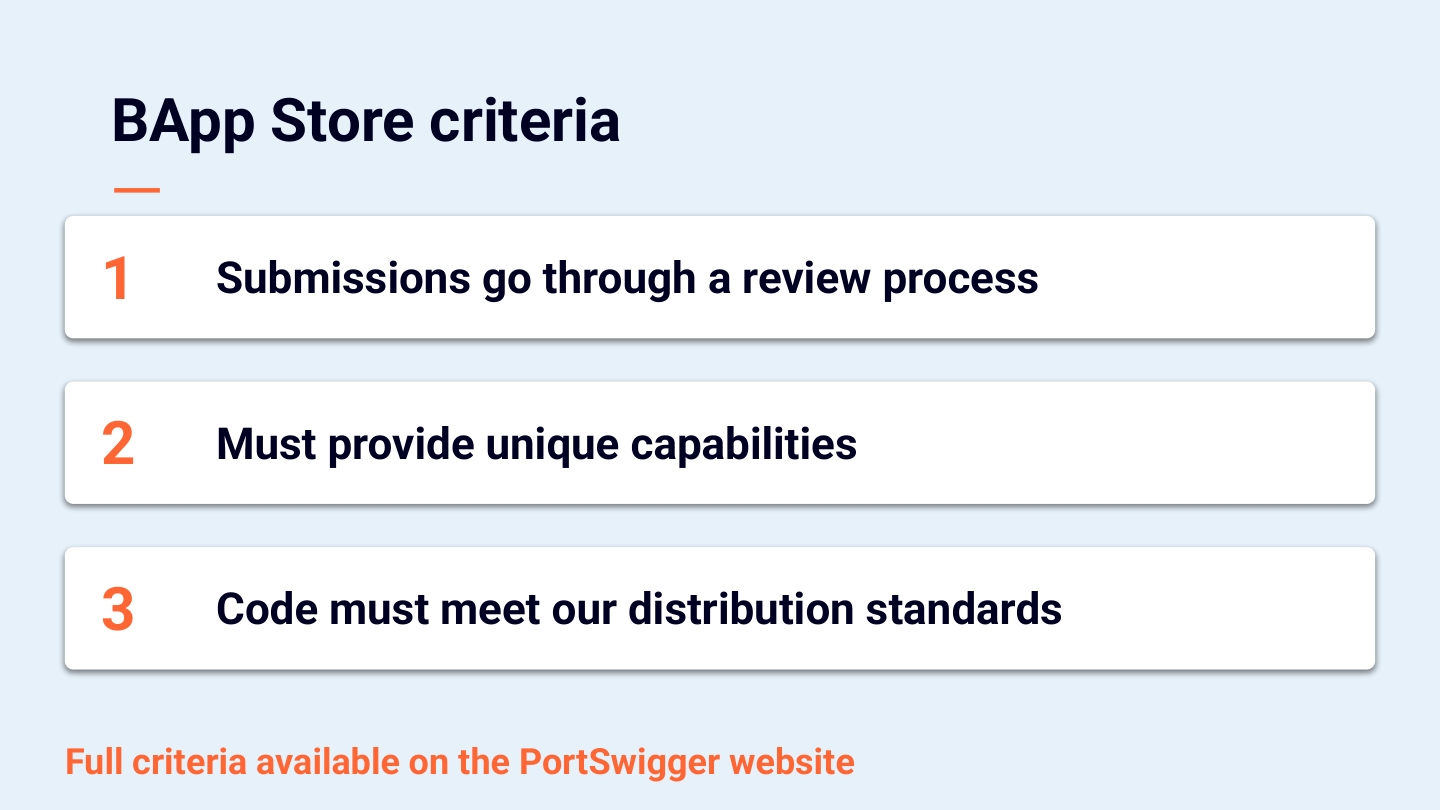
BApp Store submissions go through a review process. PortSwigger checks that the extension provides unique capabilities and that the code meets the distribution standards. The full criteria are on the PortSwigger website.

Notes
You can also join the PortSwigger Discord at discord.gg/portswigger for ongoing help and to show off what you build.

Notes
Questions, wrap-up, and where to go next.
Notes
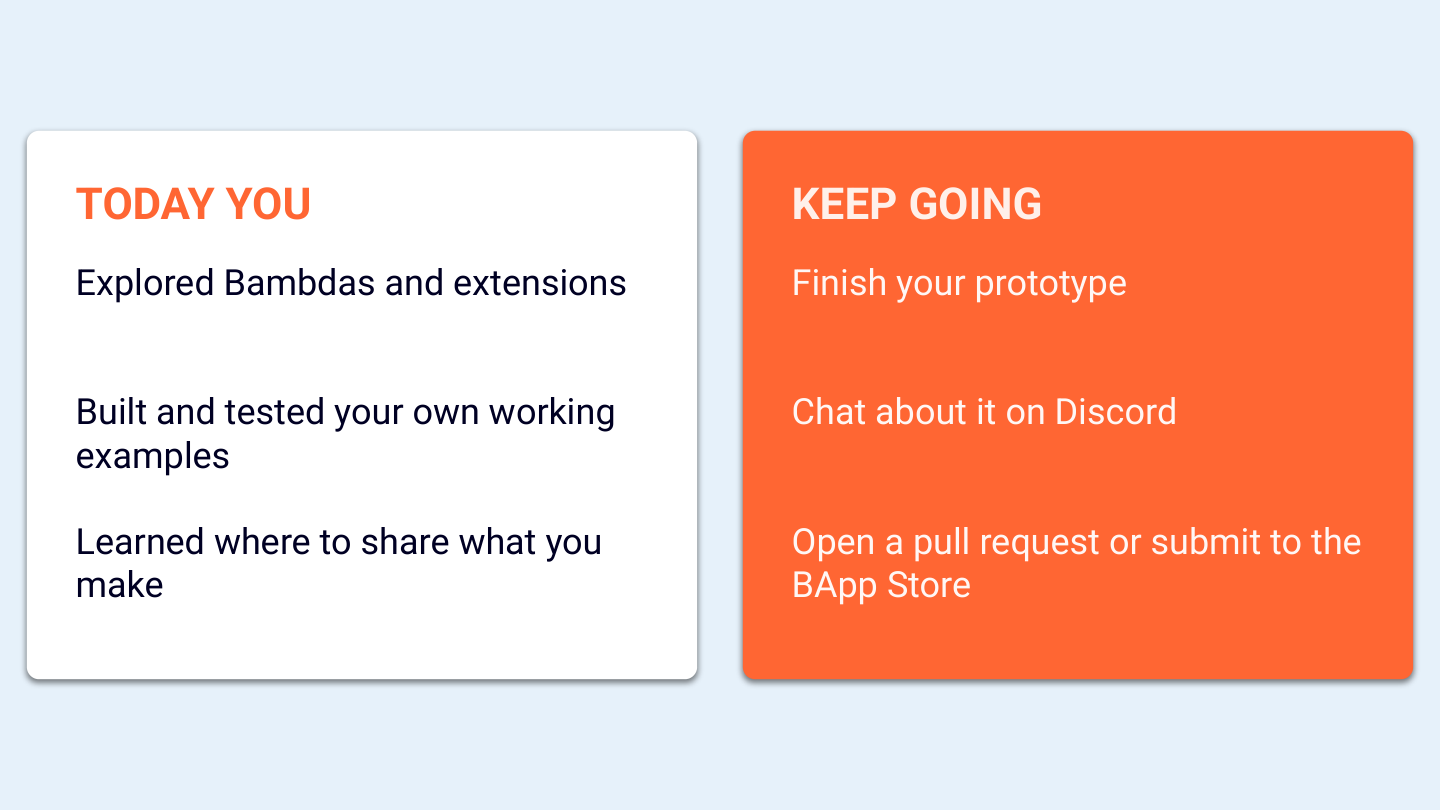
A recap: you explored Bambdas and extensions, built and tested your own working examples, and learned where to share what you make. Keep going: finish your prototype, discuss it on Discord, open a pull request, or submit to the BApp Store.

Notes
The slide has links for sending feedback on the workshop and for follow-up. Thanks for taking part.