


ProfessionalCommunity Edition
Identifying high-risk functionality with Burp Suite
-
Last updated: March 1, 2024
-
Read time: 2 Minutes
You can use the Target site map and the Proxy history to identify high-risk functionality as you browse your target website. This enables you to come up with a plan of attack for how you will audit the application. Some key areas to investigate include:
- The application's core functionality.
- Security mechanisms such as authentication functions.
- Application behavior such as error messages, administrative functions, and off-site links.
Before you start
Start mapping the target website. For more information, see Mapping the visible attack surface.
Steps
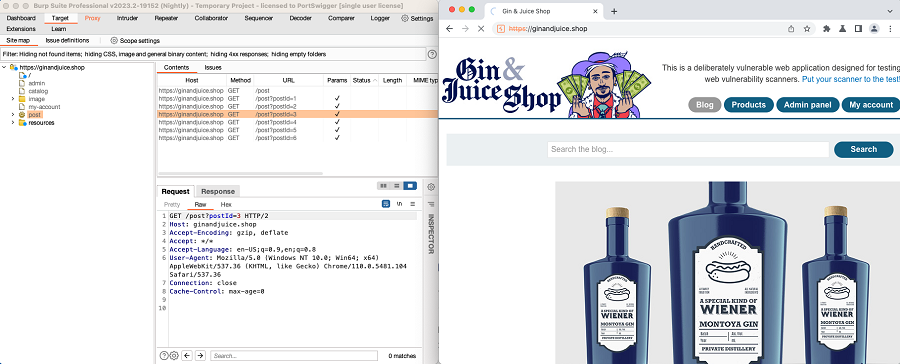
You can follow along with the process below using ginandjuice.shop, our deliberately vulnerable demonstration site. To identify high-risk functionality:
- Open Burp's browser and browse your target website.
-
As you browse, use either or both the Target site map or HTTP history to help you identify high-risk functionality:
- Review the site map in the Target > Site map tab. For example, look for the colored circles on the nodes. Burp Scanner adds these when it detects an issue. Note that by default, Burp Scanner passively audits traffic as you browse.
- Review a list of the HTTP traffic in the Proxy > HTTP history tab.
- When you identify functionality that you want to investigate further, keep the browser open and go to Proxy > Intercept in Burp.
-
Configure your interception settings to intercept responses as well as requests:
- Click on Settings in the top toolbar to open the Settings dialog.
- Go to Tools > Proxy.
- Under Response interception rules, select Intercept responses based on the following rules. By default, responses with a text content type header will now be intercepted.
- Close the Settings dialog.
- In the Intercept tab, click Intercept is off to toggle interception on.
- In Burp's browser, click through the function. Burp intercepts each request and response. The message details are shown in the Intercept tab.
- Review each intercepted message for interesting content. You can also modify and send a message to see how this impacts the website.
- To flag and store the message for further investigation, send it to Burp Organizer. Right-click the message and select Send to Organizer.
Note
You can also use the Proxy HTTP history to investigate high-risk functionality. Click on any item in the HTTP history to view the request and response. You can't directly modify the message, but you can still send it to Burp Repeater to modify and investigate further.