


ProfessionalCommunity Edition
Getting started with the site map
-
Last updated: March 1, 2024
-
Read time: 3 Minutes
The Target > Site map tab displays all the information that Burp gathers about websites. This information comes from a number of sources such as Burp Scanner, or URLs that you discover when you browse the target manually. The site map is a hierarchical tree that represents the site's content. This is organized into:
- Domains.
- Directories.
- Files.
- Parameterized requests.
By default, Burp automatically populates the site map from the sites you visit using Burp's browser. We recommend following the tutorial below to learn how to use the site map as part of your testing workflow.
For more detailed information about the functions of the site map, please see the full documentation.
Tutorial
In this tutorial you'll learn about the main features of the site map, and how to use them in combination with other tools.
Step 1: Access the lab
Open Burp's browser, and use it to access the following URL:
https://portswigger.net/web-security/logic-flaws/examples/lab-logic-flaws-excessive-trust-in-client-side-controlsClick Access the lab and log in to your PortSwigger account if prompted. This opens your own instance of a deliberately vulnerable website.
Step 2: Go to the site map
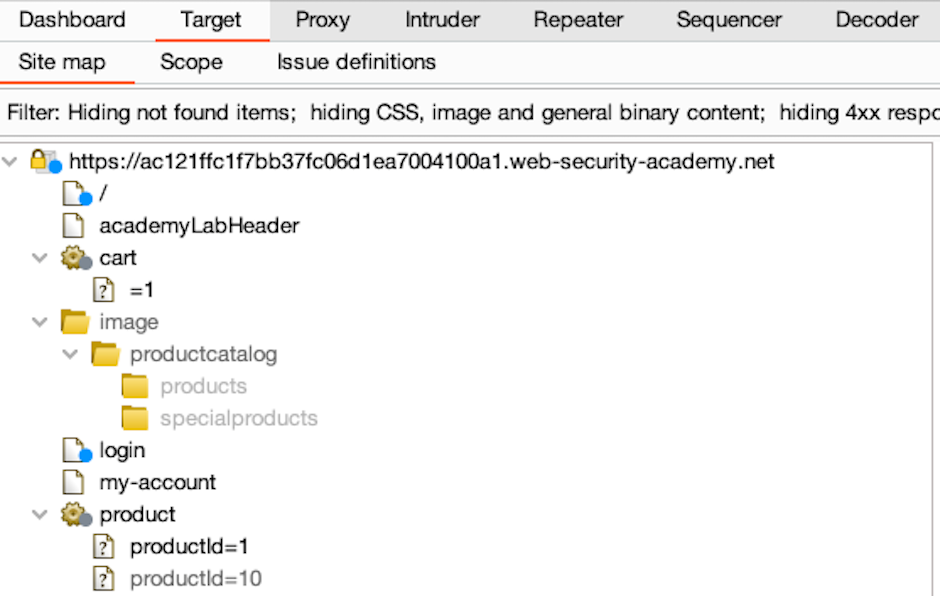
In Burp, go to the Target > Site map tab. Expand the contents of the node that represents the vulnerable lab website.
As you can see, Burp has already started to populate the site map.
Notice that some items are grayed out. Burp predicts that these items exist, but your browser hasn't completed a request-response cycle for them yet. This is probably because the URL appears in another response that you've received already.
Step 3: Update the site map
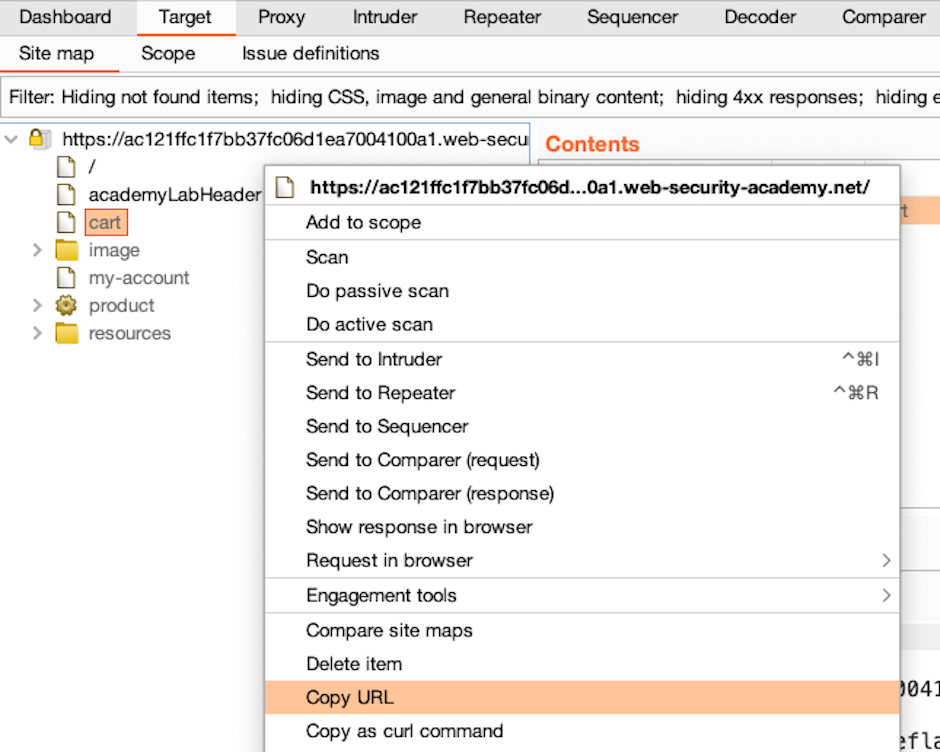
The site map updates automatically as you browse. If there's a particular grayed out item that you're interested in, you can copy the URL from the site map and paste it into Burp's browser.
Step 4: Filter the displayed information
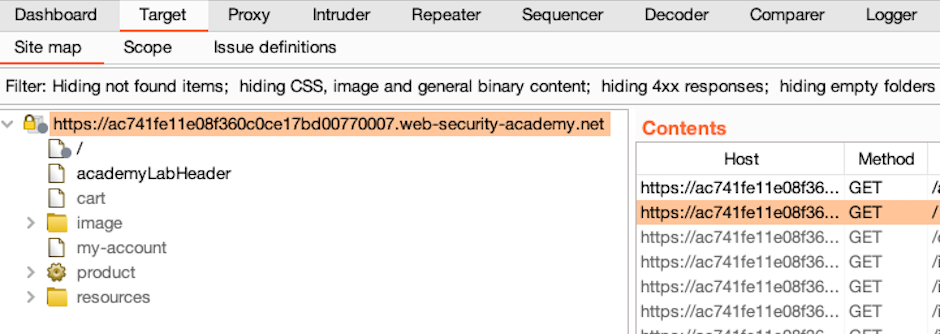
The Site map tab contains various panels that show different information, such as the first request and response for each item. If you're using Burp Suite Professional, you'll also see a list of any security issues that Burp Scanner identifies.
Select a node in the site map. Notice that the information in the panels is now filtered based on the selected node.
Step 5: Set the target scope using the site map
The site map also makes it easy to set the target scope for Burp. Right-click on the top-level node for the lab and select Add to scope. When prompted to stop proxying out-of-scope traffic, click Yes.
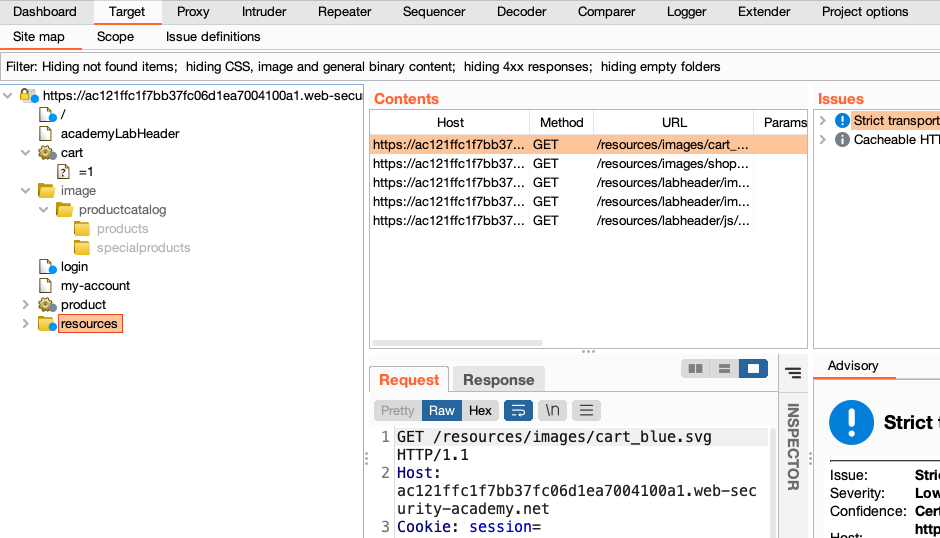
You might want to exclude specific paths and subdirectories that you're not interested in from the scope. Right-click on the node for resources > images and select Exclude from scope.
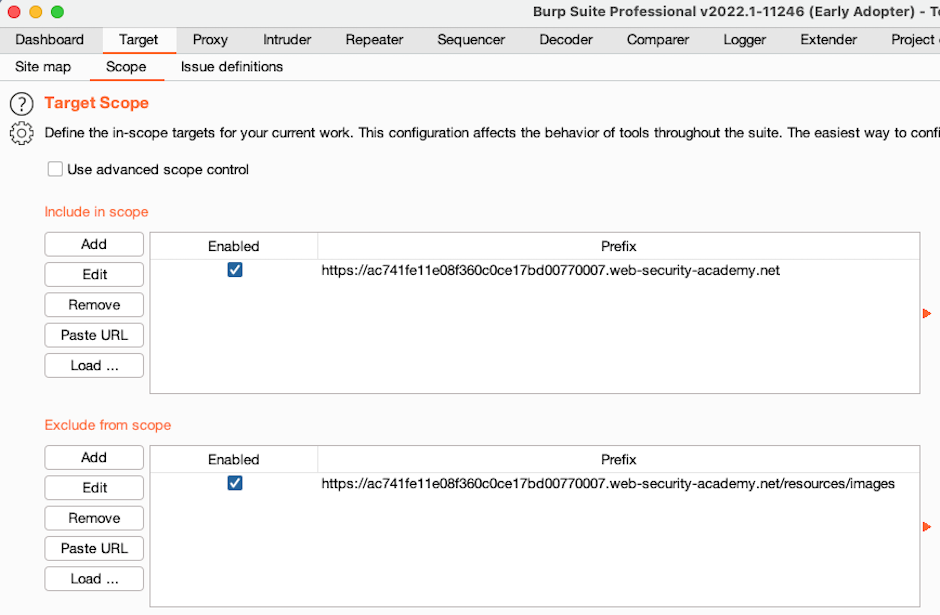
Now go to the Target > Scope tab. You can see that the entire domain for the lab is in scope, but the /resources/images directory is excluded.
You can also delete any items that you're not interested in from the site map. These might be domains that were added before you set the scope. Select the items, right-click, and select Delete selected items.