When performing any kind of testing of web applications, you may encounter challenges relating to session handling and state. For example, the application may terminate the session being used for testing, either defensively or for other reasons, so that subsequent requests are ineffective until the session is restored. This can be an issue, especially when running Burp's Spider or Scanner against an application. Burp's session handling functionality contains a range of features to help in all of these situations, letting you continue manual and automated testing while Burp takes care of the problems for you in the background.
This tutorial demonstrates how to use Burp's session handling rules to ensure you remain logged in to an application when using Burp Spider or Scanner. In this example we use the most recent version of WordPress (4.3.1 at the time of writing).
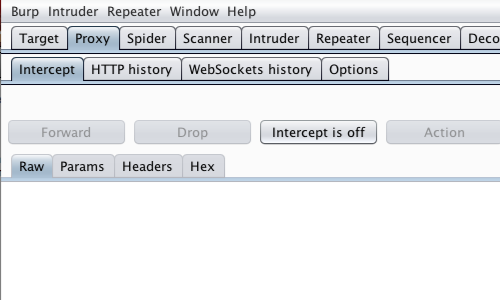
First, ensure that Burp is correctly configured with your browser.
Ensure Burp Proxy "Intercept is off".
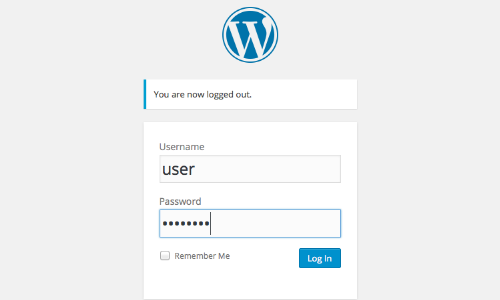
Visit the web application you are testing in your browser.
Enter the credentials you wish to use for your session and log in.
The next step is to check how the application responds to requests with invalid sessions. We can do this using Burp Repeater.
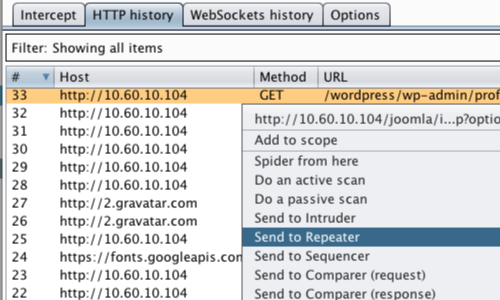
Select an appropriate request in the Proxy "HTTP history" tab. This request should be to a page that requires an authenticated session.
Right click on the request to bring up the context menu and select "Send to Repeater".
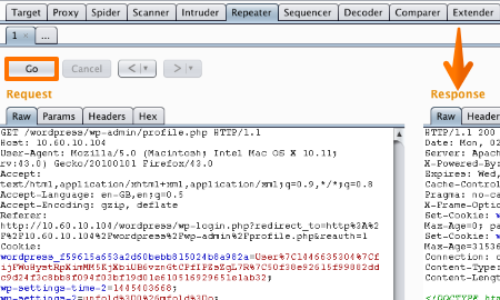
Click the "Go" button and review the response from the application.
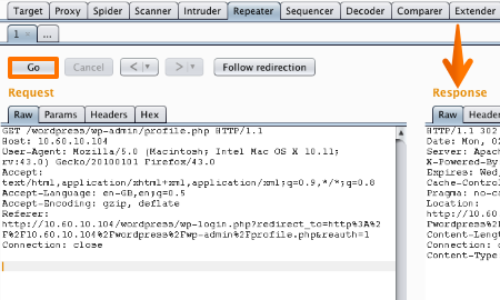
Next, remove the cookies from the request, and click the "Go" button to resend the request to the server.
Again, analyze the response.
We can see that the invalid session has caused the application to redirect the user to the login page.
The session handling mechanism is working as expected and the application will require us to configure session handling rules before being spidered or scanned.
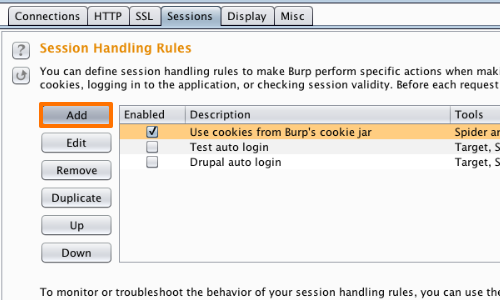
Next, go to the Options "Sessions" tab.
Click the "Add" button to start the creation of a new session handling rule.
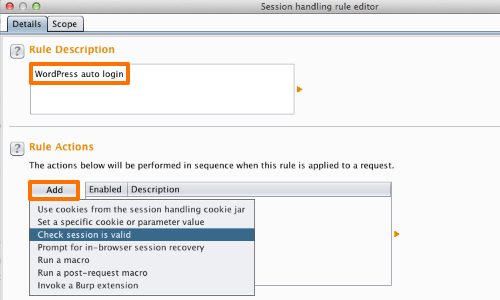
Add a name for the new rule in the "Rule Description" section.
Then, add an action from the "Rule Actions" section.
In this example we want Burp to check that the session is valid, and if not, then to log back in to the application.
We can use the "Check session is valid" action to compete this task.
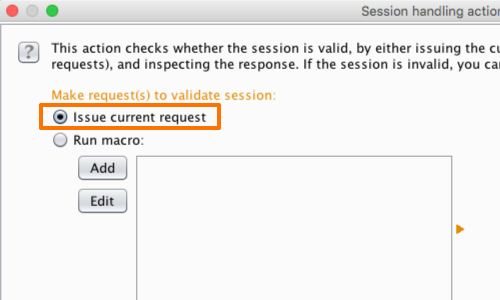
Selecting a rule in the "Rule Actions" section brings up the "Session handling action editor" options.
In this example we can issue the current request and configure Burp to examine the response to ascertain whether or not the session is authenticated.
However, it is also possible to run a predefined macro to check the validity of the session.
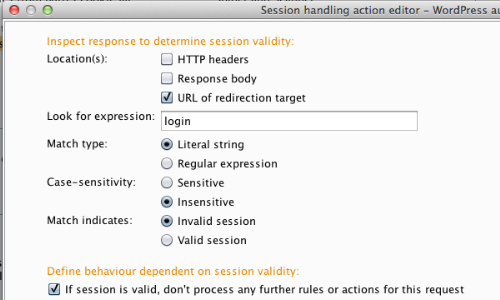
There are a series of options to consider that allow Burp to determine the session validity.
In this example, we have configured Burp to look for a redirection response containing the expression "login" in the redirection URL.
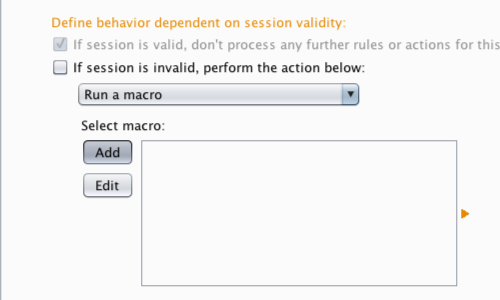
Next, we need to configure the action that the session handling rule should perform dependent on session validity.
In the example we need to configure Burp to run a macro in the event of an invalid session. This macro will perform the login request to reestablish a valid session.
To add a new macro, click the "Add" button.
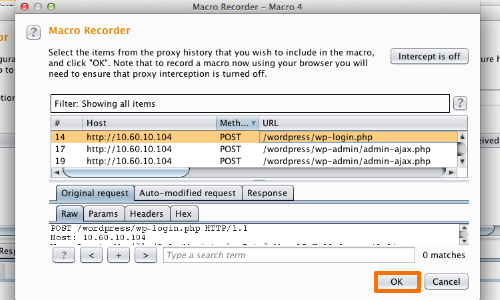
Clicking the "Add" button opens the "Macro Recorder" window.
Select the appropriate request from the HTTP table.
In this example we wish to configure the POST request that provides the application with the login credentials.
Click "OK".
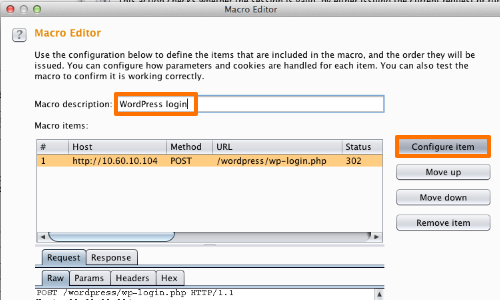
Clicking "OK" opens the "Macro Editor" window.
Here we can chose the name of the Macro and configure the macro settings.
Once you have named your macro, click the "Configure item" button.
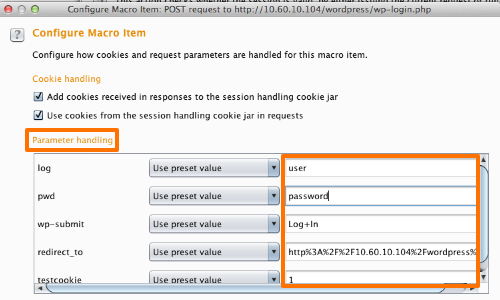
The "Configure Macro Item" window will open.
Here, we can configure options for cookie and parameter handling.
Burp will have entered some preset values in to the parameters, but these can be edited if required.
Once the macro is configured, click "OK".
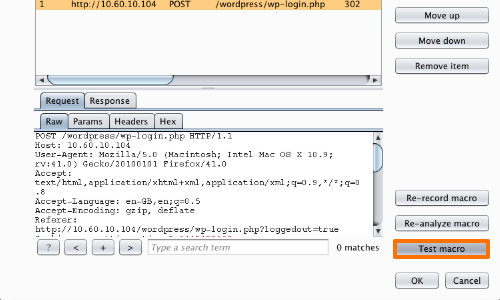
You can provisionally test the macro in the "Macro Editor" window.
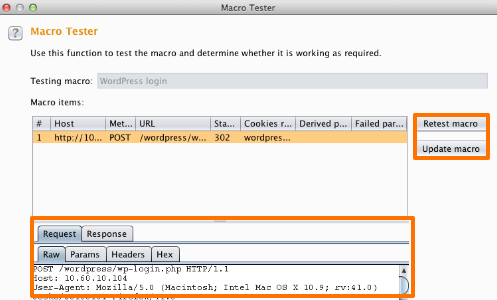
In the "Macro Tester" window, you can retest and update the macro until you are content that it performs as you require.
When you have tested your macro and are satisfied, click "OK".
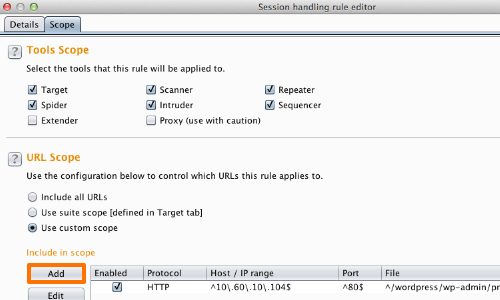
Before using your new session handling rule, you will need to set the scope of requests to which the rule will be applied
You need to specify which Burp tools, and which URLs, you wish your session handling rules to apply to.
You can configure these settings in the "Scope" tab of the session handling rule editor.
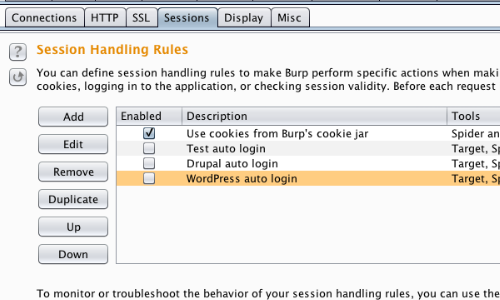
Ensure that your session handling rule is enabled or disabled as you require.
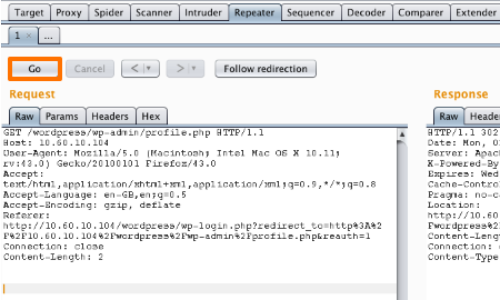
Finally, repeat the check in the Repeater tab that we performed at the start of this tutorial.
As before, remove the cookies from the request, and click the "Go" button to send the request to the server.
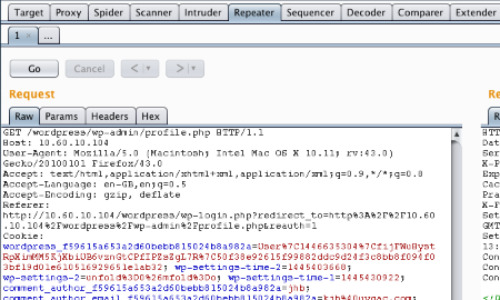
The session handling rule that you created should perform a login in the background, and add the required Cookie header to the request, resulting in the session remaining valid.
Related articles:


