Session management mechanisms can be vulnerable to attack if tokens are generated in an unsafe manner that enables an attacker to predict values of tokens that have been issued to other users. A password recovery token, sent to the user's registered email address is an example where an application's security depends on the unpredictability of tokens it generates.
You can use Burp Suite to analyze tokens generated by a web application. This article demonstrates how to analyze and test token generation using the Burp Intruder, Sequencer and Decoder tools.
In this example we are using three pages from the "Attacking session management" section of the "MDSec Training Labs".
Using Burp Decoder to Test Session Tokens
First, ensure that Burp is correctly configured with your browser.
Ensure "Intercept is off" in the Proxy "Intercept" tab.
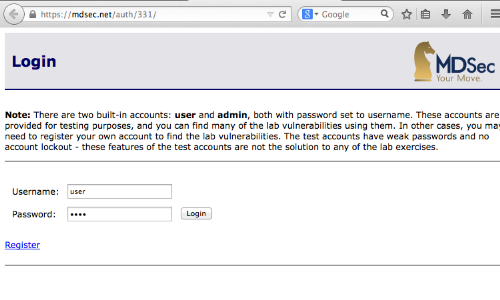
Locate the page you wish to test and ensure that any required details are entered in order to produce an appropriate response that contains a session token.
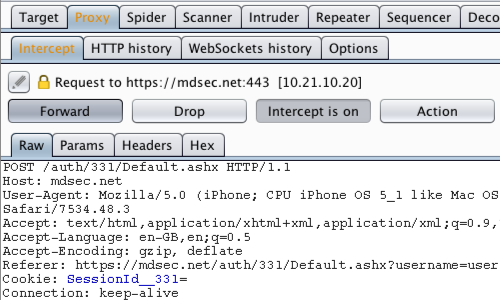
Return to Burp and ensure "Intercept is on" in the Proxy "Intercept" tab.
Submit a request, in this example by clicking the "Login" button.
The request will be captured by Burp. Use the "Forward" button to view the HTTP response containing the session token.
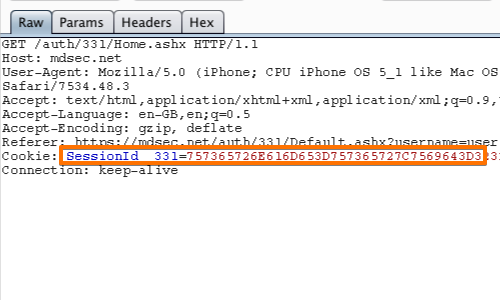
The HTTP response will now be displayed in the Proxy "Intercept" tab.
The cookie "SessionId_331" is the token used to track the session.
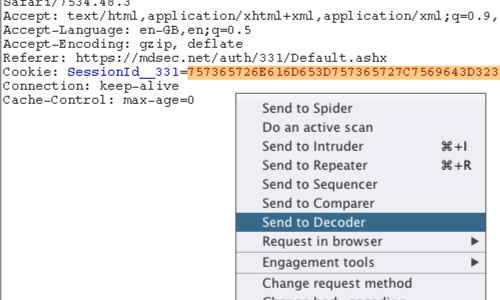
Select and highlight the full token.
Right click anywhere on the request to bring up the context menu.
Click "Send to Decoder".
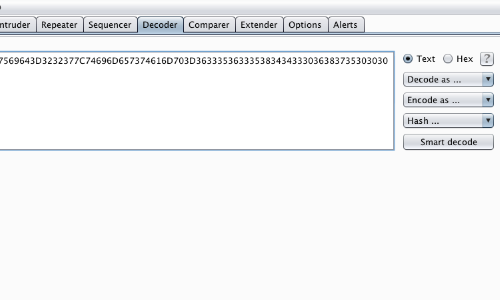
Go to the "Decoder" tab. The token from the request will be displayed in the Decoder form.
The token may initially appear to be a long random string. However, on closer inspection, you can see that it contains only hexadecimal characters.
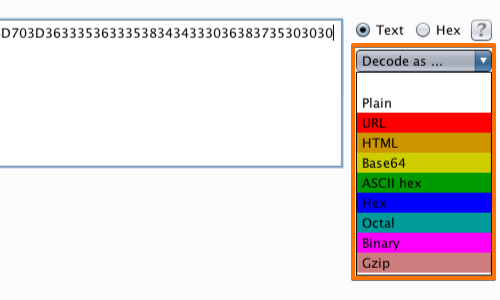
Guessing that the string may actually be a hex encoding of a string of ASCII characters, you can run it through the Decoder.
Use the drop down menu and select the appropriate encoding string to reveal the results.
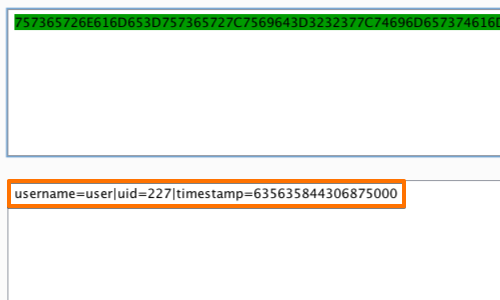
The results will be displayed below in a second form box.
In this example we can see how the token has been created using a transformation of the user's username, UID and timestamp.
Using Burp Sequencer to Test Session Tokens

First, ensure that Burp is correctly configured with your browser.
Ensure "Intercept is off" in the Proxy "Intercept" tab.
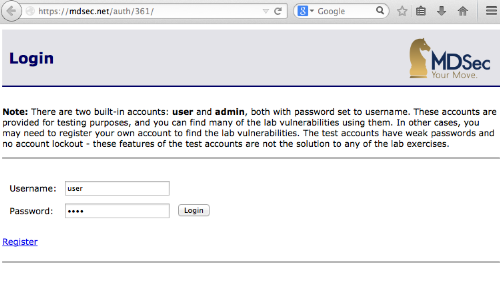
Locate the page you wish to test and ensure that any required details are entered in order to produce an appropriate response that contains a session token.
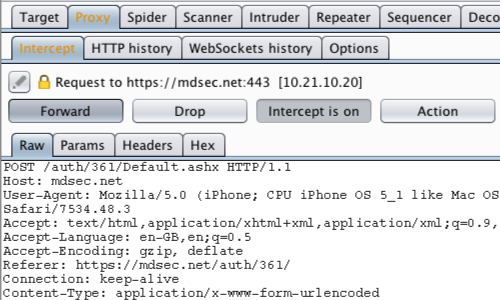
Return to Burp and ensure "Intercept is on" in the Proxy "Intercept" tab.
Submit a request, in this example by clicking the "Login" button.
The request will be captured by Burp. Use the "Forward" button to view the HTTP response containing the session token.
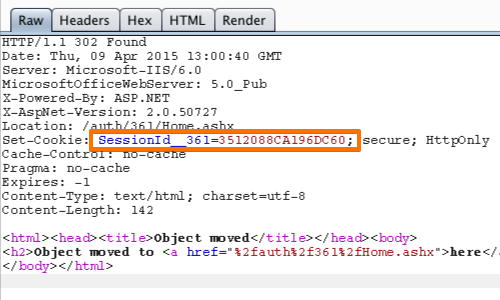
The HTTP response will now be displayed in the Proxy "Intercept" tab.
In this example, the cookie "SessionId_361" is the token used to track the session.
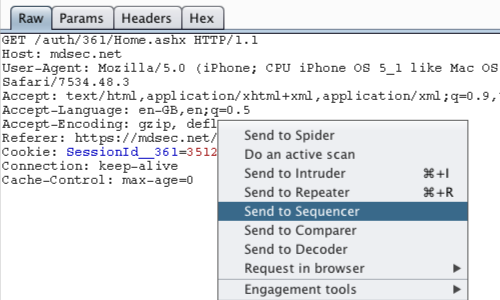
Right click anywhere on the request to bring up the context menu.
Click "Send to Sequencer".
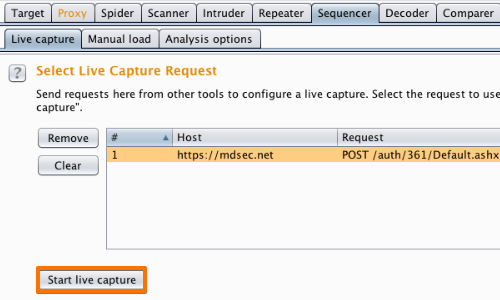
Ensure that you have selected the correct request from the "Select Live Capture Request" table and click the "Start live capture" button.
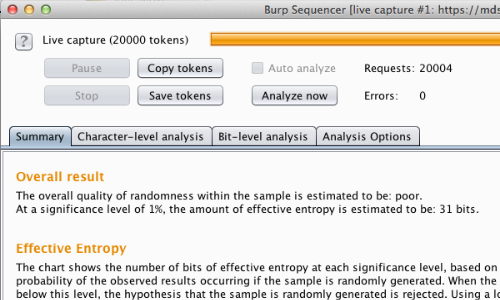
The "Burp Sequencer [live capture]" window will pop up.
Burp Sequencer will repeatedly issue the request and extract the relevant token from the application's responses.
The window shows the progress of the capture, and the number of tokens that have been obtained.
You can find out more about how the randomness test works, analyzing the results and the various analysis options in the full documentation for Burp Sequencer.
Using Burp Intruder to Test Session Tokens

First, ensure that Burp is correctly configured with your browser.
Ensure "Intercept is off" in the Proxy "Intercept" tab.
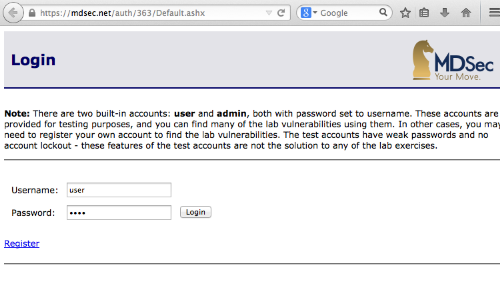
Locate the page you wish to test and ensure that any required details are entered in order to produce an appropriate response that contains a session token.
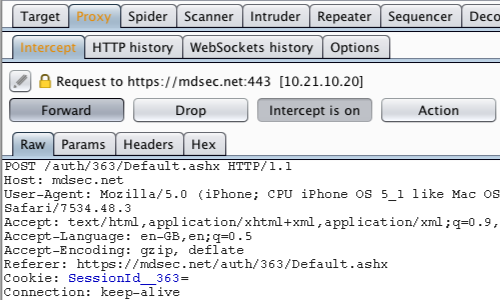
Return to Burp and ensure "Intercept is on" in the Proxy "Intercept" tab.
Submit a request, in this example by clicking the "Login" button.
The request will be captured by Burp. Use the "Forward" button to view the HTTP request containing the session token.
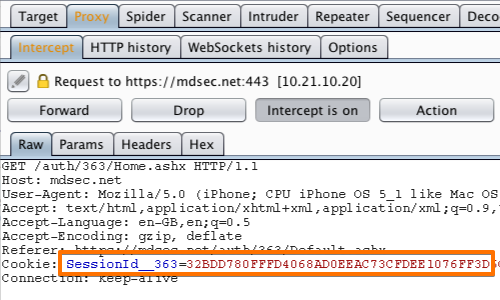
The HTTP request will now be displayed in the Proxy "Intercept" tab.
In this example, the cookie "SessionId_336" is the token used to enable the session.
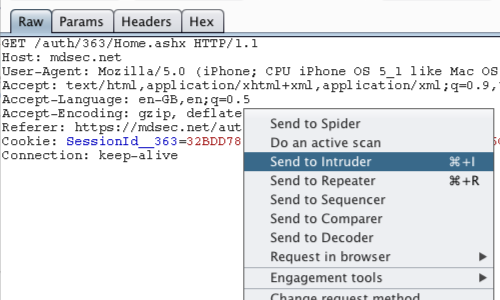
Right click anywhere on the request to bring up the context menu.
Click "Send to Intruder".
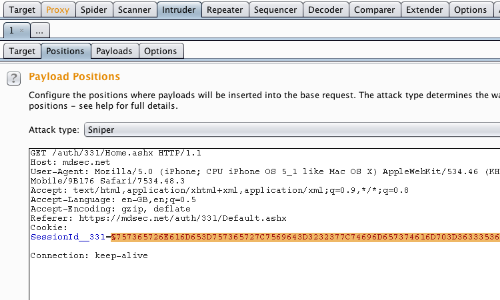
Go to the "Intruder" tab, then the "Positions" tab.
Ensure that the token you wish to test is the only position selected in the HTTP response.
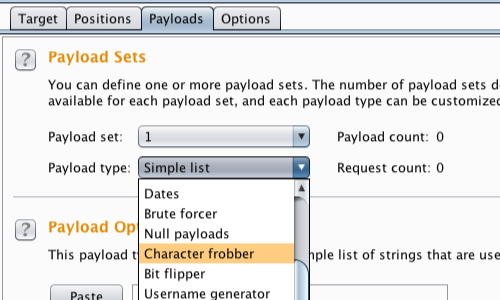
Go to the "Payloads" tab.
Under the "Payload Sets" header, use the drop down menu to select either the "Character frobber" or "Bit flipper" payload type.
In this example we will continue with the "Character frobber".
You can find more about these payload types in the full documentation.
With the appropriate payload type selected, click the "Start Attack" button on the right of the Burp console.
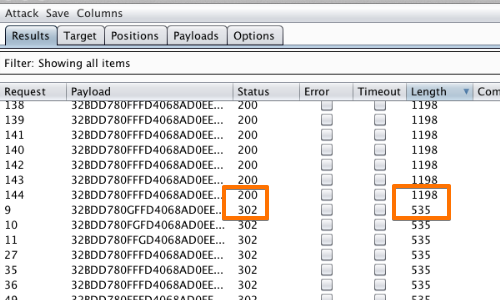
The "Character frobber" payload type operates on a string input and modifies the value of each character position in turn.
We can use the results of this attack to assess which characters affect the validity of the token.
In this example, by sorting the results by length and/or status, we can clearly see how useful the "Character frobber" can be when testing which parts of a complex session token are actually being used to track session state.


