


DAST
Install with the default options
-
Last updated: March 18, 2026
-
Read time: 3 Minutes
This quick start guide will get your trial of Burp Suite DAST up and running as quickly as possible. We'll show you how to download and install the software, and perform your first scan of a site.
Specifically, this guide explains how to set up a standard instance of Burp Suite DAST on a single machine, using the default settings. This configuration is suitable for trials only.
At a minimum, we recommend starting out on a machine with at least 8 CPU cores and 24 GB of RAM. A machine of this spec would be suitable to run one concurrent scan only.
Note
- For information on setting up an instance for production use, including configuring an external database and scanning machines, see Prerequisites for a standard installation.
- For information on deploying to Kubernetes using a Helm chart, see Deploying Burp Suite DAST to Kubernetes.
- We recommend that you view the system requirements before attempting to install. See Burp Suite DAST system requirements for more information.
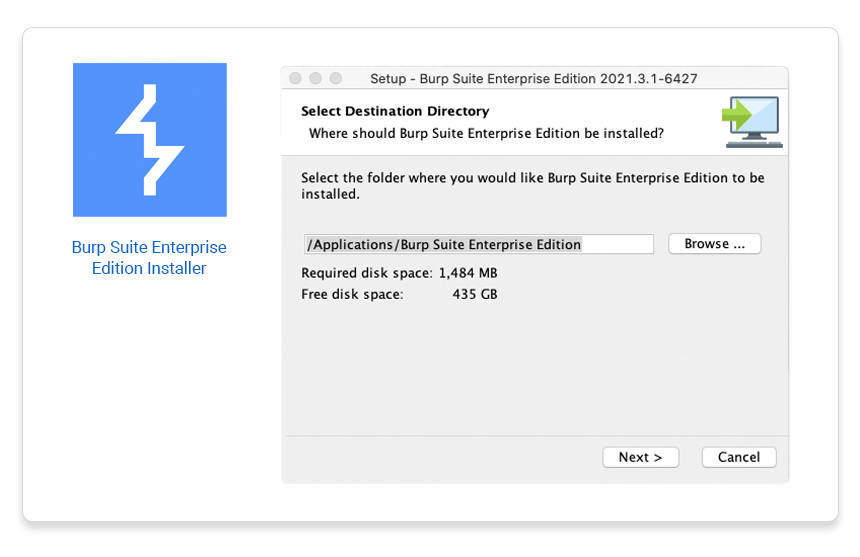
Step 1: Download and launch the installer
Download and run the installer for Burp Suite DAST. The link below opens the download page for the latest stable release in a new tab.
Download the installer
Step 2: Choose a port to use for the web server
In the installation wizard, keep clicking Next to accept the default options until you are prompted to choose a port for the web server. By default, port 8080 is used, but you may need to select a different one if this isn't available on your machine.
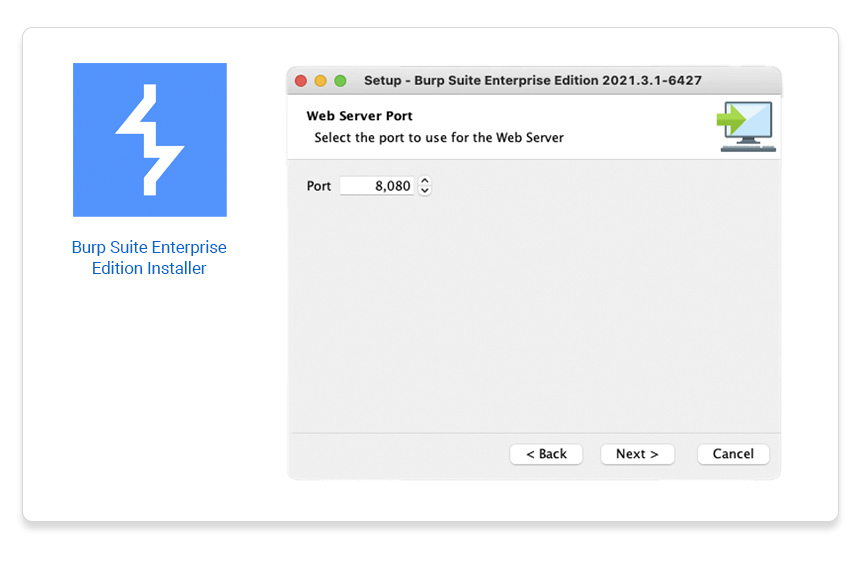
Keep clicking Next to accept the default for all remaining options until the installation process begins. Please note that this may take a few minutes. If prompted, allow Java to accept incoming connections.
Warning
There are potential security implications to leaving Burp Suite DAST in an unconfigured state. We recommend completing the rest of the configuration as soon as possible.
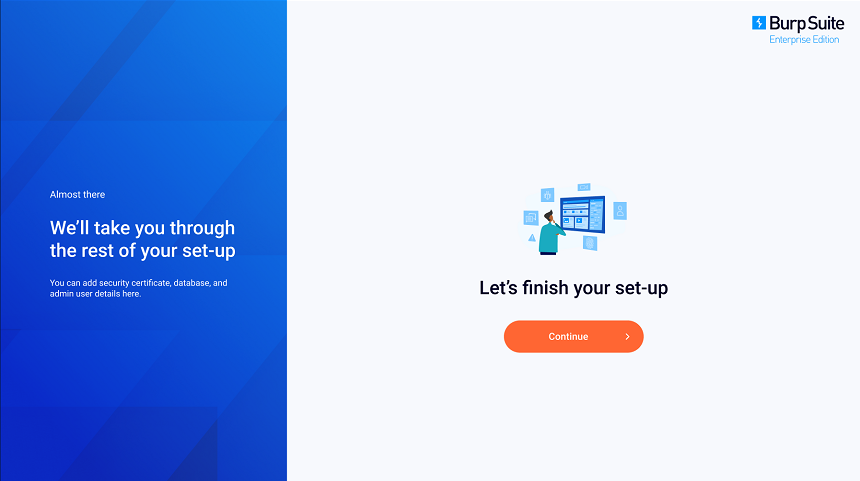
Step 3: Access the configuration page
Once you have installed Burp Suite DAST, you will need to perform some additional configuration in the app itself. To access the configuration page, visit http://localhost:8080 in your browser.
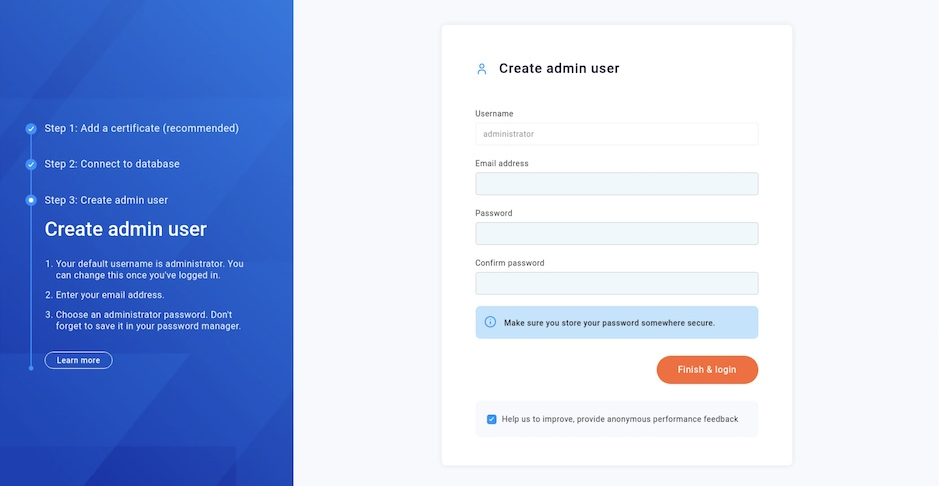
Step 4: Create an initial admin user
When you first access Burp Suite DAST, you're prompted to create an initial admin user. Enter your email address and a secure password. The Username is automatically set to administrator, and cannot be changed.
Warning
Keep a note of these credentials. You need them to complete the initial setup and they are not easily recovered if you lose them.
Click Finish & login to complete the configuration process and open the Sign in page.
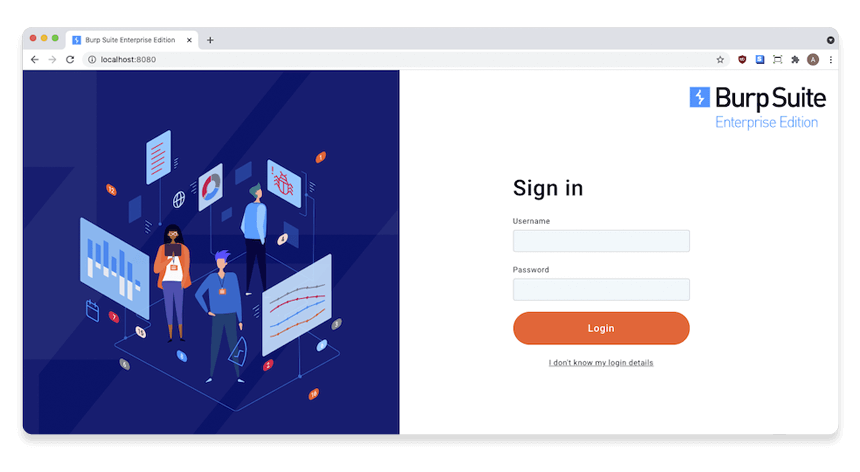
Step 5: Log in as the admin user
Log in using the administrator user that you just created.
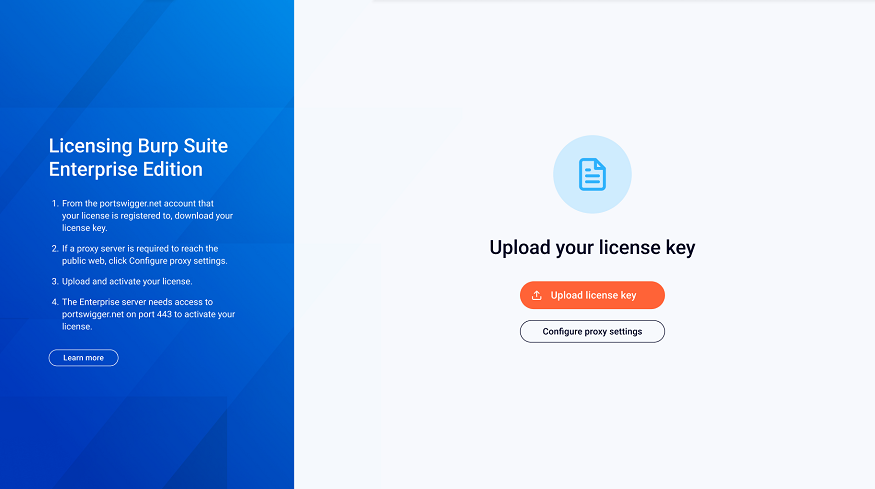
Activating your license
The first time you launch Burp Suite DAST, you can activate your license on the Upload your license key page. If you don't have a license yet, you can sign up for a free trial or purchase a full license from our website.
Note
You need one license for each server instance of Burp Suite DAST that you intend to run. For example, if you wanted to run separate installations in your test and production environments then you would need to purchase separate licenses.
If you have any questions about your licensing requirements, please contact our customer support team at hello@portswigger.net.
Step 1: Download your license key from the PortSwigger site
Follow the instructions in your registration email to download your license key.
Step 2: (optional) Set up a proxy server
To activate your license, Burp Suite DAST needs to connect to portswigger.net on port 443. If you require a proxy server to access the public web, click Configure Proxy Settings.
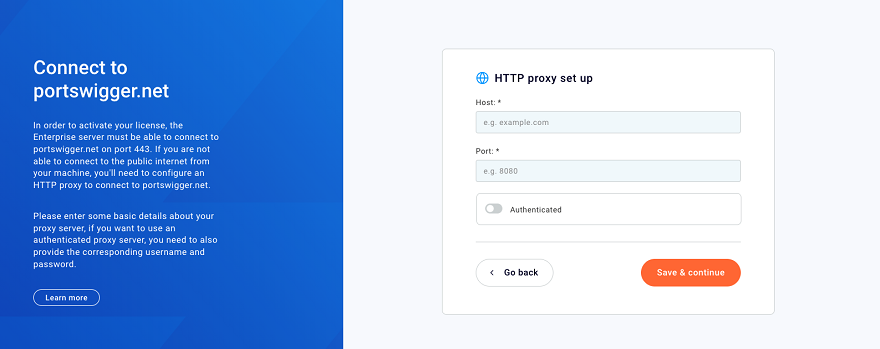
To configure a proxy server:
- Enter Host and Port details for your proxy server.
- If the server requires authentication, select Authenticated and enter Username and Password details.
- Click Save & continue to return to the Upload your license key page.
Step 3: Upload your license key to Burp Suite DAST
When prompted, click Upload license key and select your key from the dialog.
Step 4: Start the onboarding wizard
Once your license is activated, click Continue to begin the onboarding wizard. This wizard guides you through the process of running your first scan.
Next step - Run your first scan