DAST
Deploying additional scanning machines
-
Last updated: February 13, 2026
-
Read time: 3 Minutes
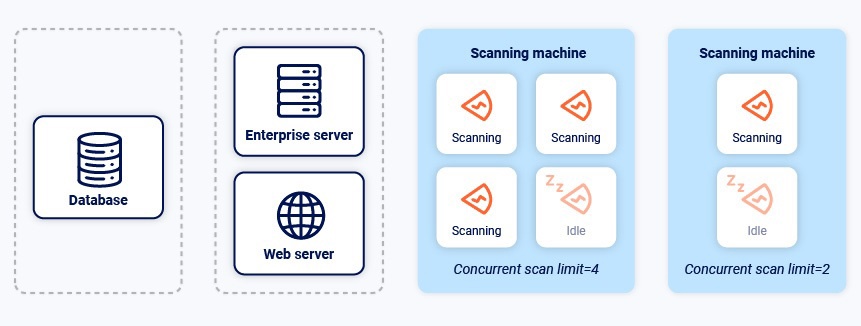
Running too many concurrent scans on the same scanning machine can cause performance issues. You can deploy additional scanning machines in order to run more scans concurrently.
Setting up a new scanning machine
The setup process for a new scanning machine uses the same installer you used for the initial installation of Burp Suite DAST. However, you might need to download a different installer if your intended scanning machine uses a different operating system.
Note
Please make sure that the DAST server is able to connect to https://portswigger.net throughout the scanning machine setup process.
This is necessary in order for the system to enable the new scanning machine.
If you have a Pay As You Scan subscription (PAYS), the DAST server must be able to connect to https://portswigger.net at all times.
- Go to the Burp Suite Releases page.
- Download the installer for the same version of Burp Suite DAST that is installed on your DAST server machine.
- Open the installer and follow the same process that you did when installing Burp Suite DAST. When asked what you want to use the machine for, deselect Running the DAST server and web server and select Running scans.
-
When prompted, enter the hostname or IP address of the machine where you previously installed the DAST server. External scanning machines automatically access the DAST server on port
8072. - When the installation is complete, you are given a fingerprint of the scanning machine's public key. Make sure you save this somewhere secure as you need it to authorize this new scanning machine later.

Note
For a single instance of Burp Suite DAST, you only need one license. It doesn't matter how many scanning machines you deploy, or how many scans you run. However, if you want to deploy separate instances of Burp Suite DAST in multiple environments, you must purchase a separate license for each instance. This also applies to test, development, or staging environments, for example.
If you have any questions about your licensing requirements, please contact our customer support team at hello@portswigger.net.
Authorizing a new scanning machine
Communication between scanning machines and the DAST server is protected by mutually authenticated TLS. When you set up a new scanning machine, it will generate a unique fingerprint, which acts as a public key, and send an authorization request to your DAST server. When the DAST server receives an authorization request, it displays the fingerprint that was used in the TLS negotiation. You compare this fingerprint with the fingerprint that you generated when setting up the new scanning machine to make sure that communication is happening directly with the authentic machine before authorizing it.
- Log in to the web interface as an administrator.
- From the settings menu select Scanning resources.
- Under Scanning machines, click Manage scanning machines.
- On the Authorization requests tab, you should see a pending authorization request showing the IP address of the new scanning machine (or, if NAT is being used on the network, the IP address from which the scanning machine's connection was received) and the public key fingerprint.
- If you have a standard instance (as opposed to a Kubernetes instance), choose the pool that the scanning machine will belong to. For more details, see Managing scanning pools.
- Compare the public key fingerprint shown with the one that you saved after setting up the new scanning machine. If they match, click Authorize.
This scanning machine is now available for use on the Scanning machine settings page and you can start assigning scans to it.
Note
In order to run scans in a self-hosted environment, your scanning machines must be able to access the following:
Your DAST server.
*.oastify.comon port443.


