Professional
Generating a report
-
Last updated: January 16, 2026
-
Read time: 1 Minute
In this section, you'll learn how to generate a report in HTML format, based on your scan results.
Step 1: Select the relevant issues
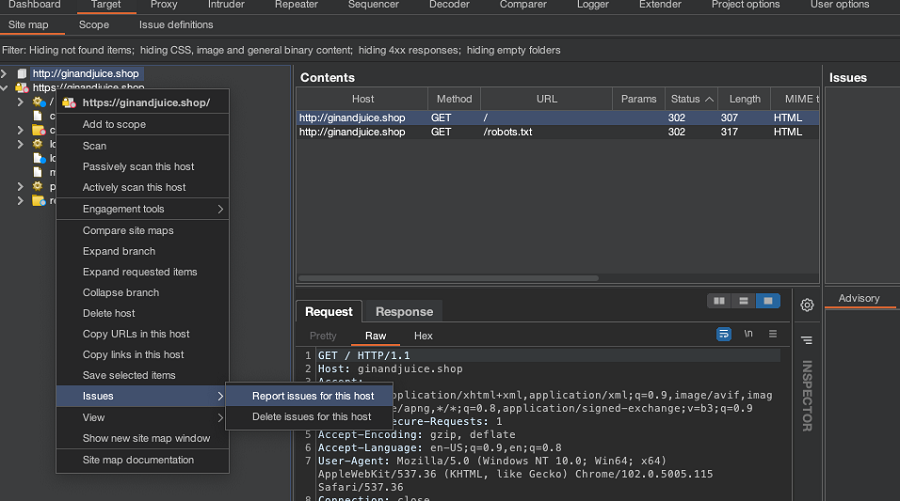
Go to the Target > Site map tab, right-click on the entry for https://ginandjuice.shop, and select Issues > Report issues for this host.

Step 2: Configure the report options
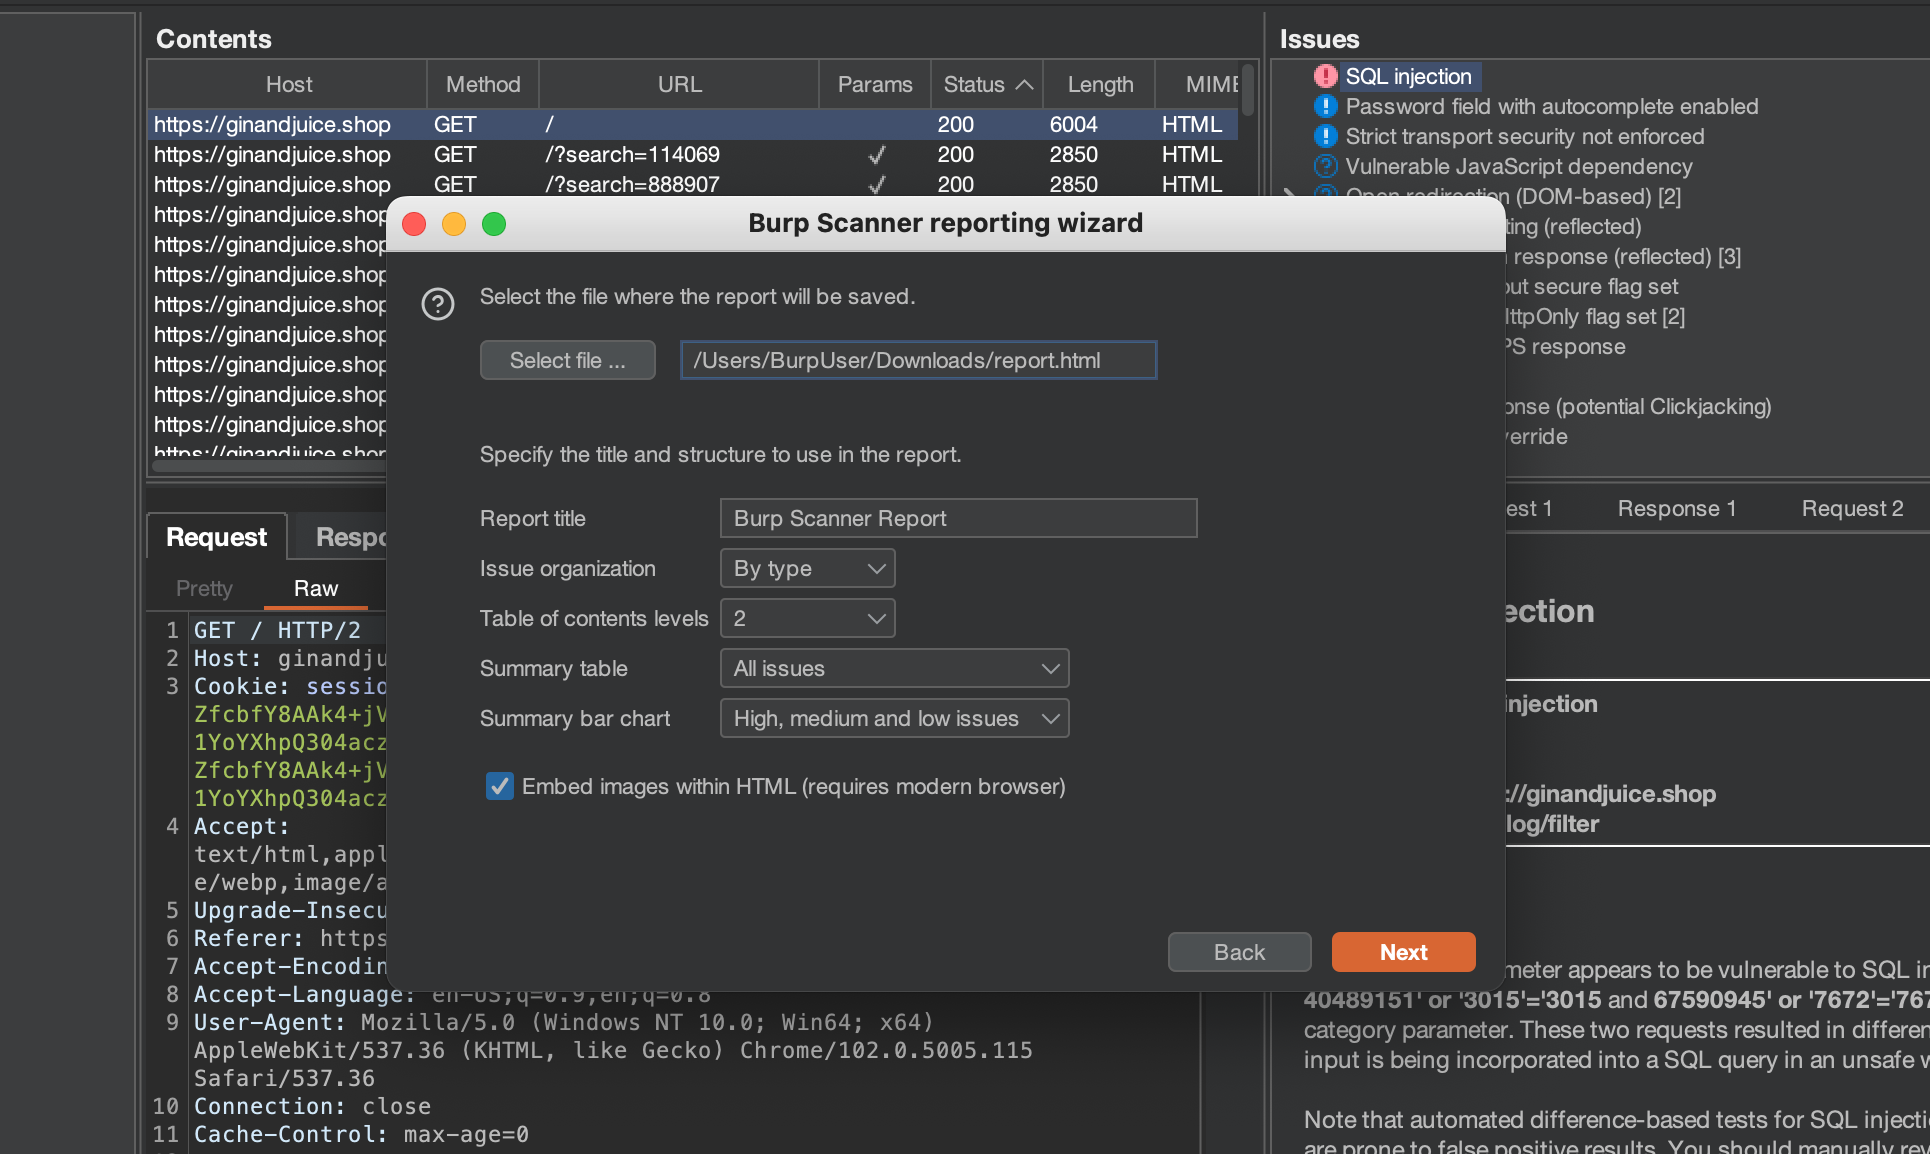
A wizard guides you through the available options, such as how much detail to include. For now, just click Next to accept the defaults until you're prompted to enter a filename and location for the report.

Step 3: Generate and save the report
Click Select file and choose a location where you want to save the report. Enter a name for the file.
Note
You must include the appropriate file extension, in this case, .html.
Click Save and then Next to generate the report.
Step 4: View and share your report
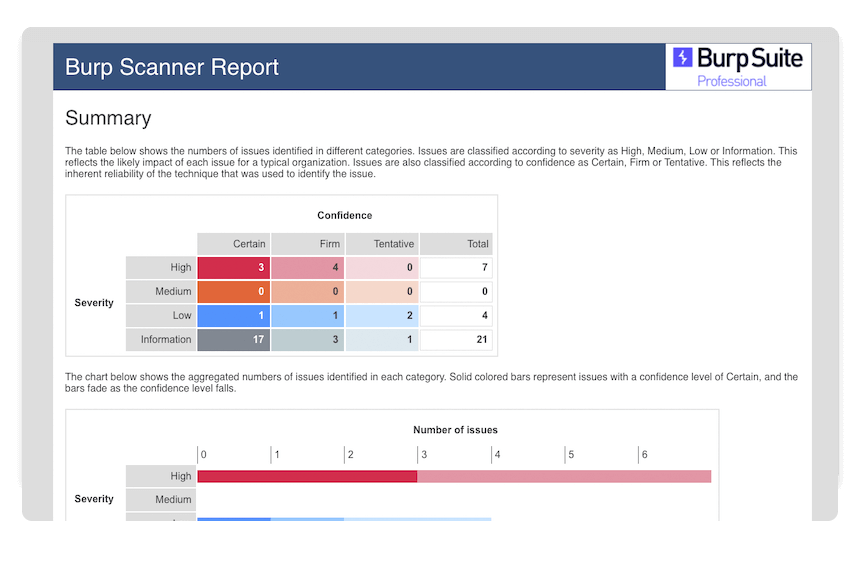
Open the report in Burp's browser to see what it contains. This is useful for reporting the results of your scans to colleagues or clients.

You've just generated a report of your findings.
Next step - Continue learning about Burp
CONTINUE

