


ProfessionalCommunity Edition
Spoofing your IP address using Burp Proxy match and replace
-
Last updated: May 15, 2026
-
Read time: 3 Minutes
Burp Proxy allows you to configure match and replace rules that automatically modify your requests and responses while you explore the target application as normal using Burp's browser. This enables you to add, remove, or modify headers in requests or responses, for example.
There are a number of uses for this, including potentially spoofing your IP address. In some cases, this may allow you to trick a server into believing that you belong to its local network, which could enable you to communicate with internal infrastructure that is otherwise inaccessible.
In this tutorial you'll learn how to:
- Set match and replace rules in Burp Suite.
- Use match and replace rules to add a header to your requests.
- Spoof your IP address to compromise a vulnerable server that uses a form of IP-based authentication.
Note
Burp's browser is an easy way to proxy HTTP traffic - even over the encrypted HTTPS protocol. There is no setup required - simply go to the Proxy tab, click Open Browser, and make sure that the intercept toggle is set to Intercept off.
Step 1: Open the lab
Open Burp's browser and access the following lab:
https://portswigger.net/web-security/information-disclosure/exploiting/lab-infoleak-authentication-bypassStep 2: Attempt to access the admin panel
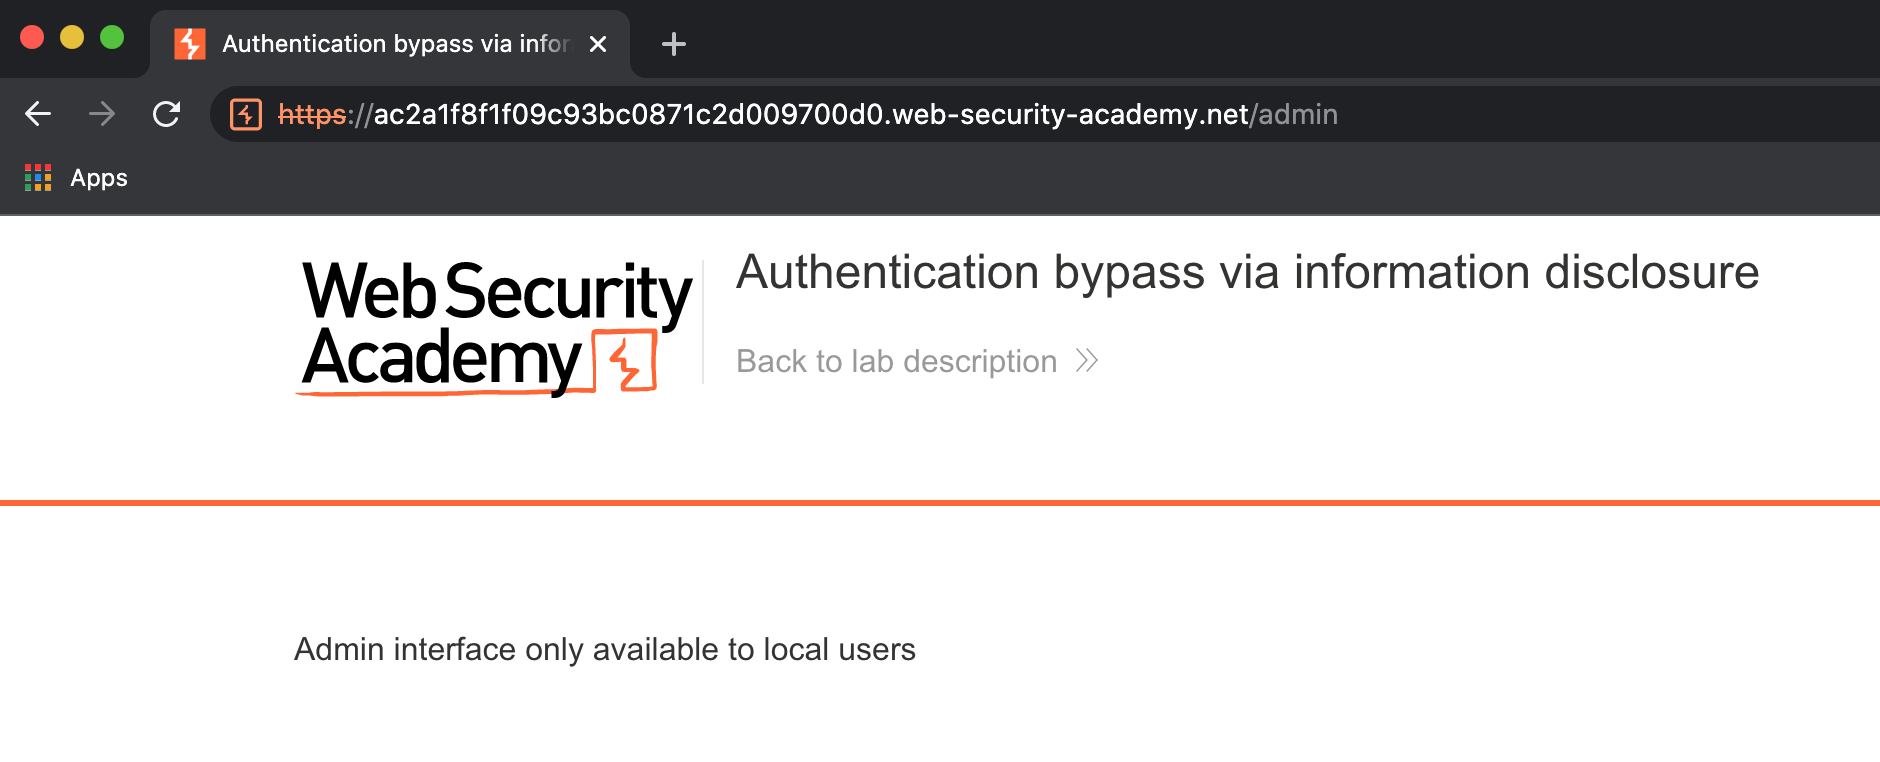
Try to access the admin panel at /admin.
Note that you are prevented from doing so as this is only accessible to local users.
For simplicity, let's assume that you've subsequently identified that the server is using a custom HTTP header, X-Custom-IP-Authorization, to determine your IP address.
Note
In the wild, the de-facto standard header X-Forwarded-For is often used for this purpose, but you may encounter websites that use different custom headers. These are normally applied to your requests by an intermediary server, such as a load balancer or other reverse proxy belonging to a CDN, for example.
Step 3: Add a custom match and replace rule
To add a custom match and replace rule:
- Go to Proxy > Match and replace.
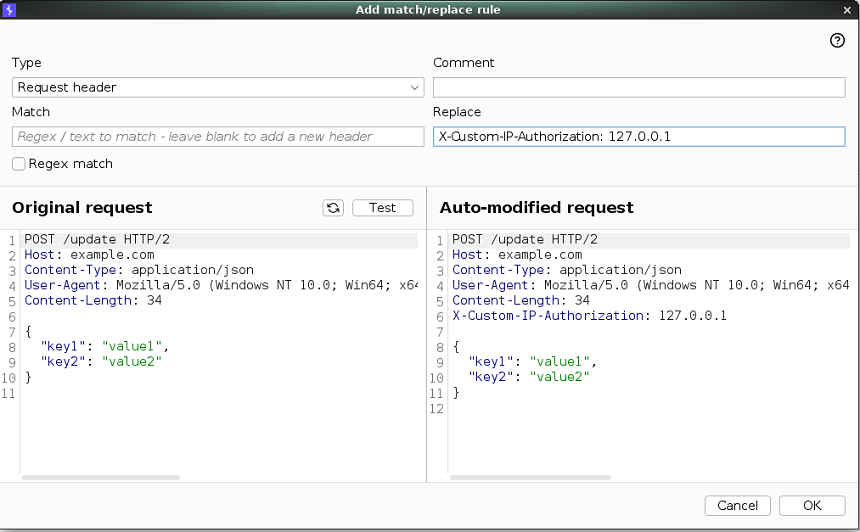
- Under HTTP match and replace rules, click Add. The Add match/replace rule dialog opens.
- Under Type, make sure that Request header is selected.
- Leave the Match field empty. This ensures that Burp appends a new header to requests rather than replacing an existing one.
-
In the Replace field, enter the following:
X-Custom-IP-Authorization: 127.0.0.1 - Click Test.
-
Under Auto-modified request, notice that Burp has added the
X-Custom-IP-Authorizationheader to the modified request. - Click OK.
Burp Proxy will now add this header to every request you make in Burp's browser.
Step 4: Try to access the admin panel again
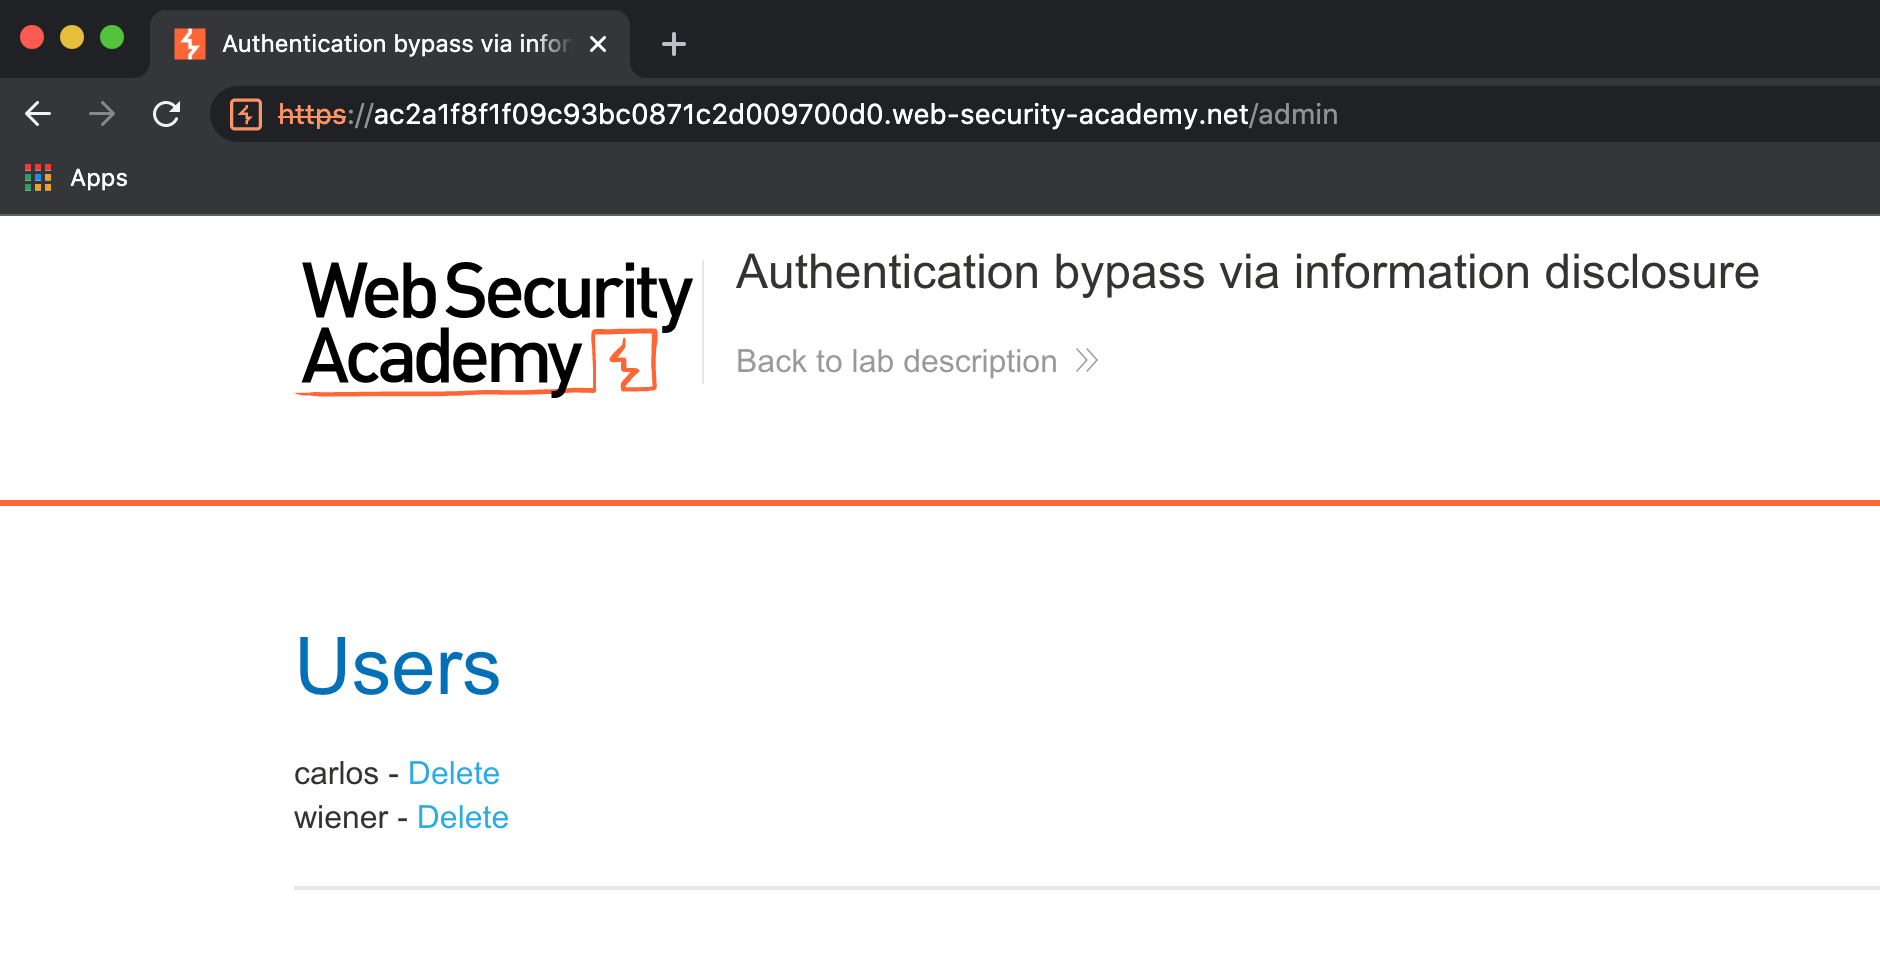
In Burp's browser, try browsing to /admin again. Observe that you can now access the admin page and delete carlos to solve the lab.
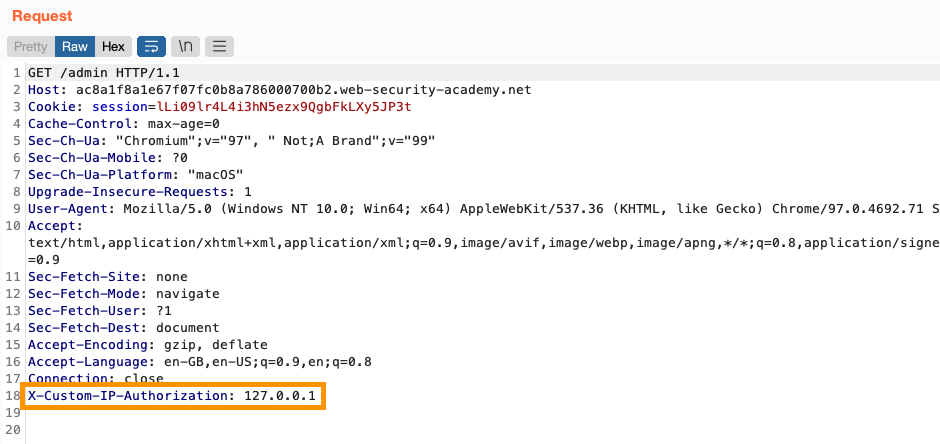
In Burp, you can confirm that the header was added to your requests by checking them in the Logger tab:
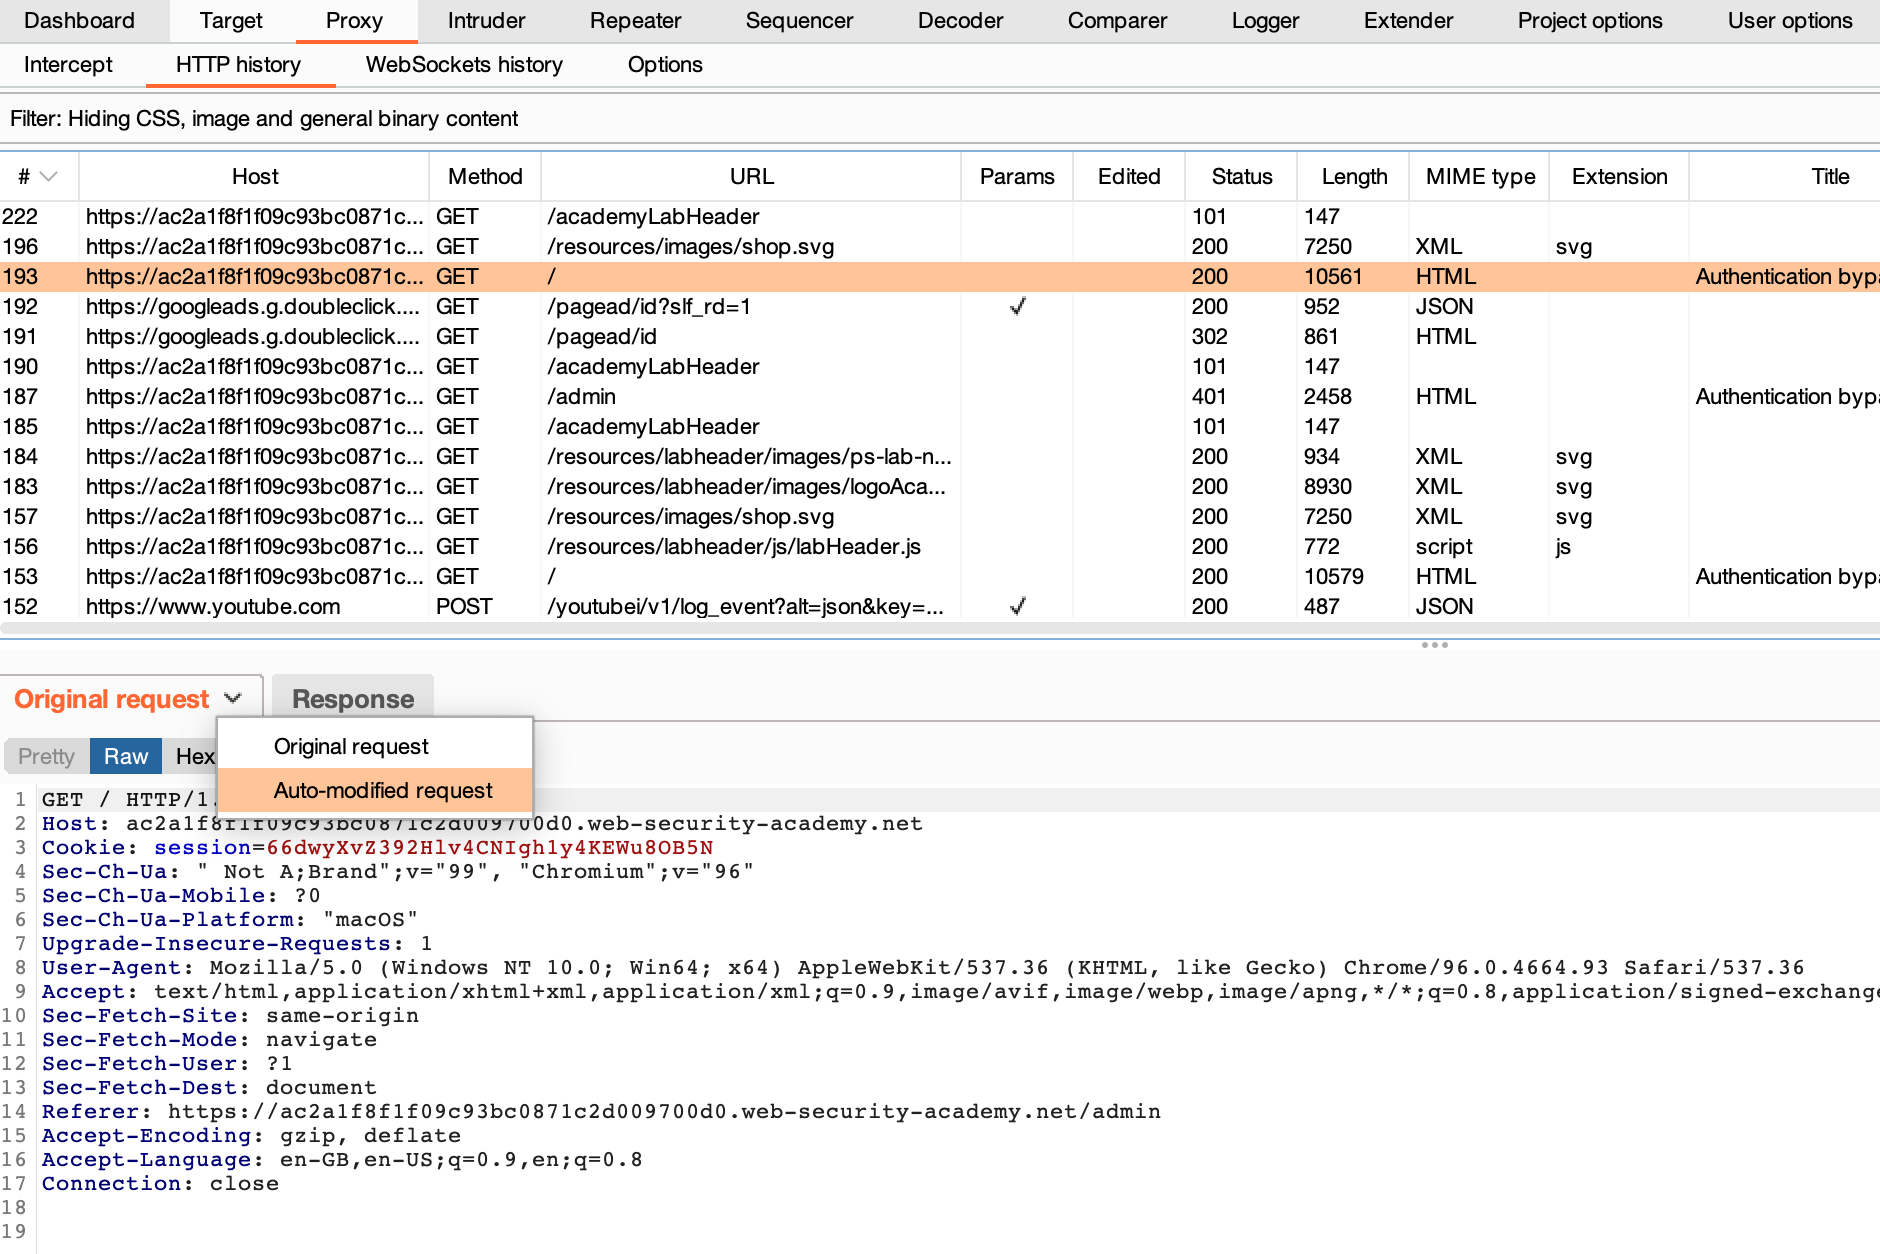
Alternatively, on the Proxy > HTTP history tab, you can use the drop-down menu to toggle between the original request that was sent by the browser, and the modified one that Burp Proxy forwarded to the server.
Note
Although we've manually added a custom header in this case, Burp Suite provides a number of built-in match and replace rules to cover some of the most common use cases. You just need to enable them under Proxy > Match and replace.
Summary and next steps
Congratulations - now you know how to use Burp Proxy's match and replace rules, and have used them to spoof your IP address.
To learn how you could have discovered the custom header we used to solve the lab, check out the learning materials on the Web Security Academy.
For more general information on authentication, as well as other types of attack you can carry out using Burp Suite, see the Authentication topic in the Web Security Academy.