


ProfessionalCommunity Edition
Configuring Chrome to work with Burp Suite - MacOS
-
Last updated: June 18, 2026
-
Read time: 1 Minute
If you want to use Chrome with Burp Suite, you need to configure the proxy settings.
Note
These steps are only necessary if you want to use an external browser for manual testing with Burp. If you prefer, you can just use Burp's browser, which is preconfigured to work with Burp Proxy already. To access Burp's browser, go to the Proxy > Intercept tab, and click Open Browser.
To configure Chrome to work with Burp Suite, follow these steps:
- Open Chrome and go to the Customize (hamburger) menu.
- Select Settings and open the System menu.
-
Click Open your computer's proxy settings. The Proxy Settings window enables you to set up the proxy server.

-
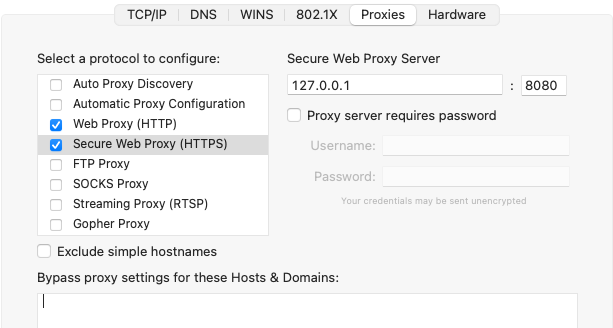
Configure the Web Proxy (HTTP) protocol:
- Check the Web Proxy (HTTP) box.
-
Enter your Burp Proxy listener address in the Web Proxy Server field (
127.0.0.1in this example). -
Enter your Burp Proxy listener port in the adjacent field (
8080in this example).
- Repeat these steps for the Secure Web Proxy (HTTPS) checkbox.
-
Make sure that the Bypass proxy settings for these Hosts & Domains field is empty.
- Click OK and Apply to close the open dialogs.